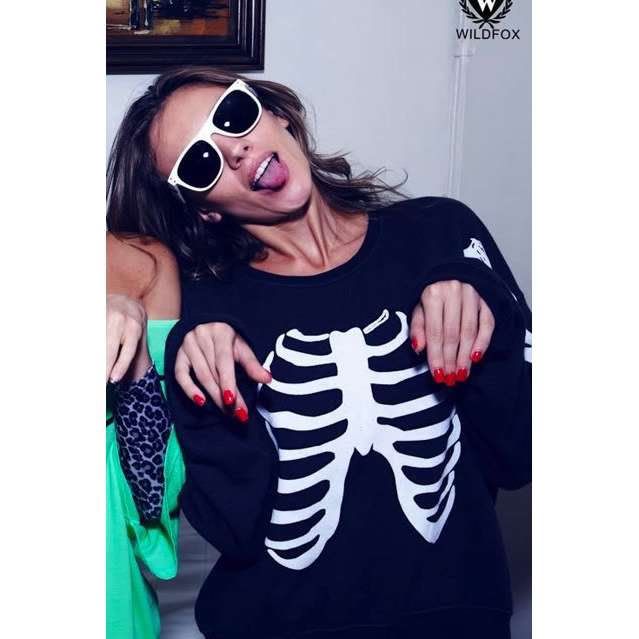
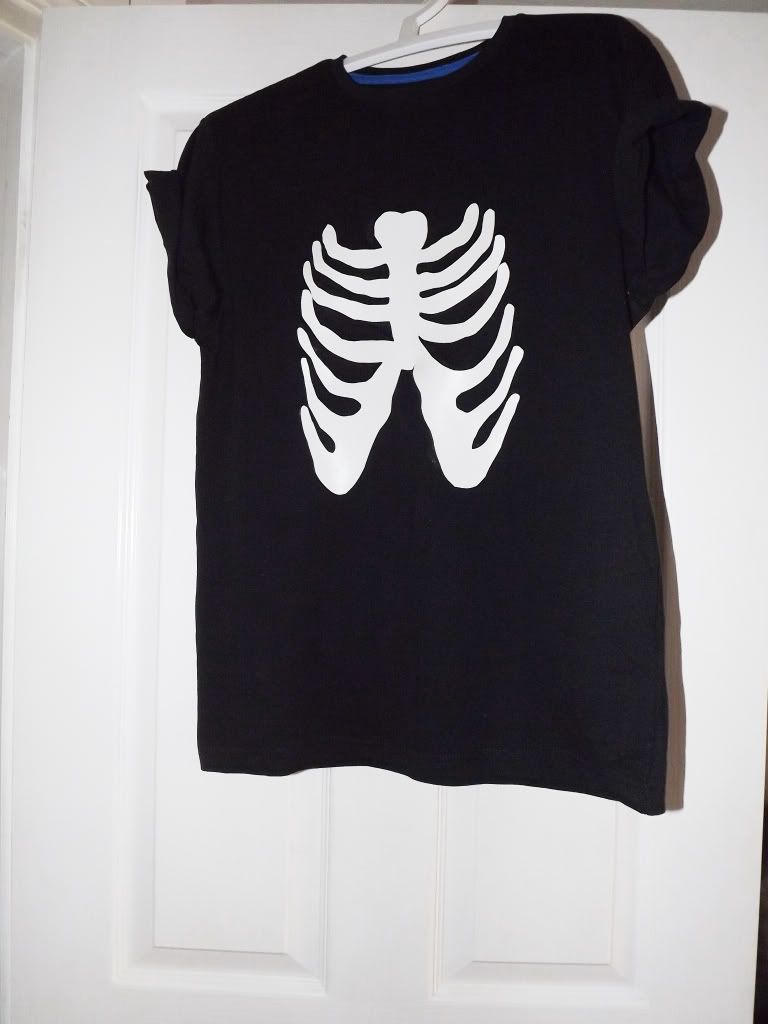
Whilst looking at the wild fox website I saw the skeleton jumper, and loved it also with it being close to Halloween I thought I would make the t-shirt and jumper myself. As the wild fox jumper is £140 I couldn't afford to buy it. You can still wear the t-shirt and jumper after Halloween. The t-shirt looks great with a leather jacket and leggings or jeggings. This DIY is so easy to do and doesn't take long at all :)
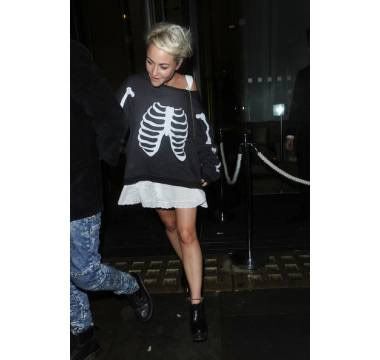
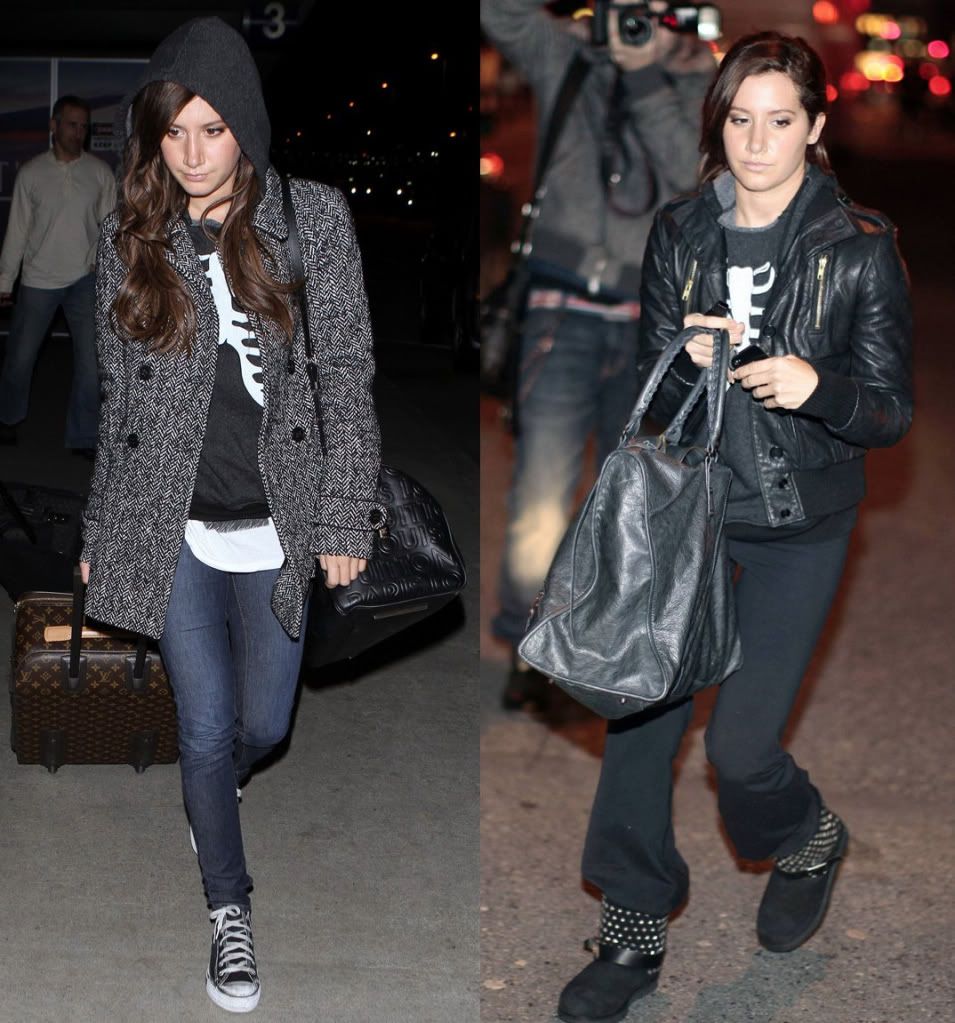
inspiration images
Imagery by wild fox
imagery of Ellie Goulding at V Festival from google images
imagery of Jamie Whinestone from google images
imagery of Ashley tisdale from google images
All you need
-plain black t-shirt
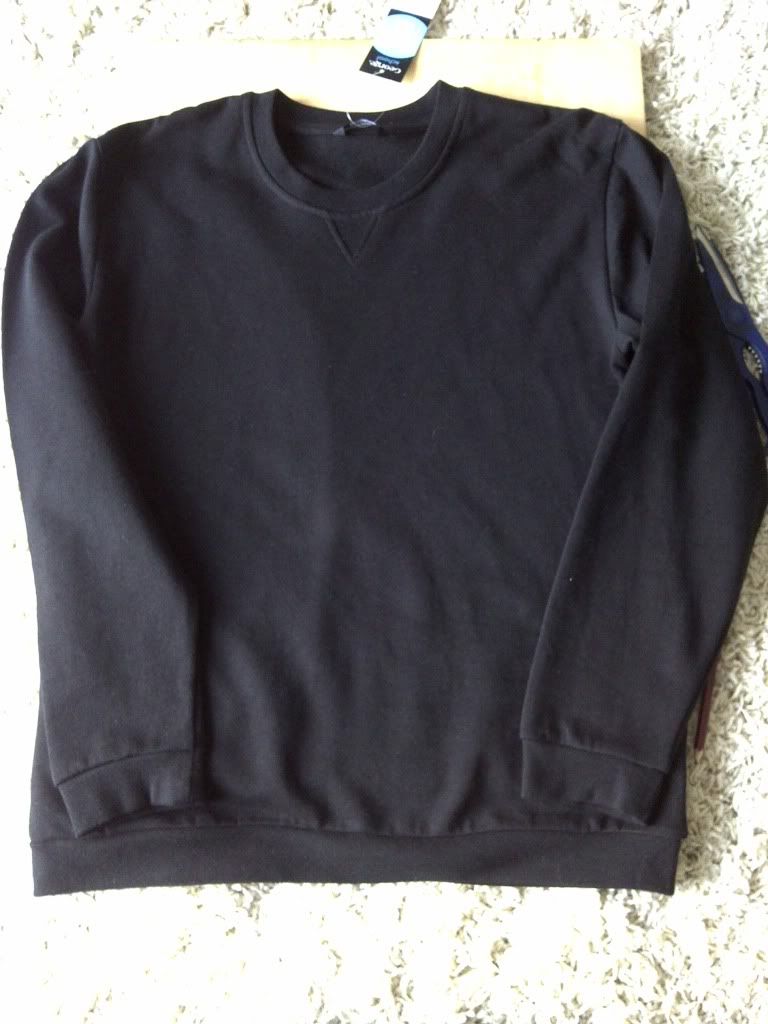
-plain black jumper
-PVC fabric
-scissors
-pencil
-card
-fabric glue
*sorry for the rubbish photo quality I used my blackberry to take pictures*
Start off with your plain black t-shirt or black jumper or both.
imagery by Floralpolkadot
imagery by Floralpolkadot
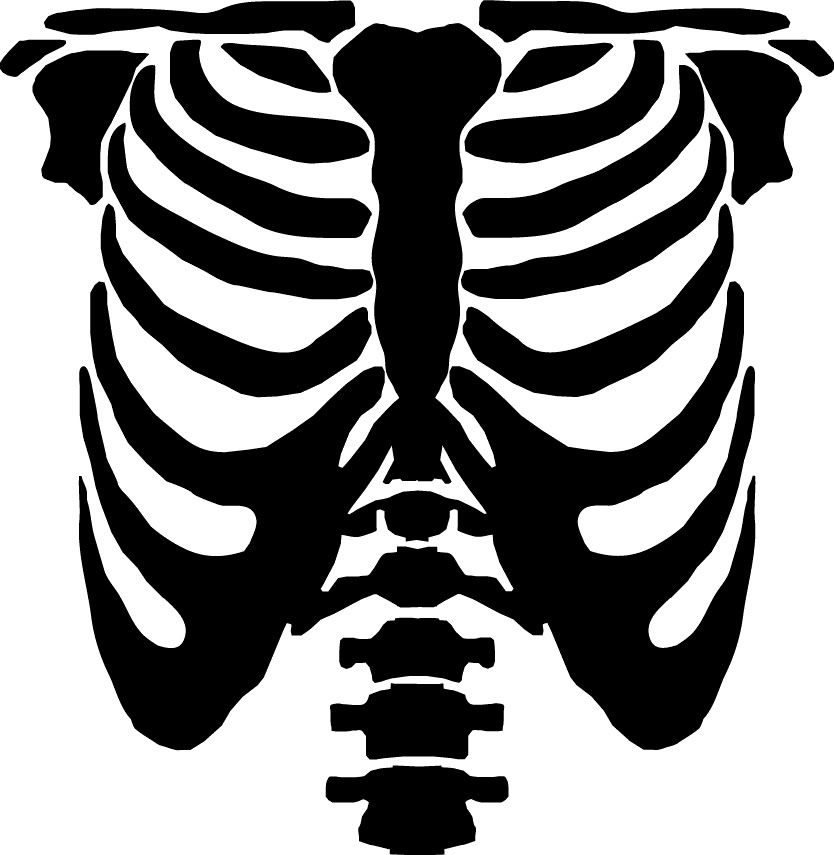
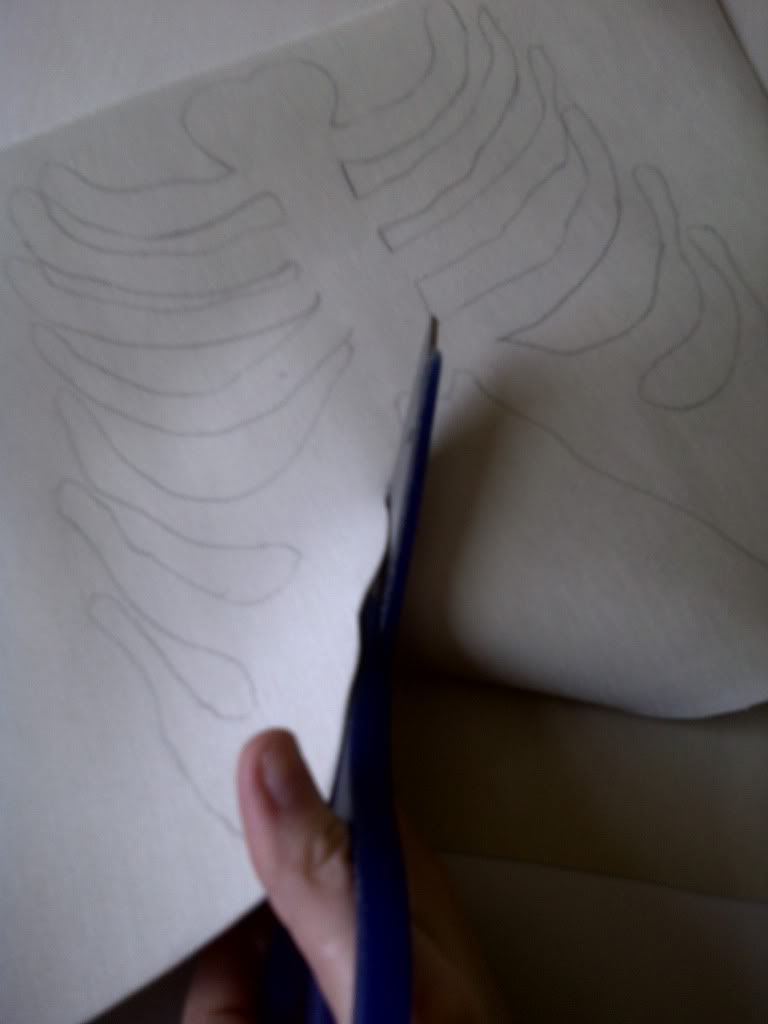
Use the Skeleton stencil to copy.I placed my card under the printed stencil and pressed hard whilst tracing the image so it indented through so you have an outline on the cardboard.
Once you have drawn the skeleton onto the cardboard cut the image out and place onto your whie PVC fabric.
imagery by Floralpolkadot
imagery by Floralpolkadot
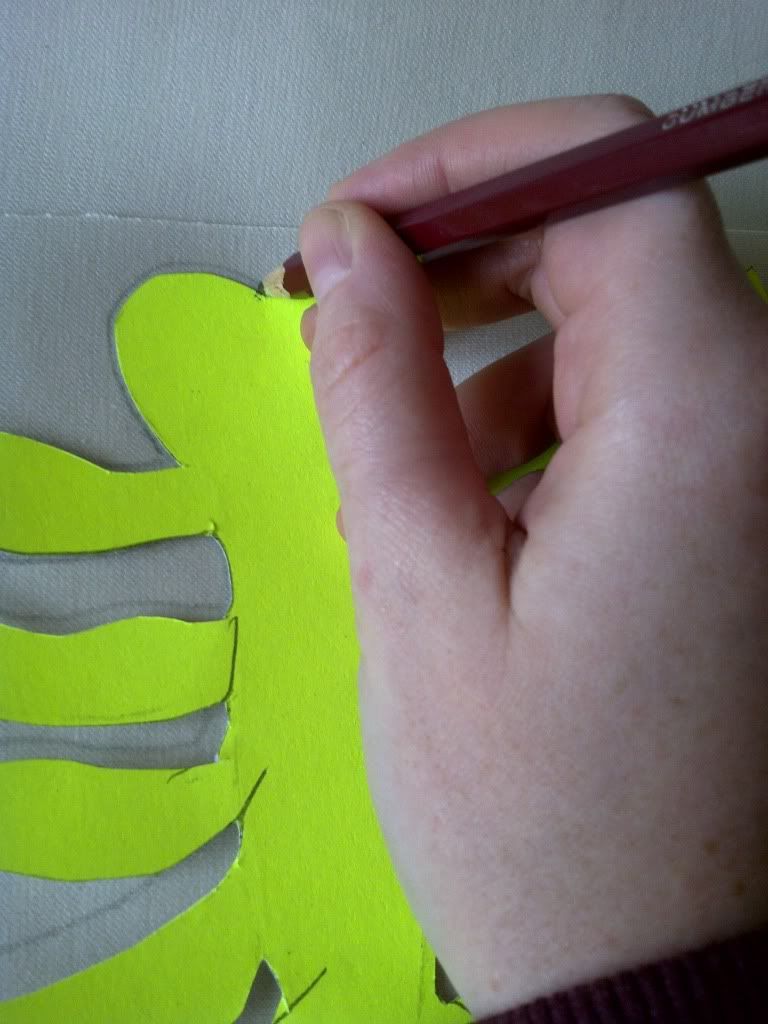
Once the stencil is placed on the PVC fabric ( n the non PVC side) Draw around the stencil to have the image transferred onto the fabric.
Imagery by Floralpolkadot
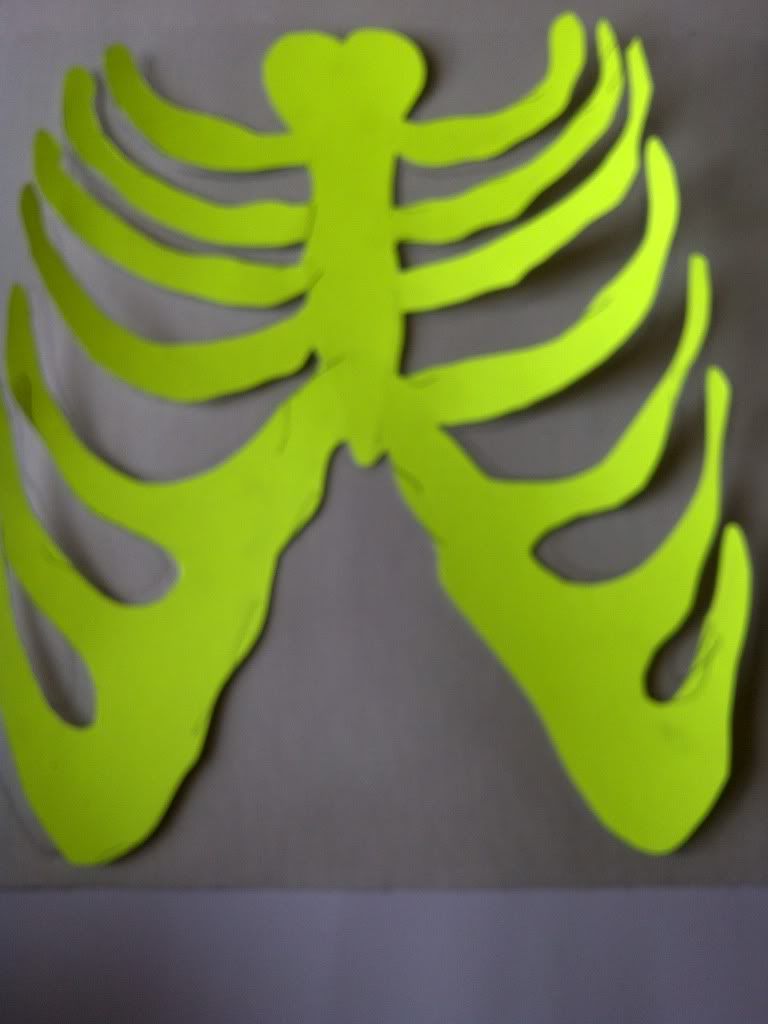
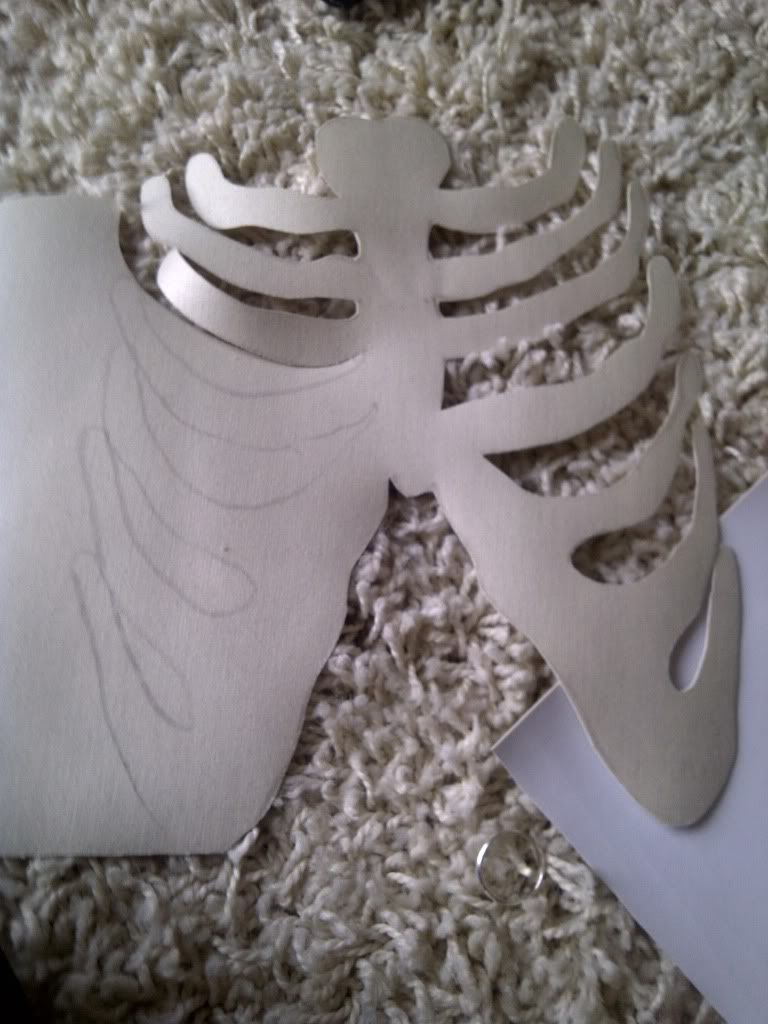
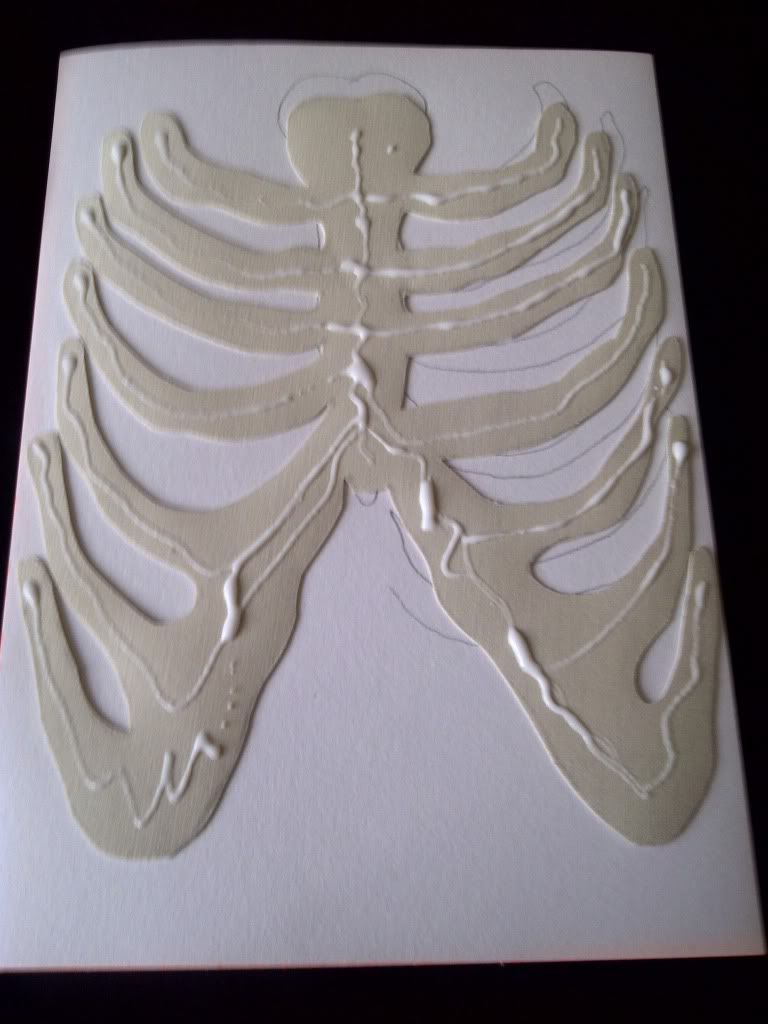
Once you have transferred the image to the fabric, cut the pattern out non the fabric.
imagery by Floralpolkadot
imagery by Floralpolkadot
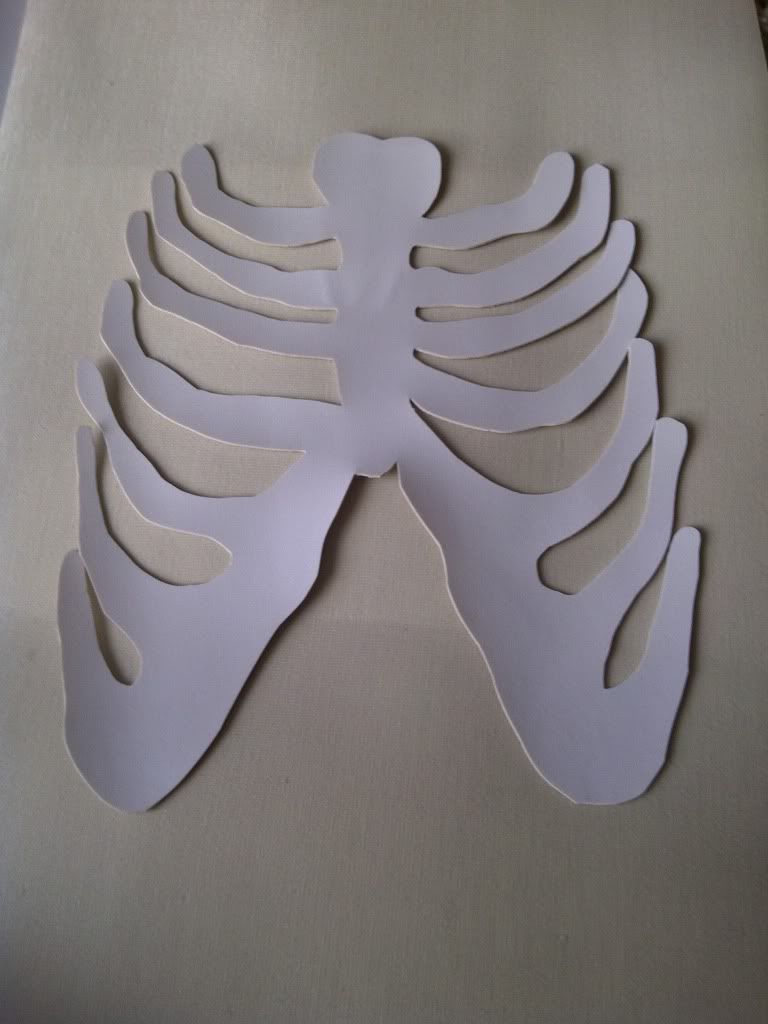
Once you have cut the whole pattern it should look like this.
Imagery by Floralpolkadot
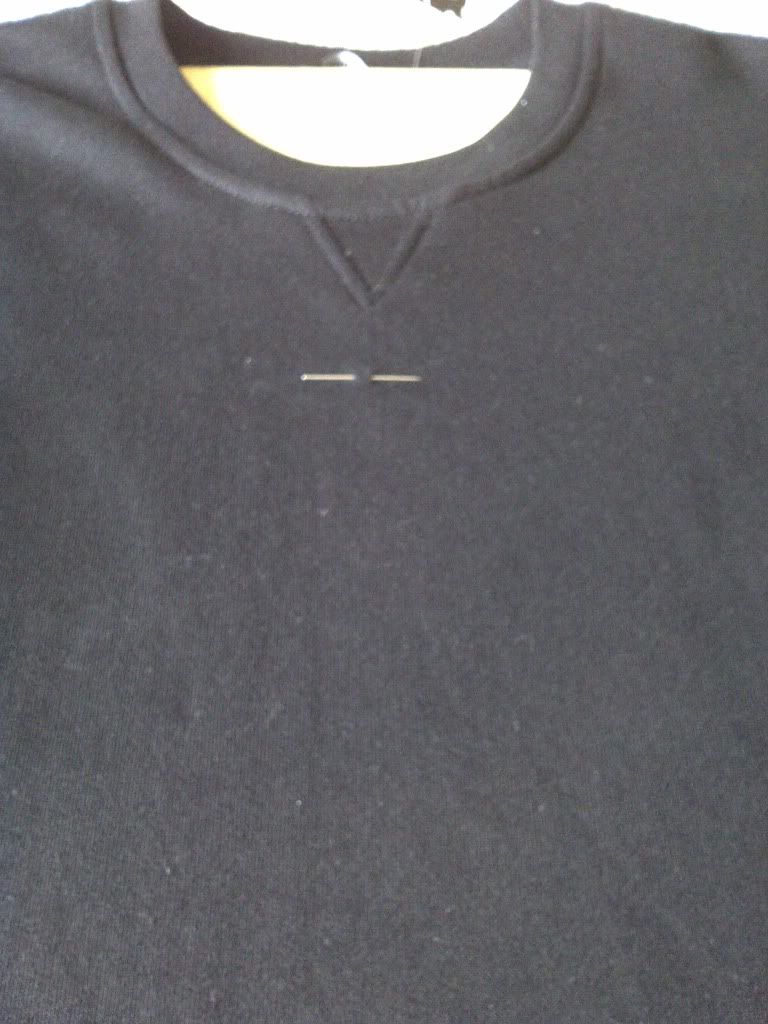
Try the jumper or t-shirt on and place the skeleton on your top to see where to place the fabric. With a pin place the pin where you would like to place the fabric.
Imagery by Floralpolkadot
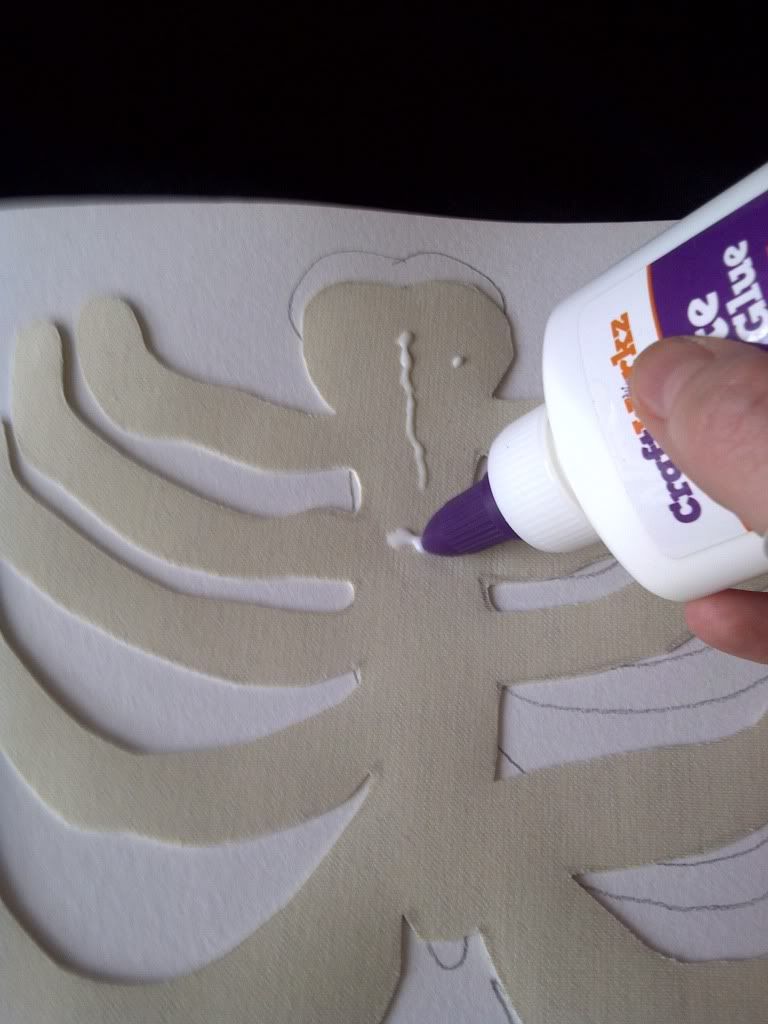
Use fabric glue to attach the fabric to your jumper or t-shirt.
Imagery by Floralpolkadot
imagery by Floralpolkadot
Place the fabric onto top where you have place the pin. Nice you have stuck the fabric to the jumper or t-shirt, remove the pin and let the glue try. Make sure you have a piece if cardboard or wood in-between then t-shirt or jumper. So the glue doesn't go through to the otherside of the t- shirt or jumper.
imagery by Floralpolkadot
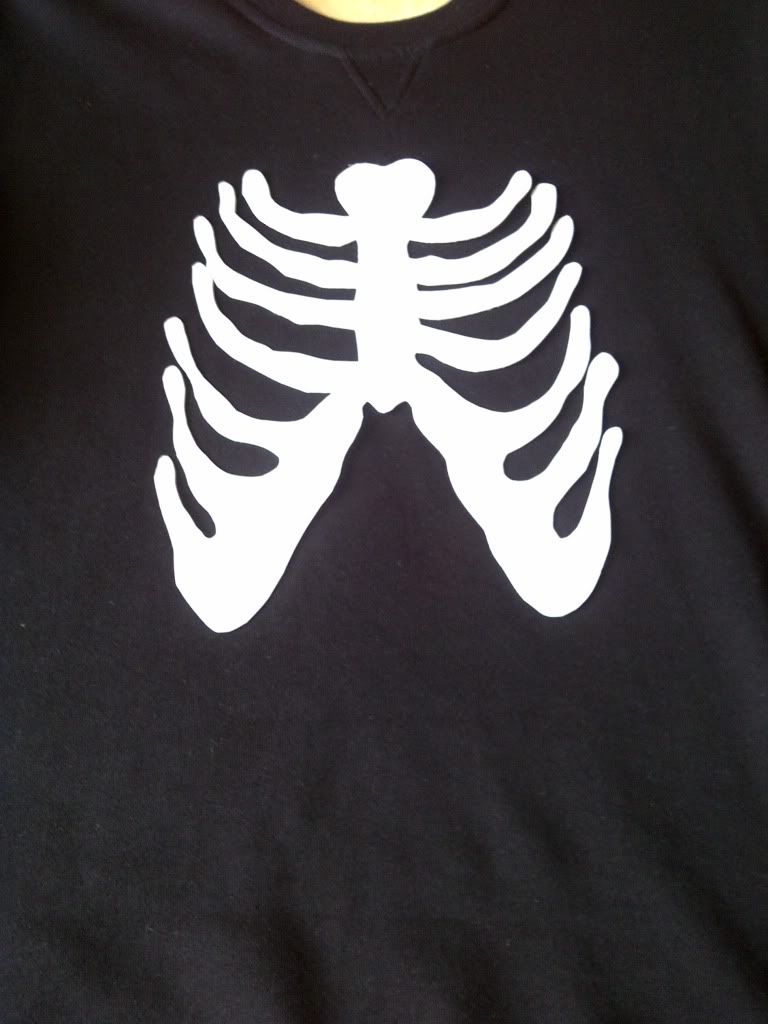
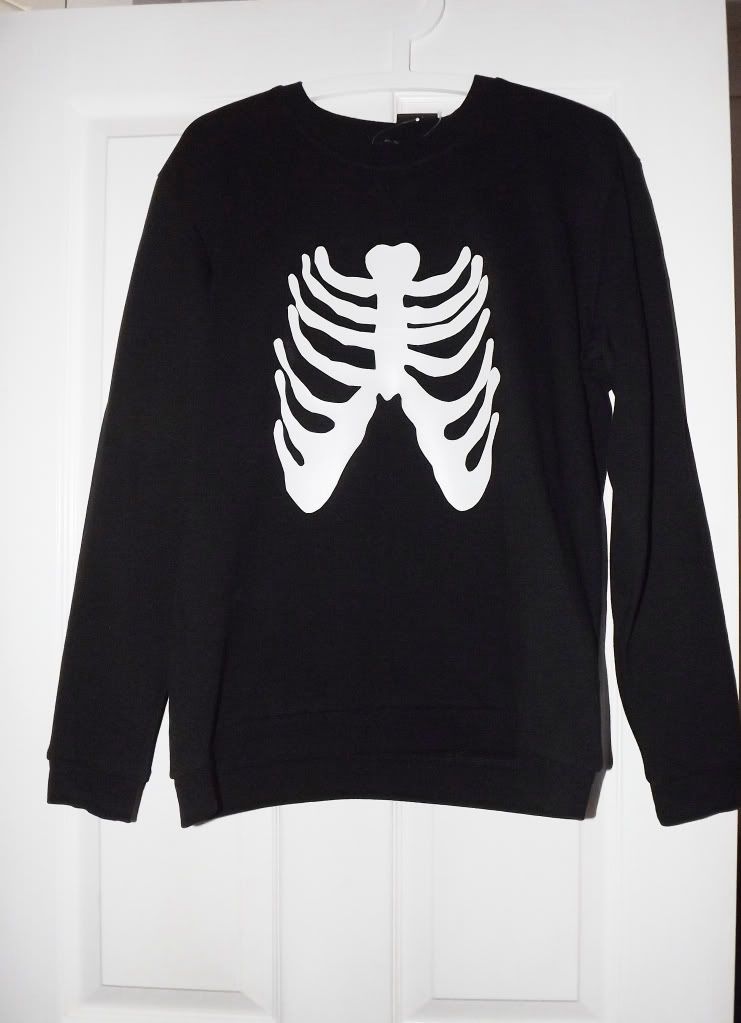
And voila the products are made.
imagery by Floralpolkadot
imagery by Floralpolkadot
If you want to add the bones on the sleeves just cut out 4 small bones and do the same.
I would love to hear your comment :)
Floralpolkadot xxx
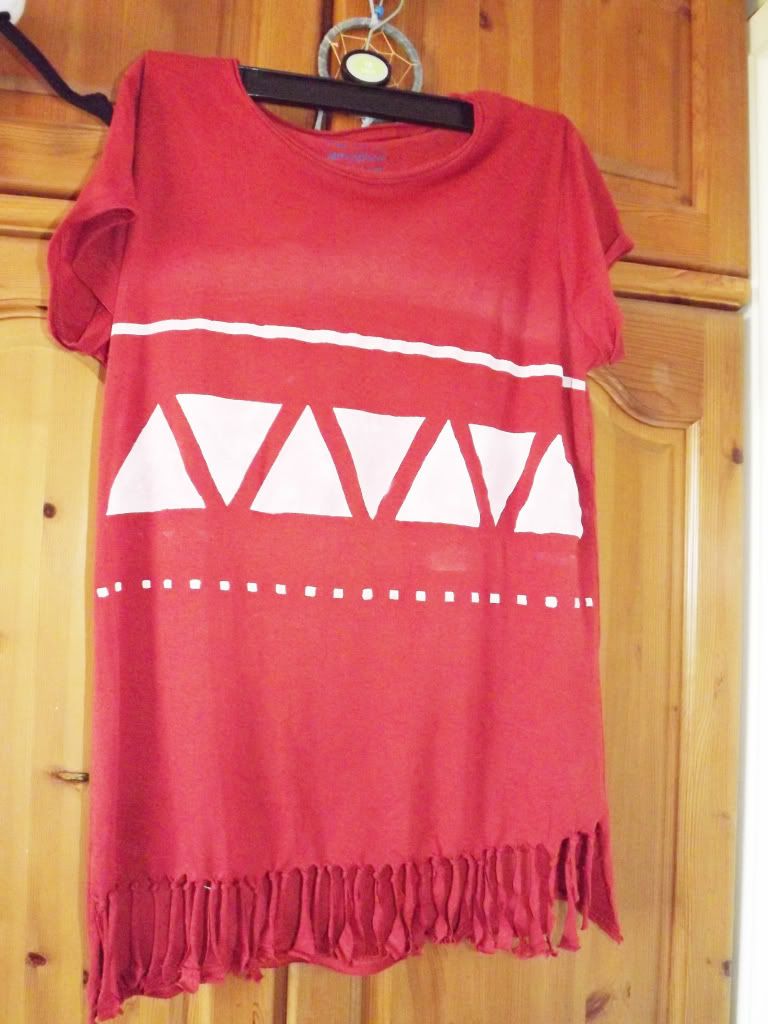
I absolutely love Aztec prints at the moment :) I have already made one Aztec t-shirt so I thought I'd attempt another Aztec t-shirt :)
Imagery by Floralpolkadot
All you need
-one plain t-shirt
-White fabric paint
-Scissors
-Masking Tape
-Sponge
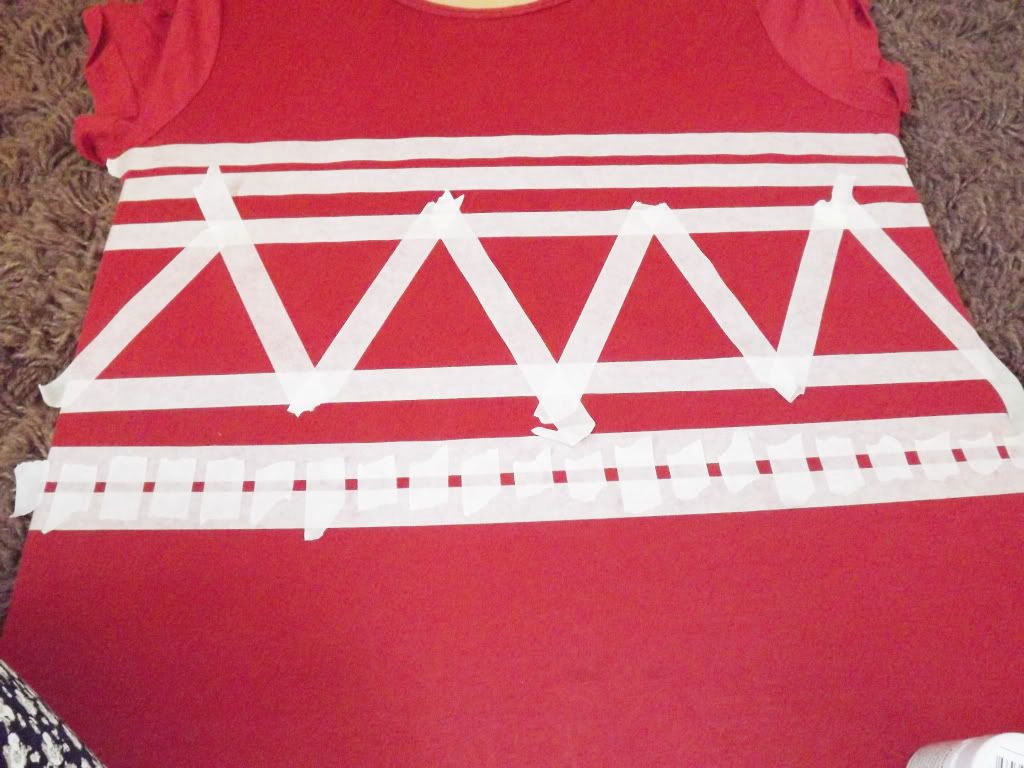
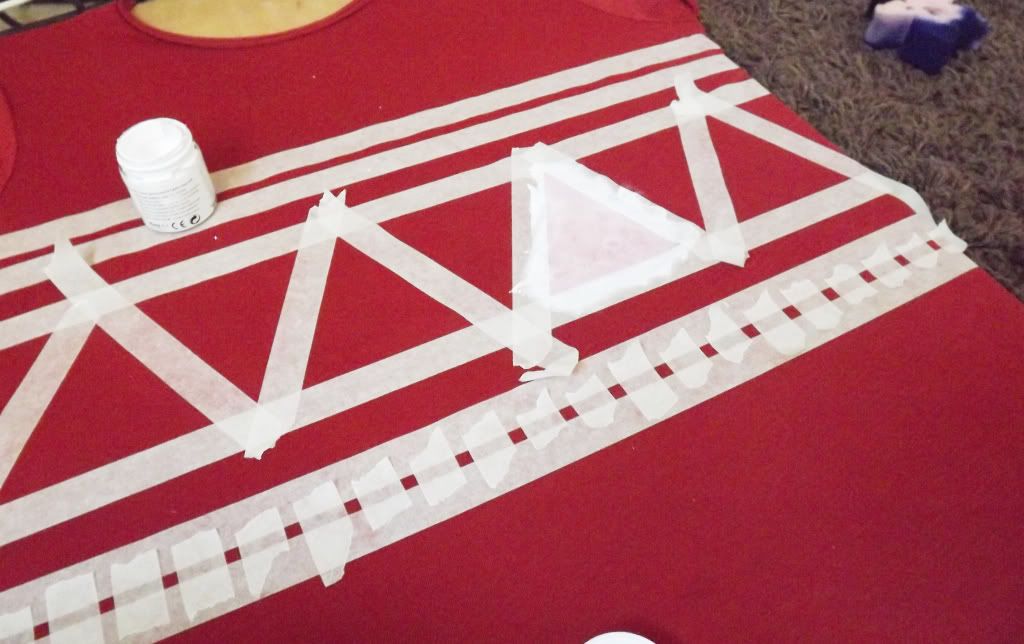
Place the t-shirt over a piece of wood or cardboard. This is so you have a flat surface to work on. Also this will stop the paint from imprinting on the other side if the t-shirt. Now add your masking tape to the t-shirt. To make these shapes.
imagery by Floralpolkadot
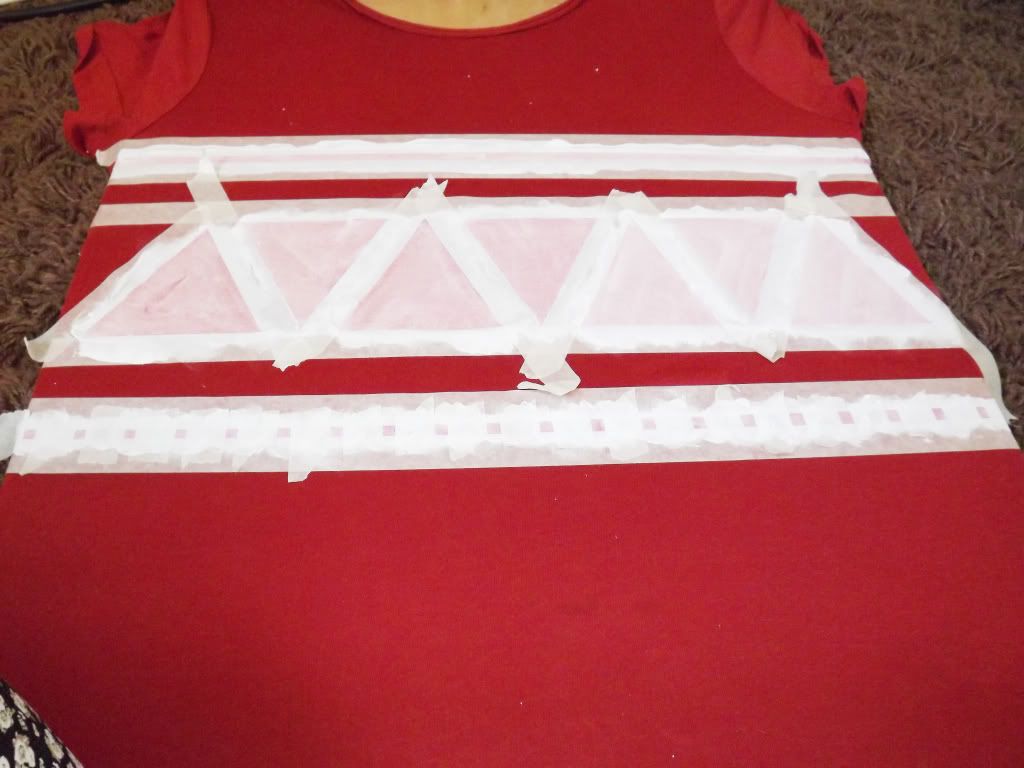
Make sure the masking tape is securly on the t-shirt so you get a perfect shape.
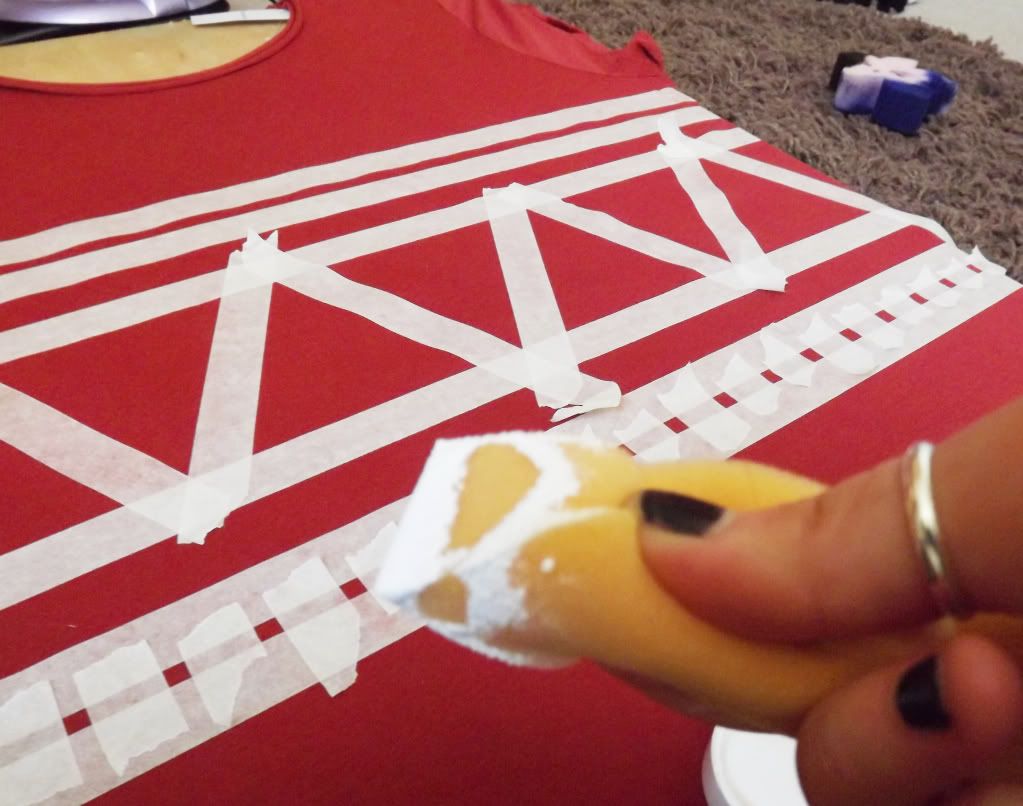
Use a sponge to add the paint to the t-shirt.
imagery by Floralpolkadot
imagery by Floralpolkadot
When it is all covered. Dry for about 10 minutes and reapply the paint to get a thicker colour. Once you have done that let it dry for about 20-30 minutes so it's completely dry.
imagery by Floralpolkadot
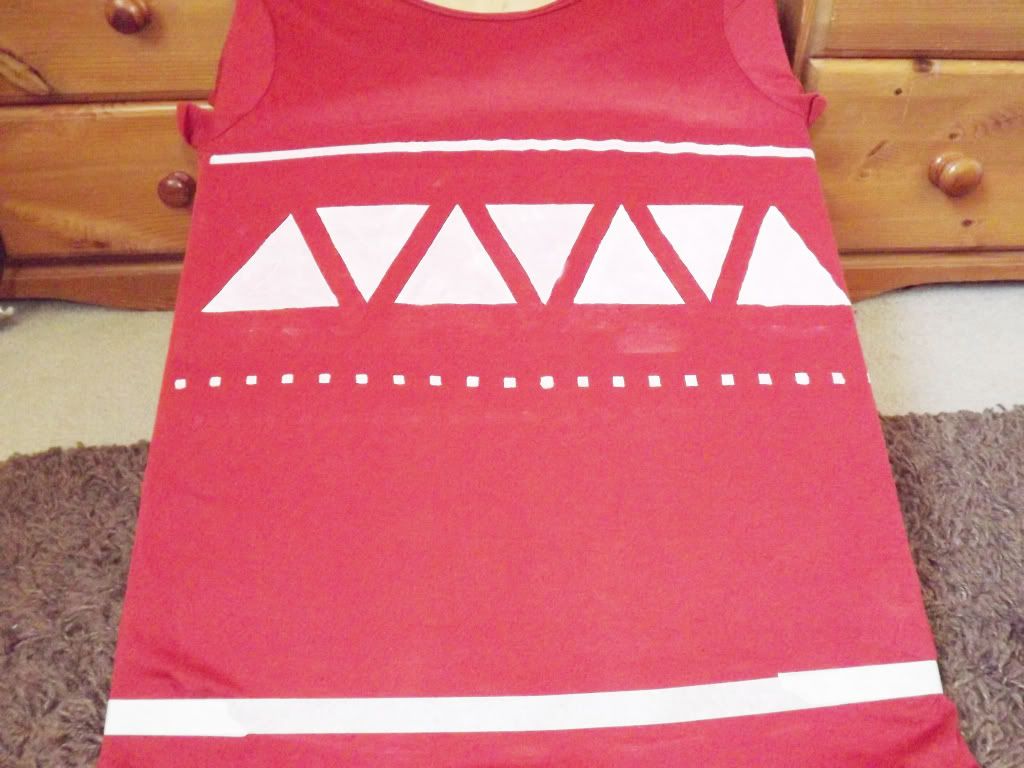
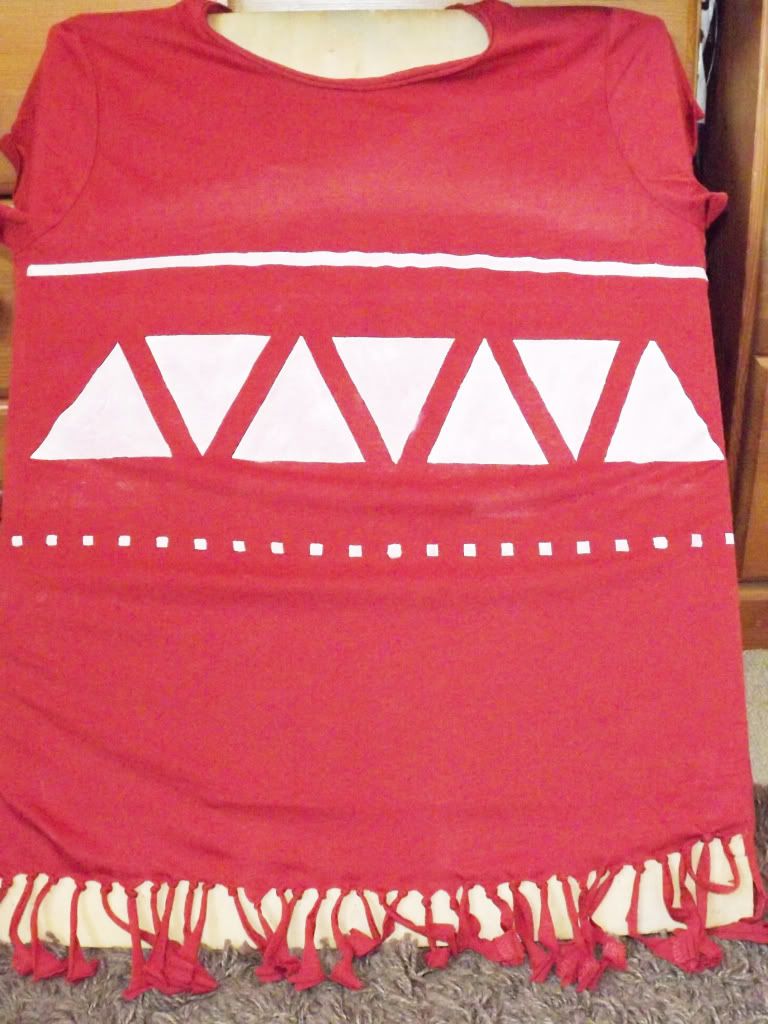
This will be your finished result :) next step the fringing :)
imagery by Floralpolkadot
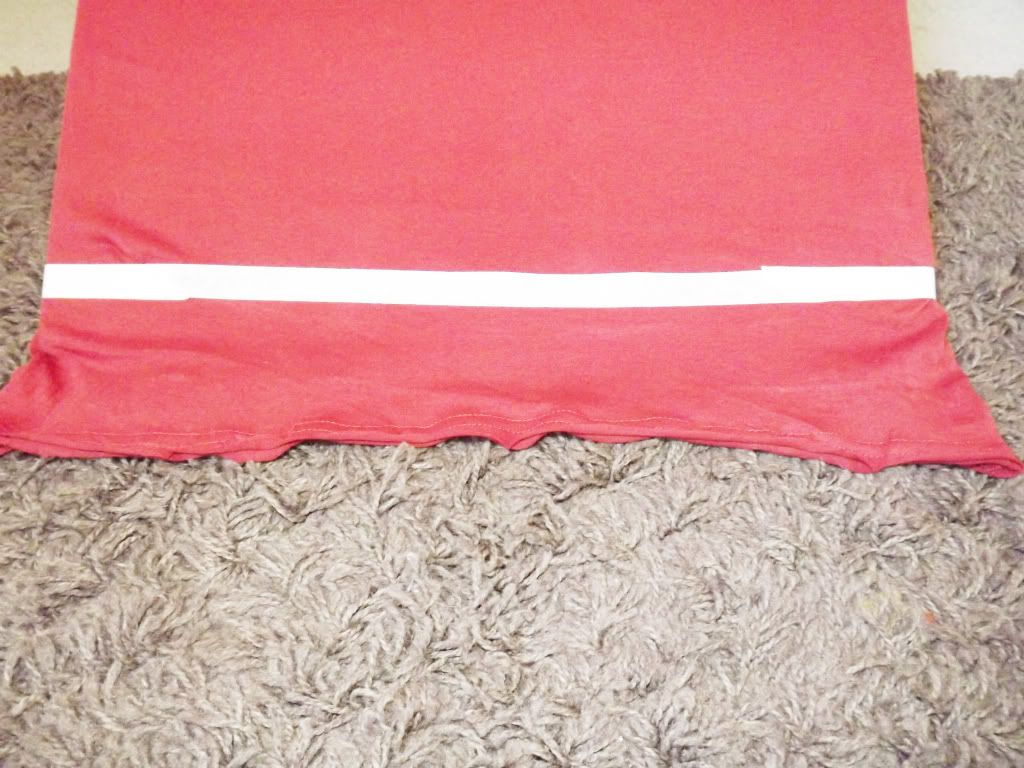
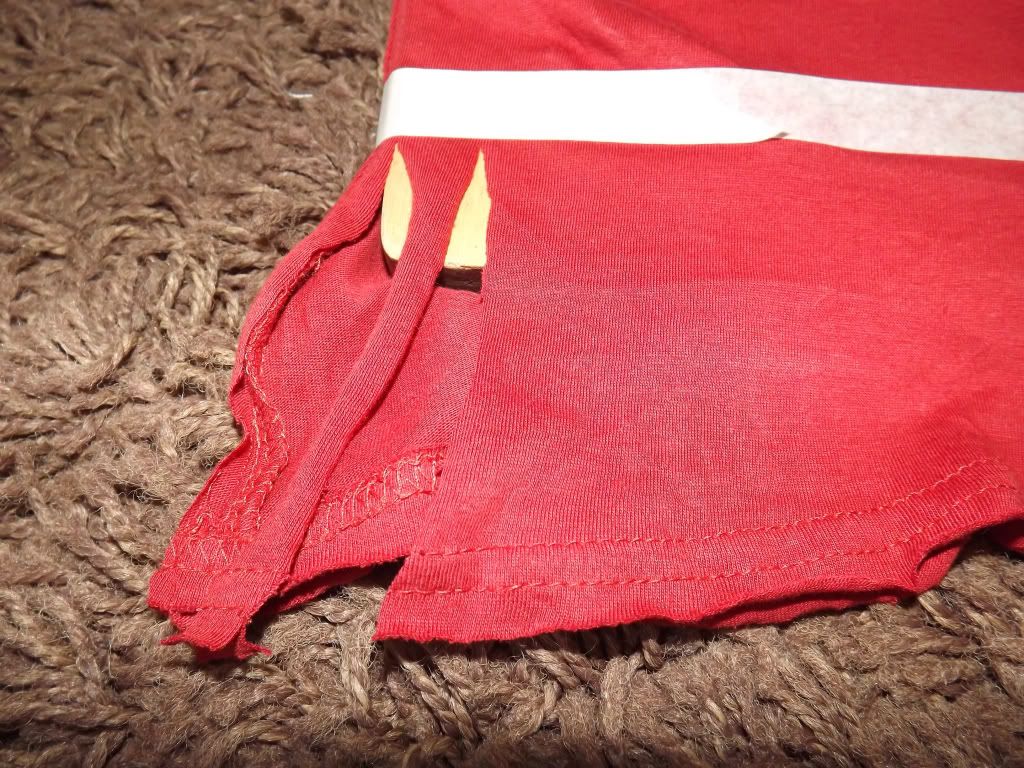
Add masking tape to the bottom of the t-shirt you can choose how high or low you want the fringing.
imagery by Floralpolkadot
Imagery by Floralpolkadot
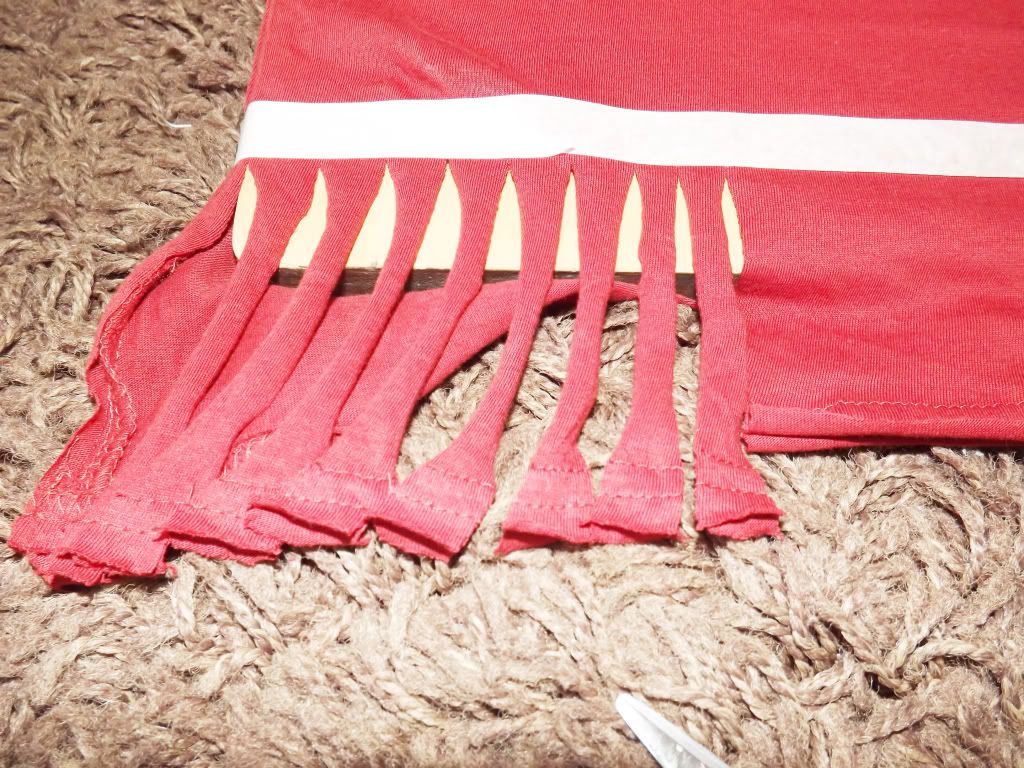
Cut small pieces to get a fringed effect. Cut up towards the masking tape.
imagery by Floralpolkadot
imagery by Floralpolkadot
imagery by Floralpolkadot
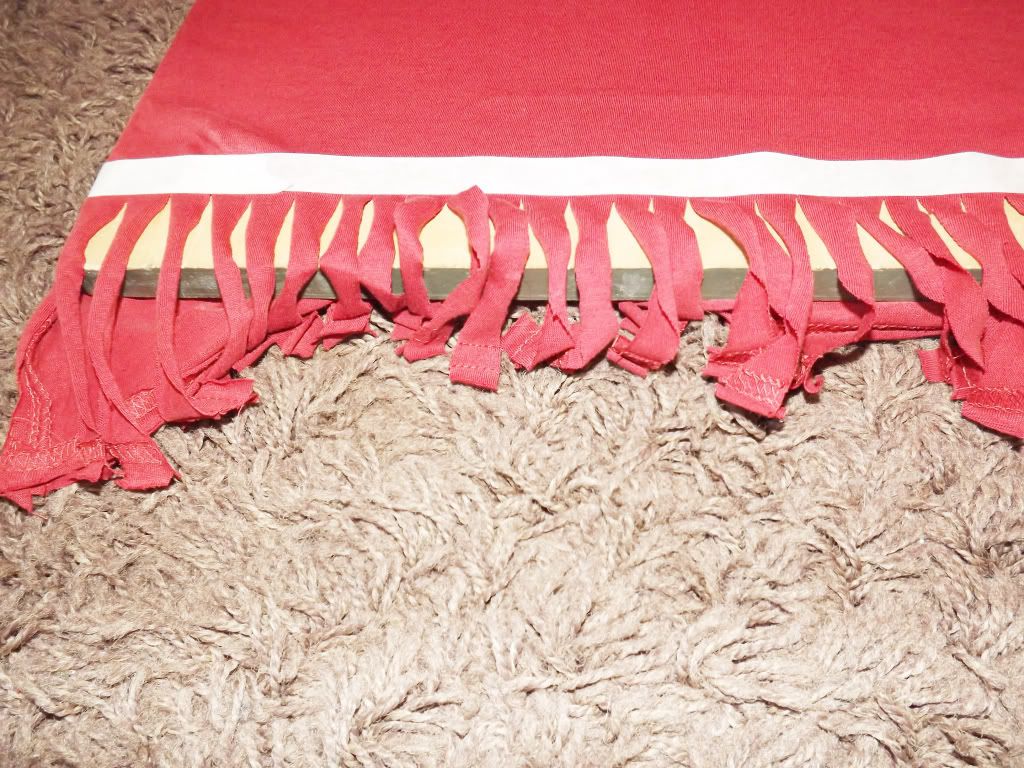
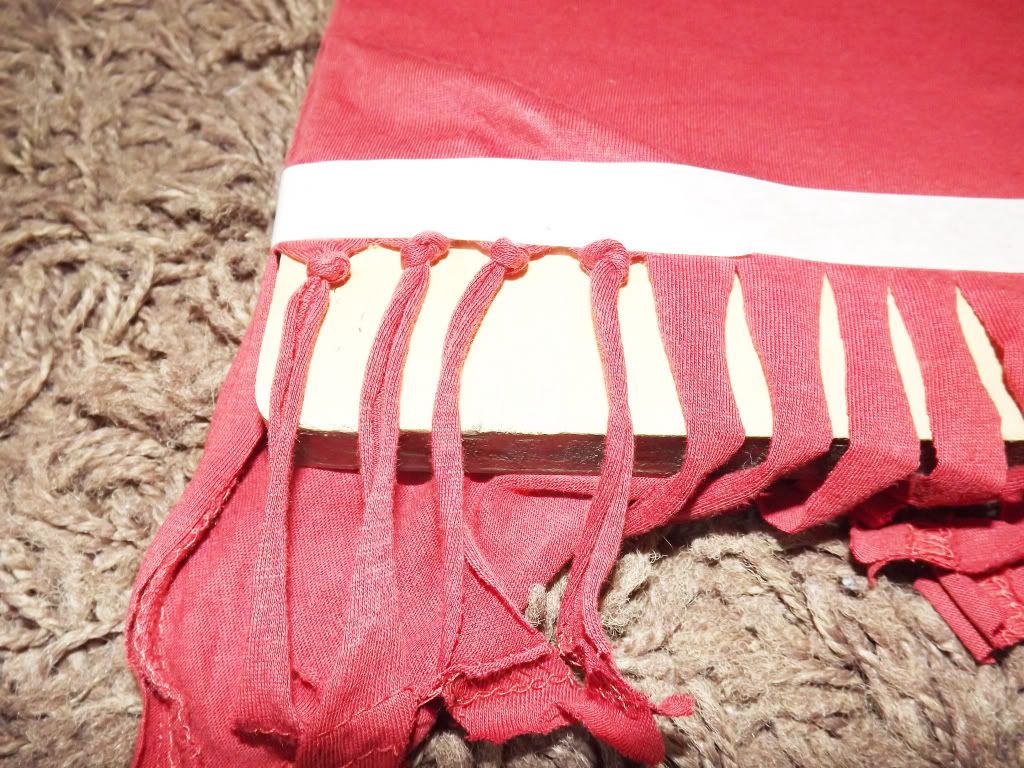
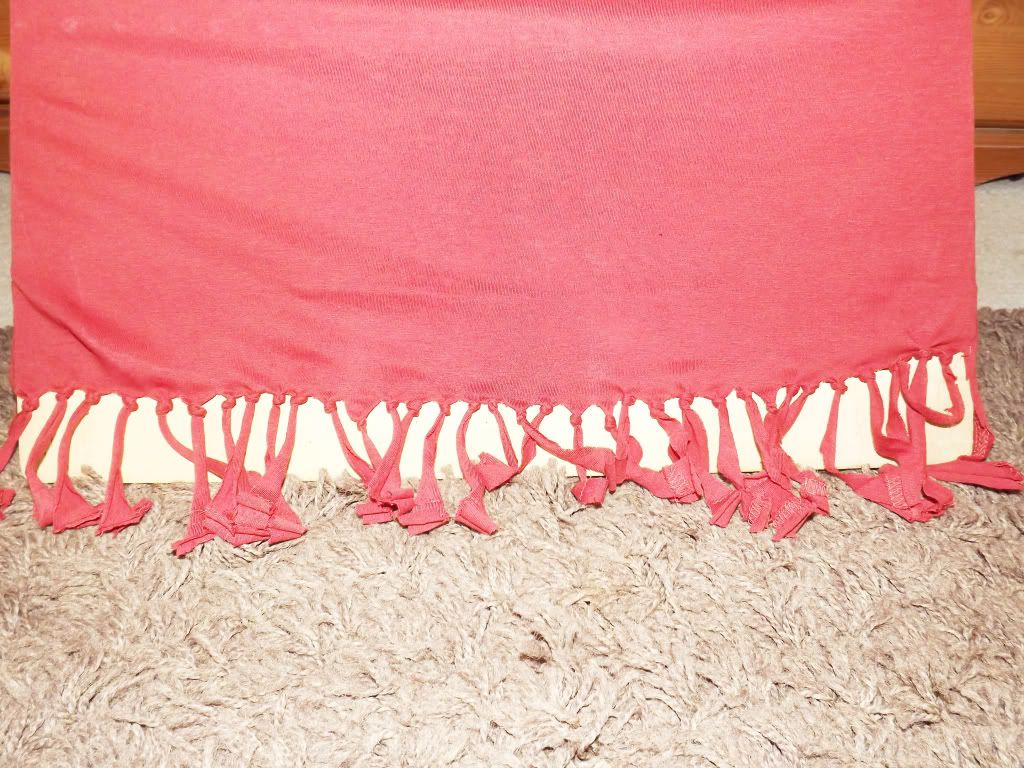
Once you have cut the fringing into the t-shirt. Tie a knot in each one. This is so the fringing doesn't rip any more.
imagery by Floralpolkadot
imagery by Floralpolkadot
imagery by Floralpolkadot
Voila and the t-shirt is done :)
imagery by Floralpolkadot
I would love to hear your comments :)
imagery by Floralpolkadot
All you need
- plain White t-shirt
- Navy fabric paint
- scissors
- Masking tape
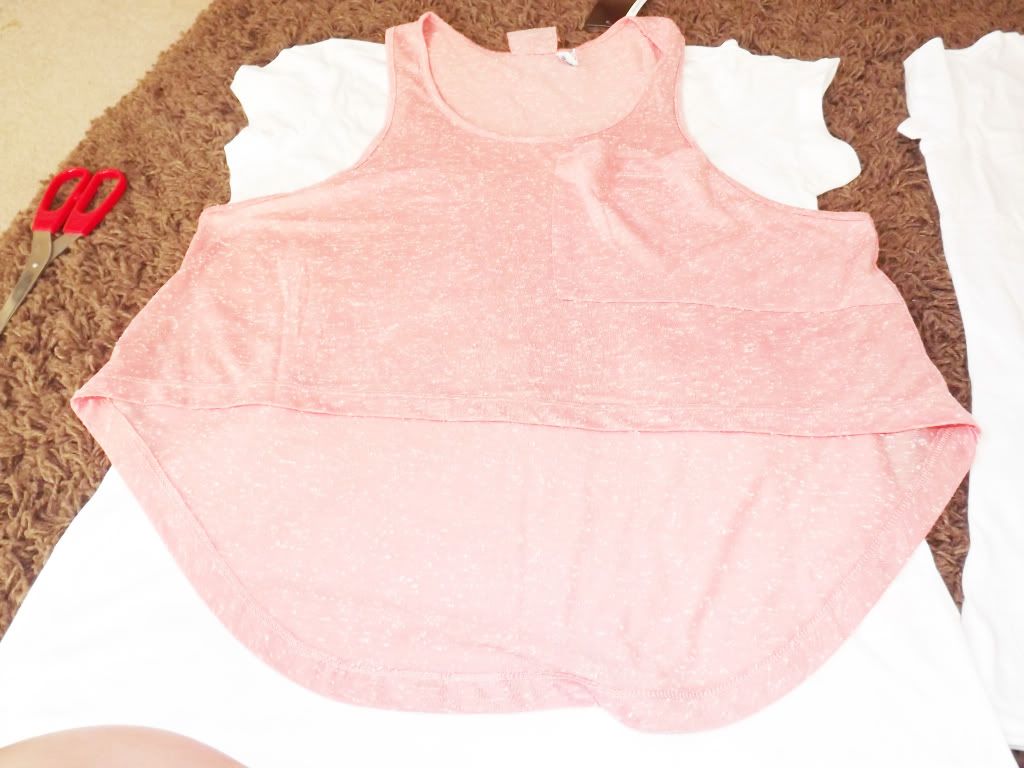
I bought a cheap t-shirt for about £2.00, I bought it a little baggier than my actual size.
imagery by Floralpolkadot
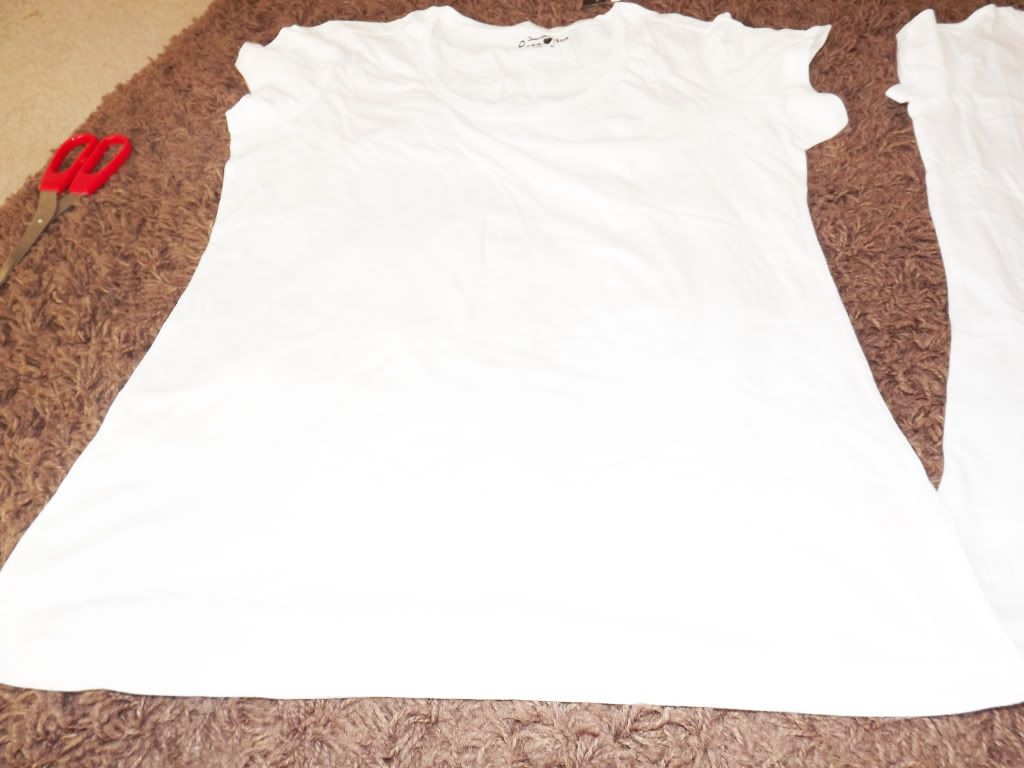
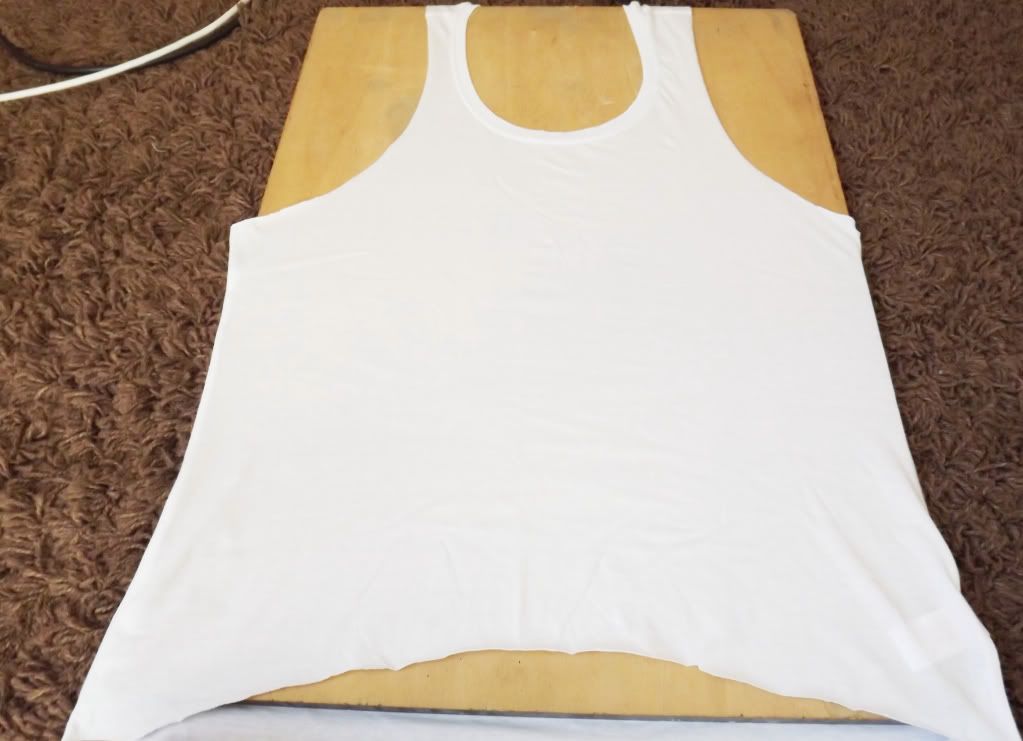
I than placed a tank top I liked the shape of an placed it ontop of the White t-shirt. If you don't have a tank top as a template you can draw a line on the t-shirt in pencil and customise your own shape.
Imagery by Floralpolkadot
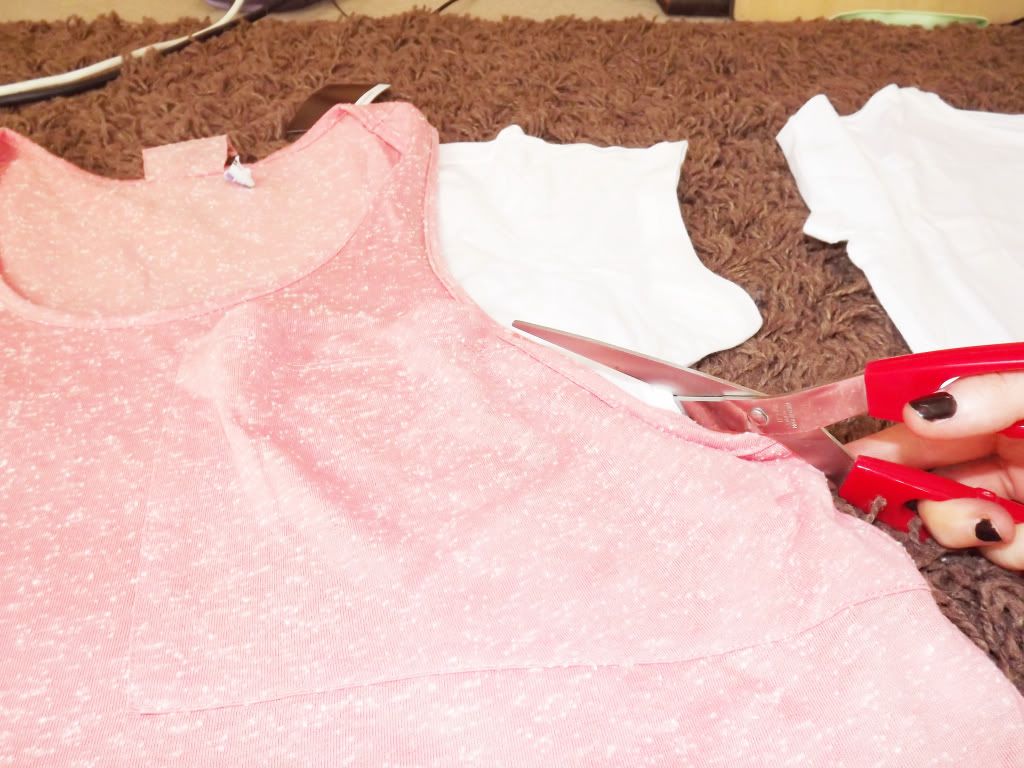
I cut along the side of the tank top to get the shape I wanted for my White t-shirt. Do this on both sidesband you will have your desired shape.
imagery by Floralpolkadot
Imagery by Floralpolkadot
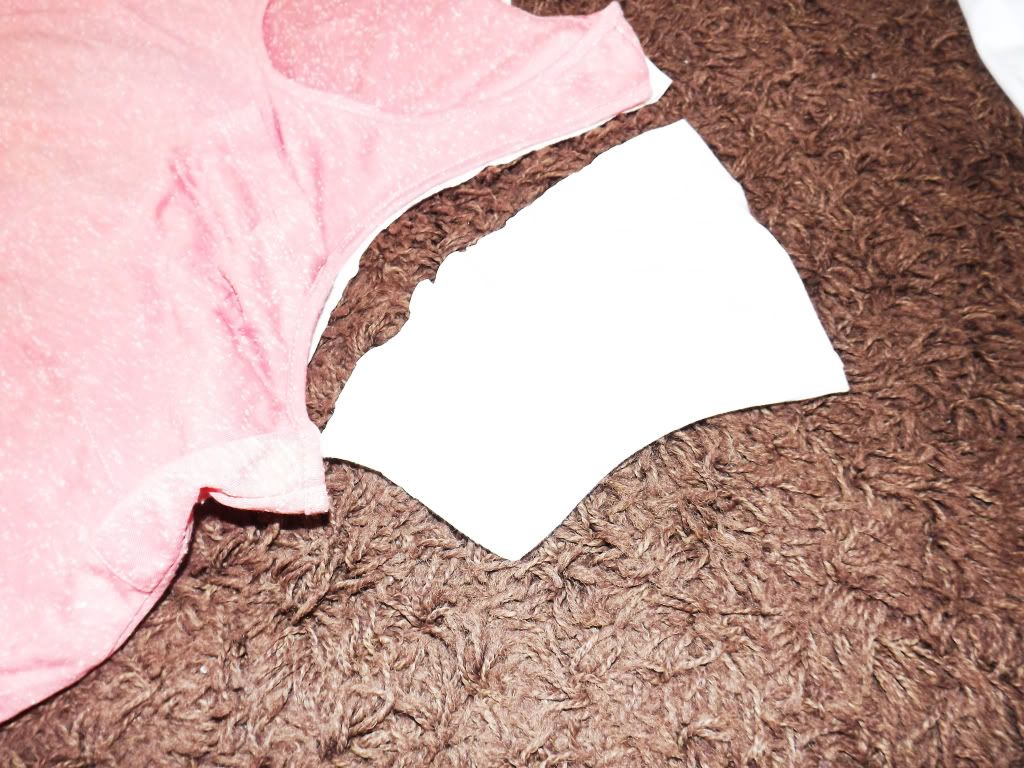
When you have cut the sleeves off, draw an oval shape at the bottom of the t-shirt only at the front. So the t-shirt has two layers.
imagery by Floralpolkadot
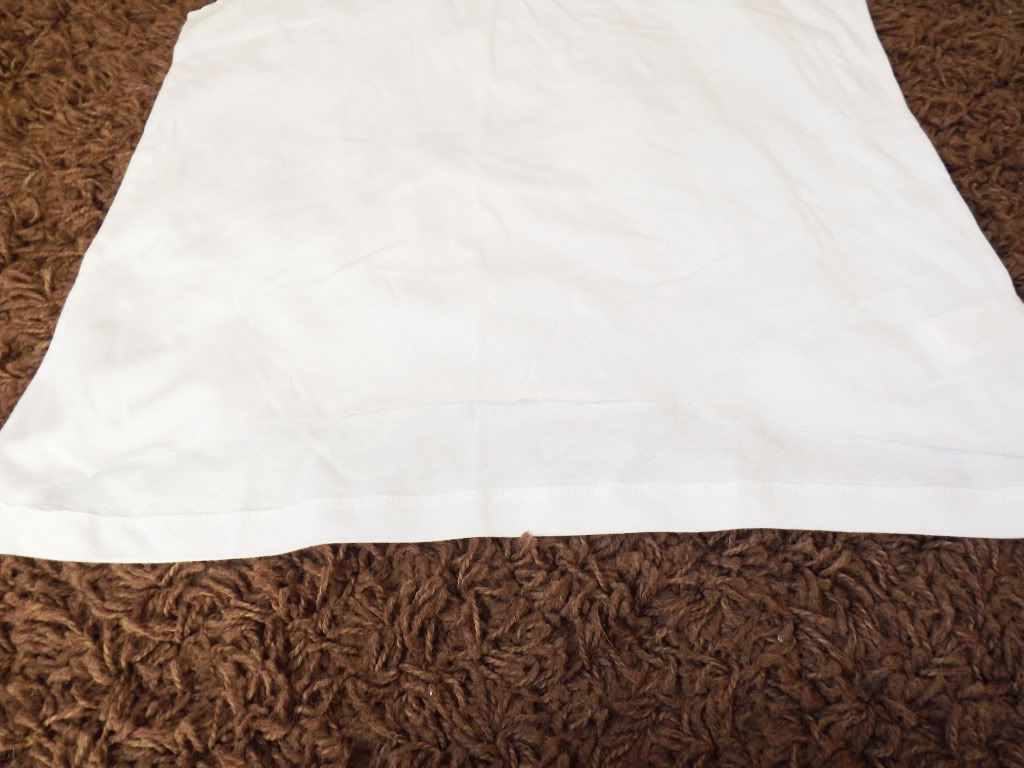
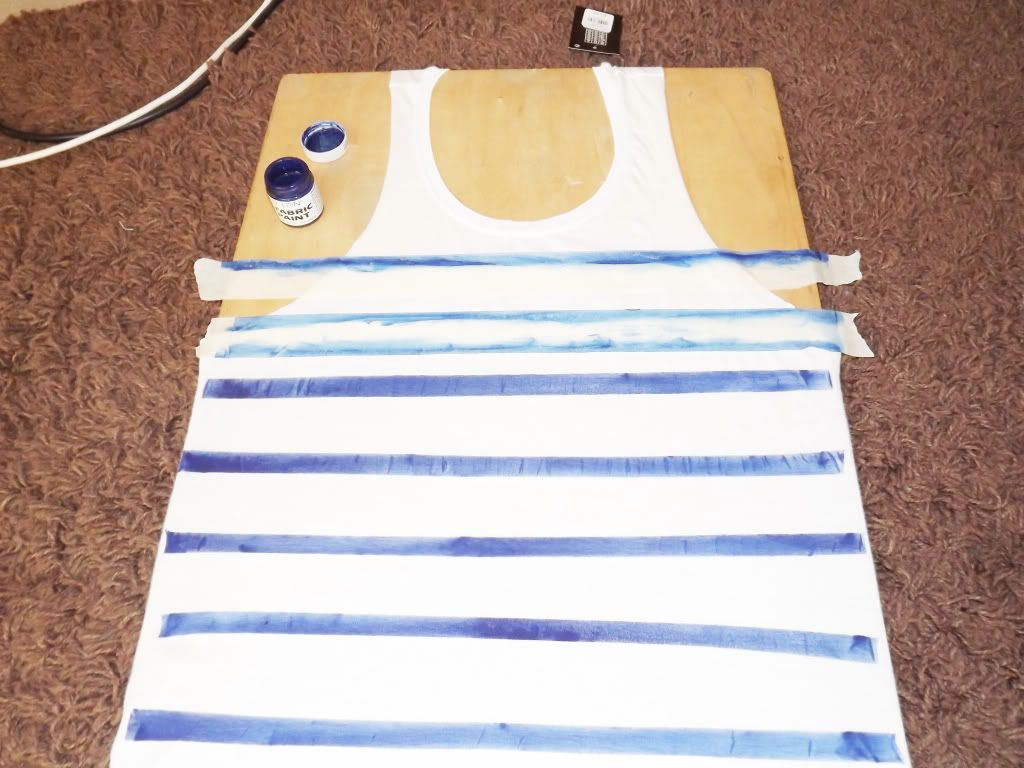
When you have cut the t-shirt to your desired shape. Place the t-shirt over a piece of wood. So you have a hard service to work on. Also this stops the paint from imprinting to the other side of the t-shirt.
imagery by Floralpolkadot
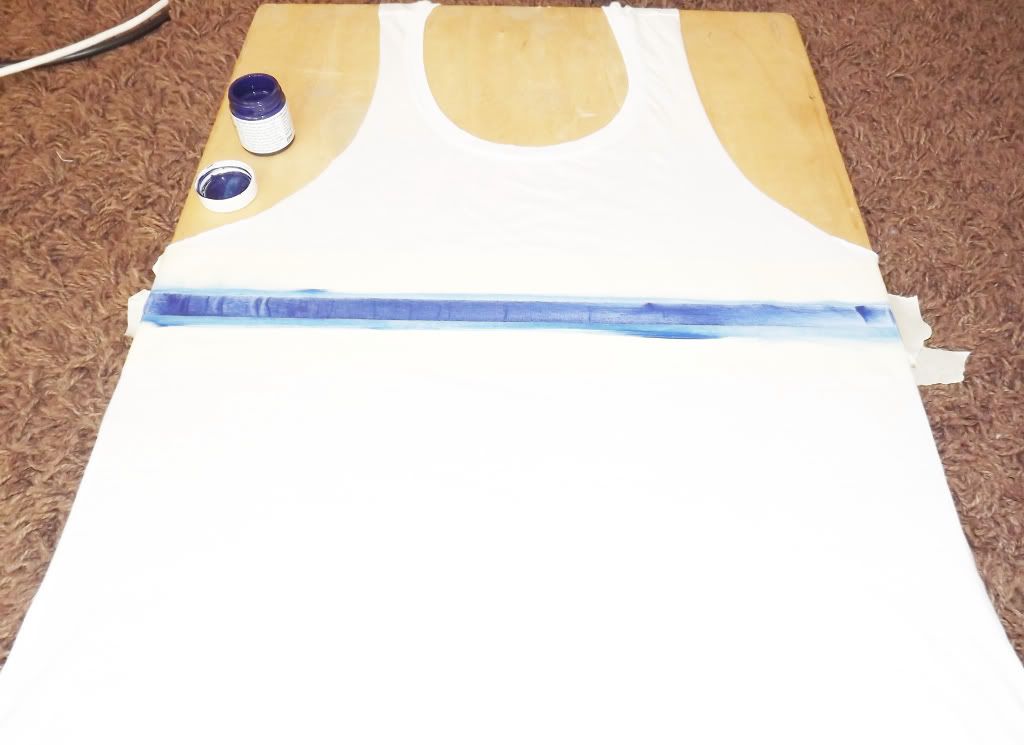
Place masking tape onto the t-shirt to make a stripe shape. Make sure the masking tape in securely on the t-shirt so you get a perfect stripe.
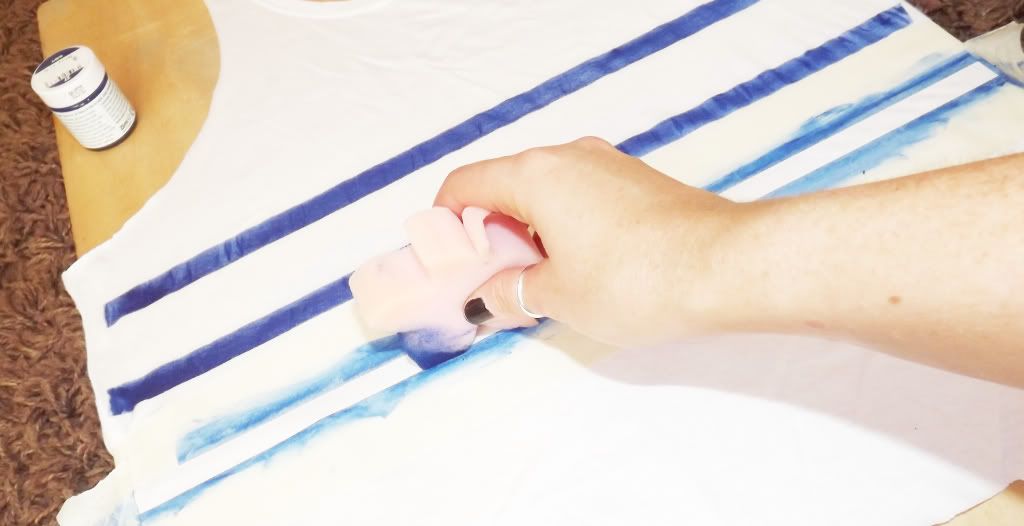
Use a sponge to apply the fabric paint a spread the paint across the t-shirt. And let it dry for a couple of minutes.
imagery by Floralpolkadot
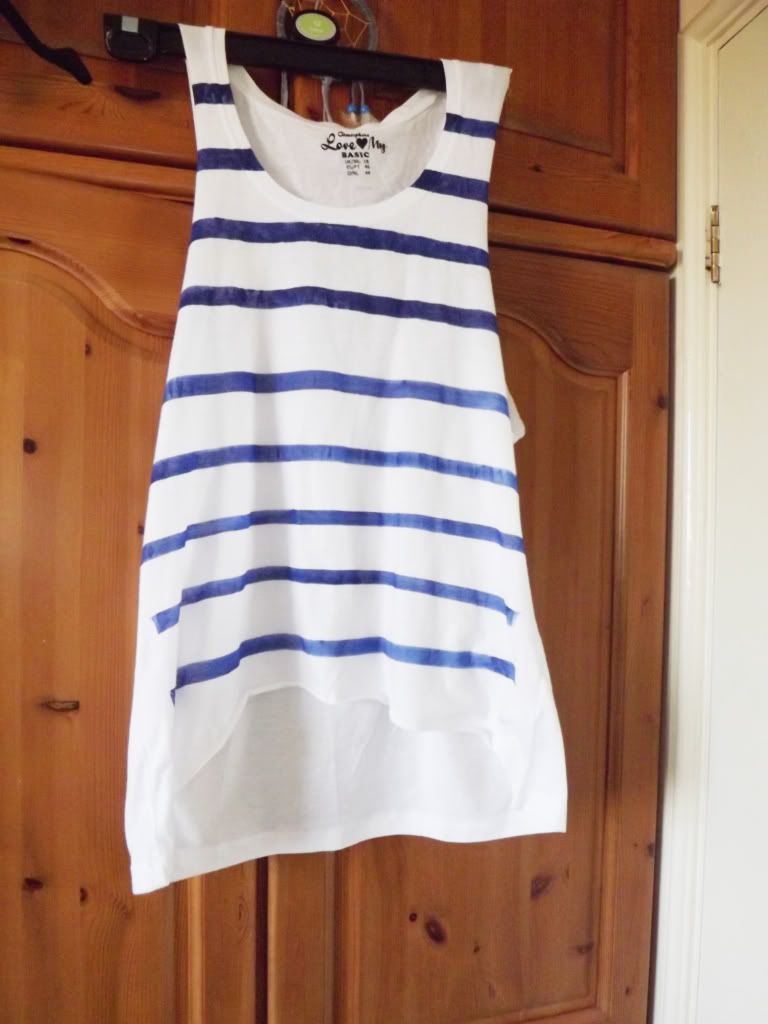
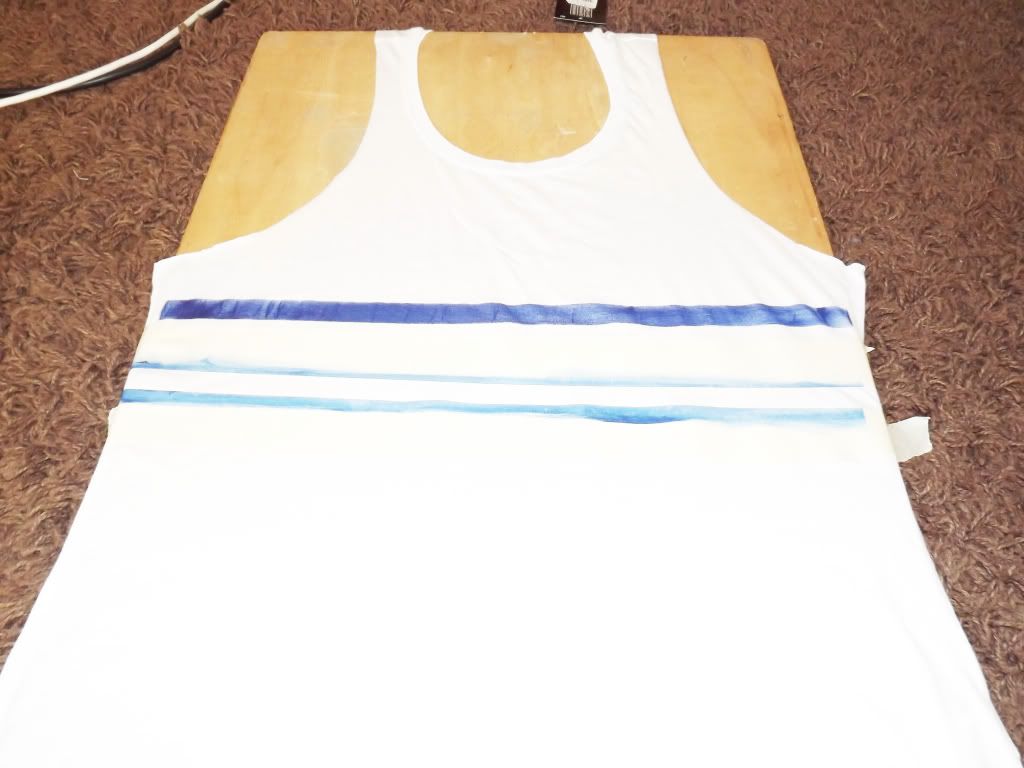
Repeat the step a couple of times to get a fully striped t-shirt.
Imagery by Floralpolkadot
imagery by Floralpolkadot
imagery by Floralpolkadot
Imagery by Floralpolkadot
Let the t-shirt dry fully for a couple of hours before wearing it.
And voila the t-shirt is finished.
Voila
Imagery by Floralpolkadot
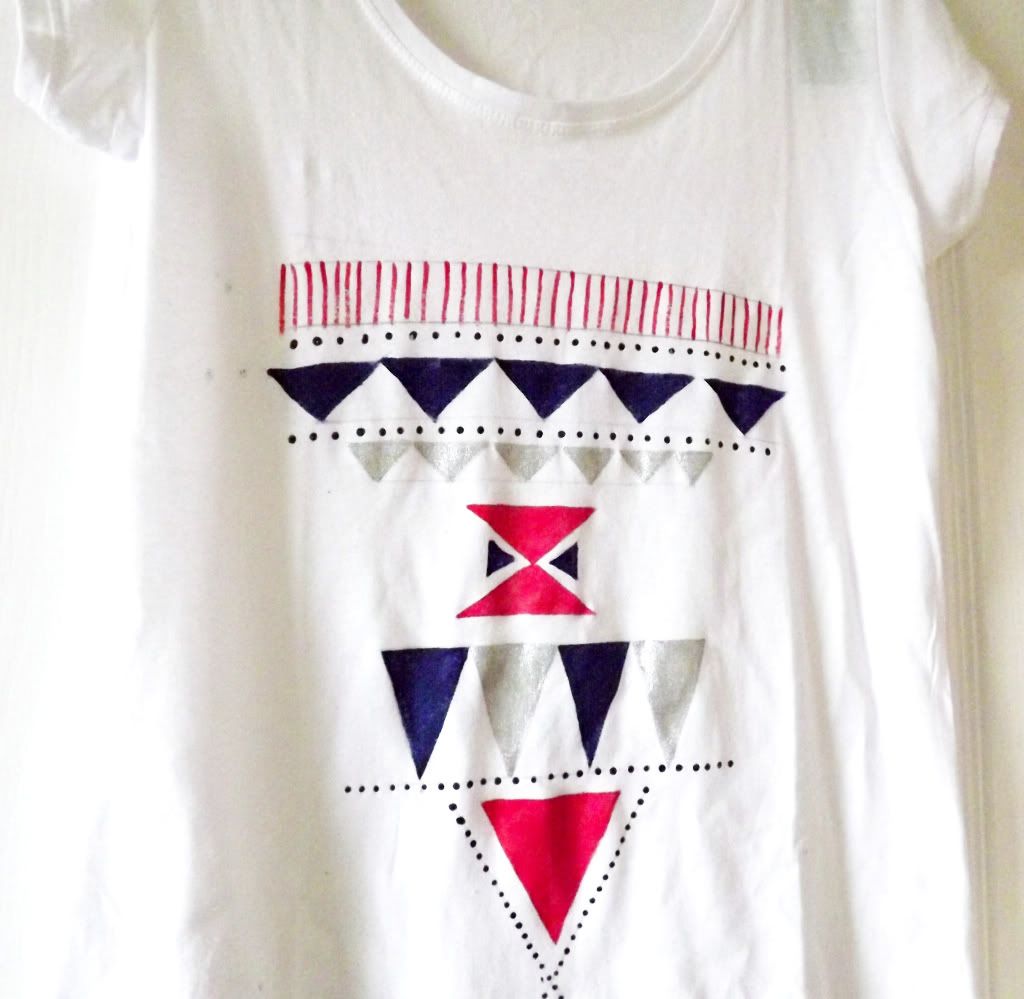
I love Aztec print and thought I would try and design my own aztec print t-shirt byt using fabric paints. This design was really easy to do you don't have to be an artist to design a top like this. It's just basic colouring in.
Imagery by Floralpolkadot
All you need to make this top
-1 White plain baggy top
-4 different colours of fabric paint
-2 paint brushes 1 thin and 1 thick brush
-cardboard
-a soft pencil
-ruler
I place the t-shirt over the cardboard, this is so the fabric paint doesn't print on the otherwise. And to have a flat base so it is easier to draw and paint onto the t-shirt.
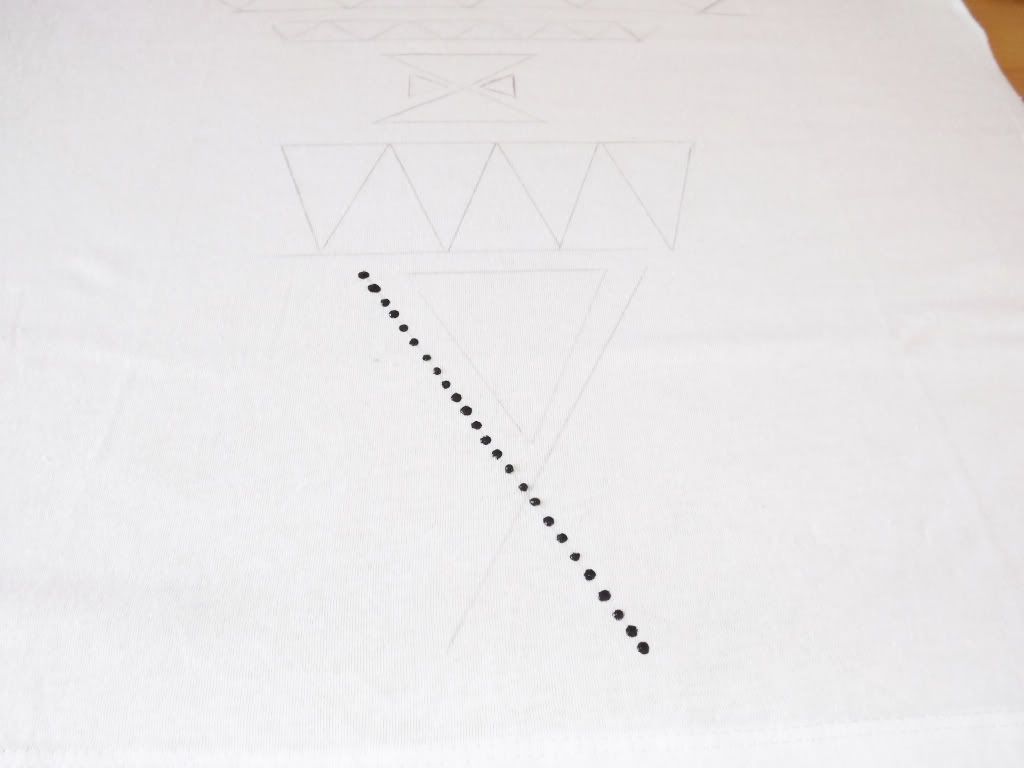
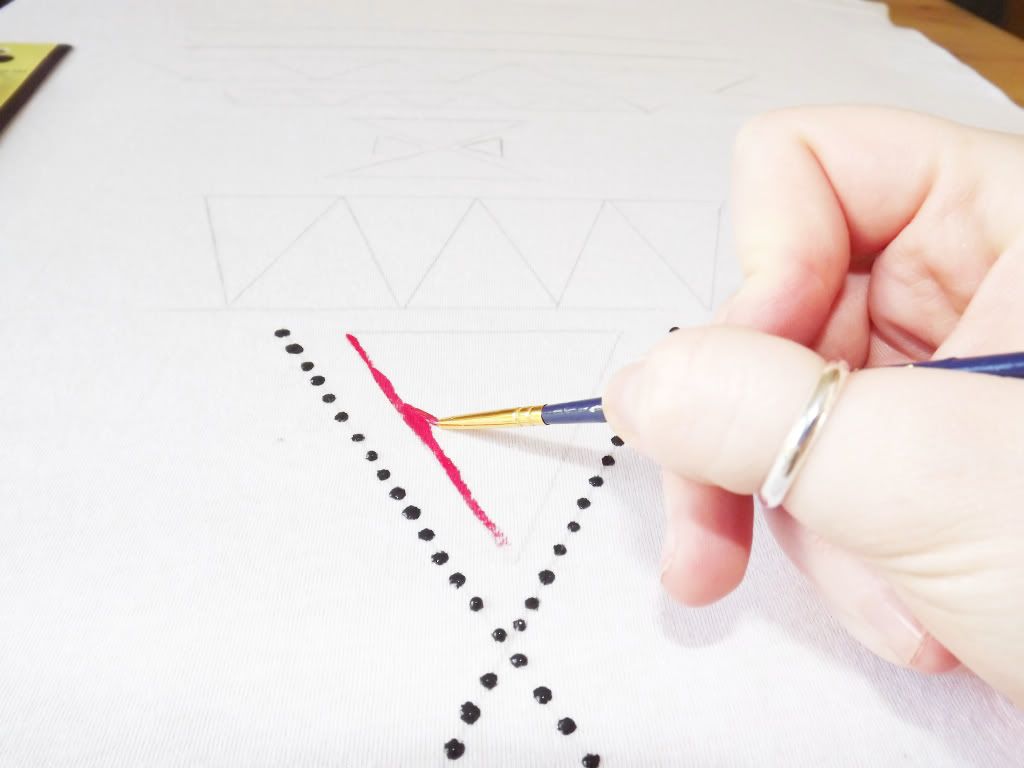
At first I tried loads of different designs on a piece of paper and when I was happy with my final design. I drew the design onto the t-shirt with a soft pencil as it's easier to draw on the fabric. And a ruler to get perfect lines.
imagery by Floralpolkadot
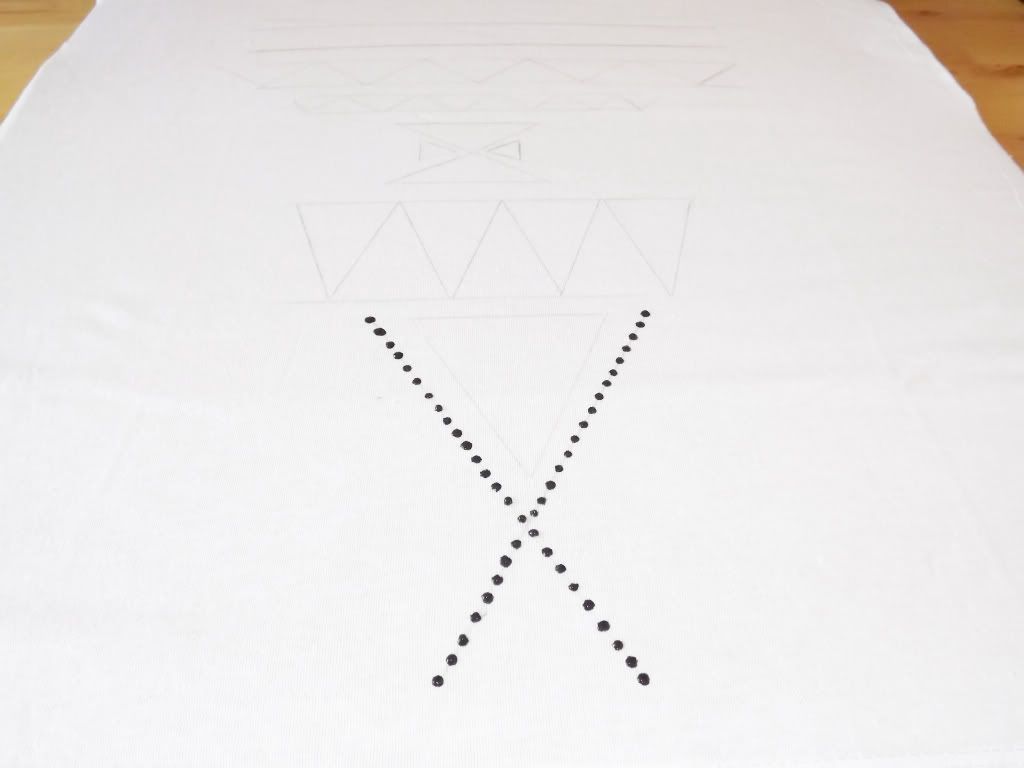
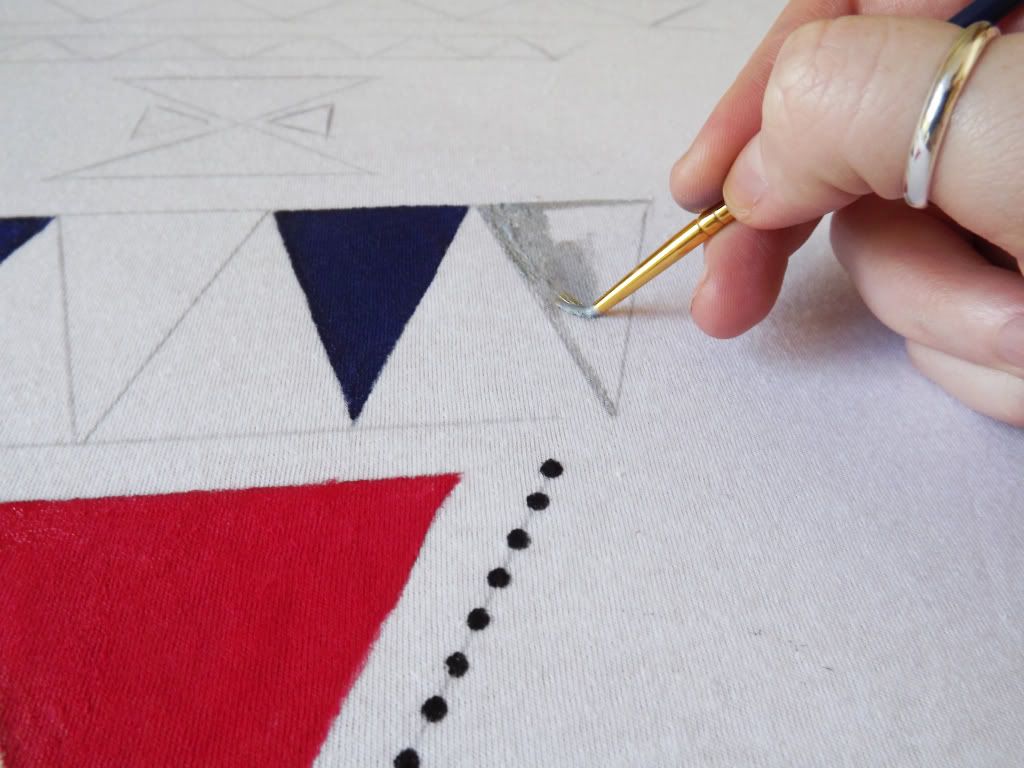
When painting the dots on the t-shirt I didn't draw dots with a pencil I just drew a line and free drew the dots. If you have a really steady hand it's so easy to do. I used a black colour for the dots.
imagery by Floralpolkadot
Imagery by Floralpolkadot
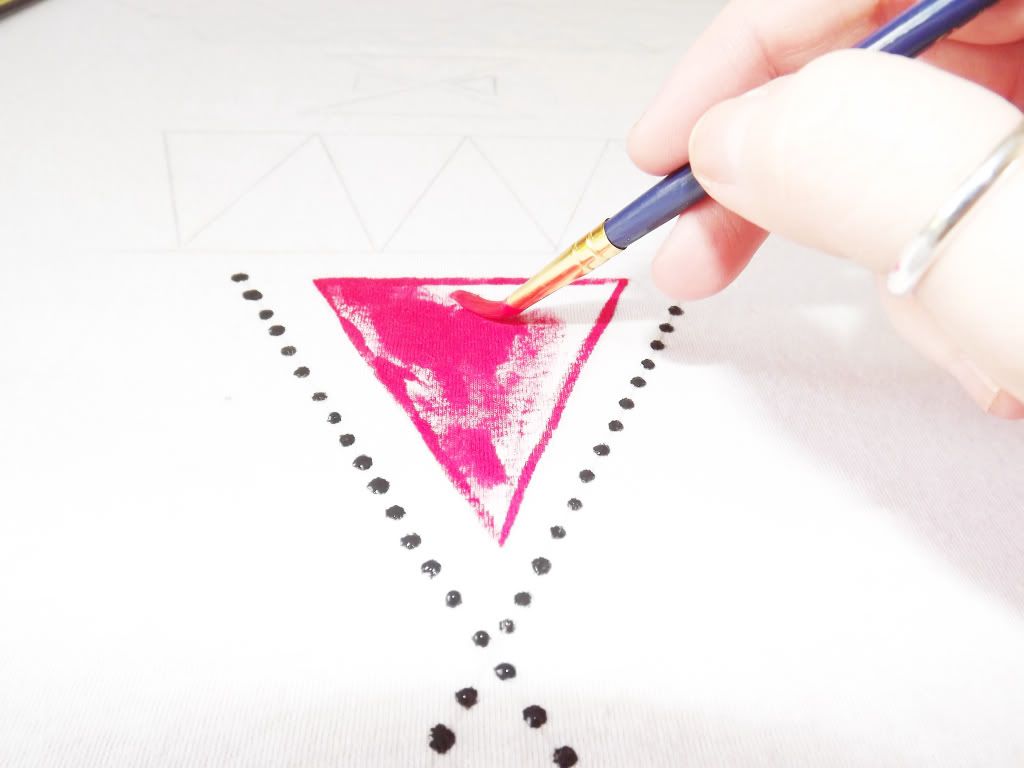
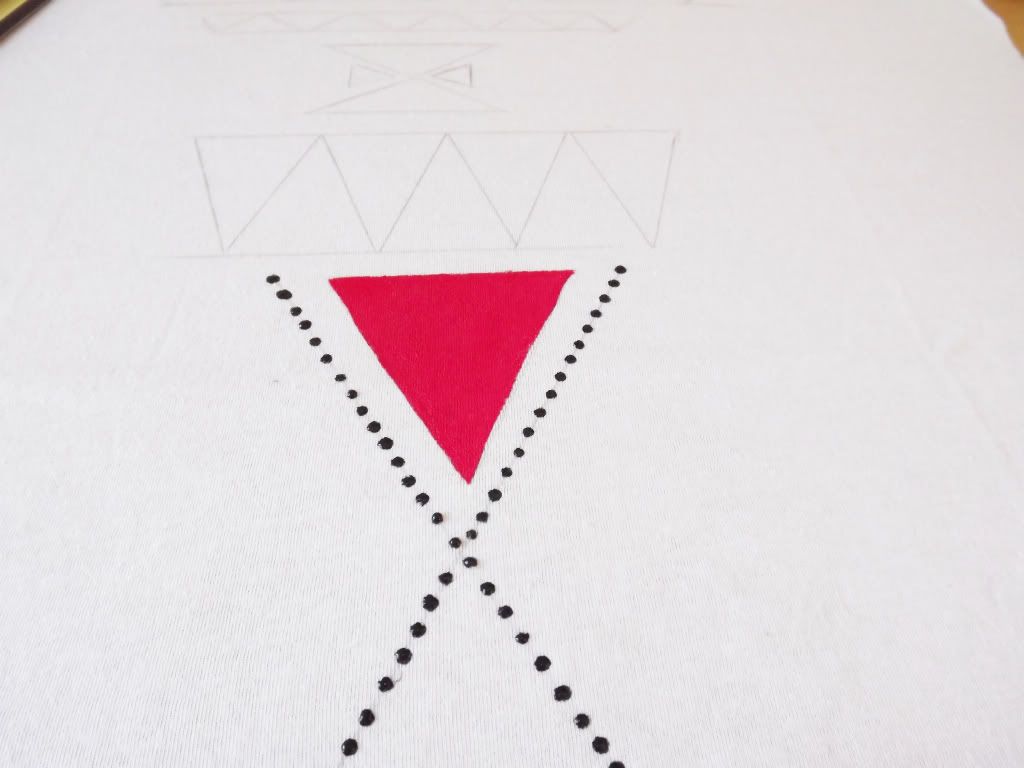
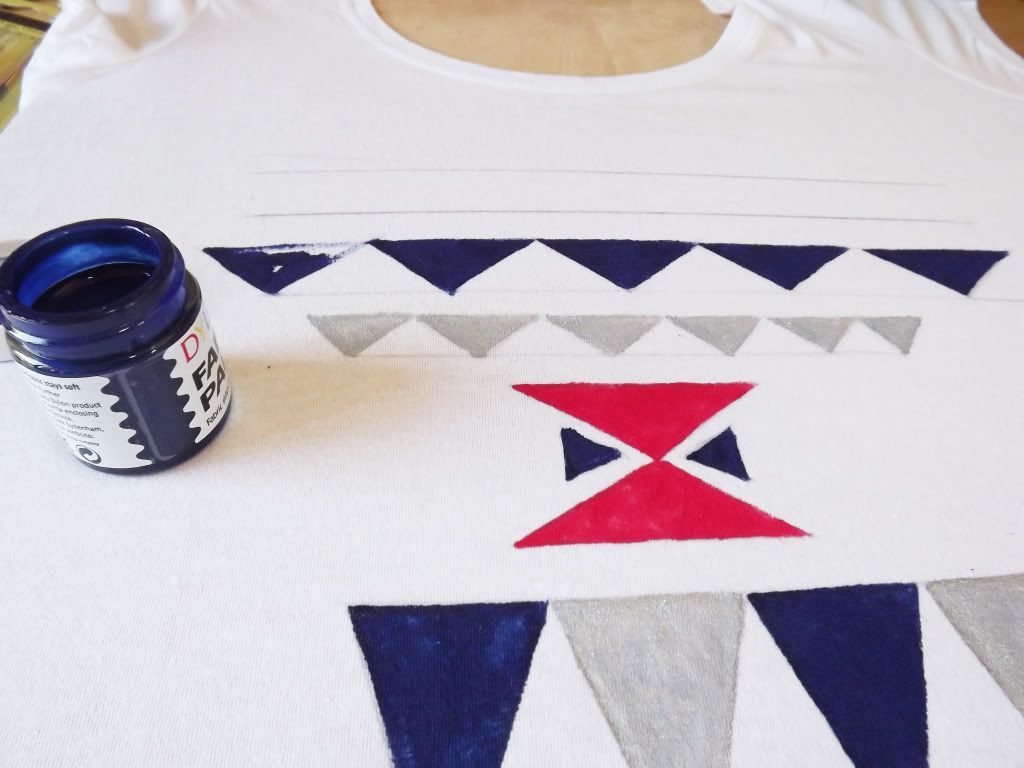
I started to paint the triangle shapes. I found it easier to draw the outline of the triangle with a paint and then colour the middle in. I used a red on the first triangle but you can use any colour you want.
imagery by Floralpolkadot
imagery by Floralpolkadot
Imagery by Floralpolkadot
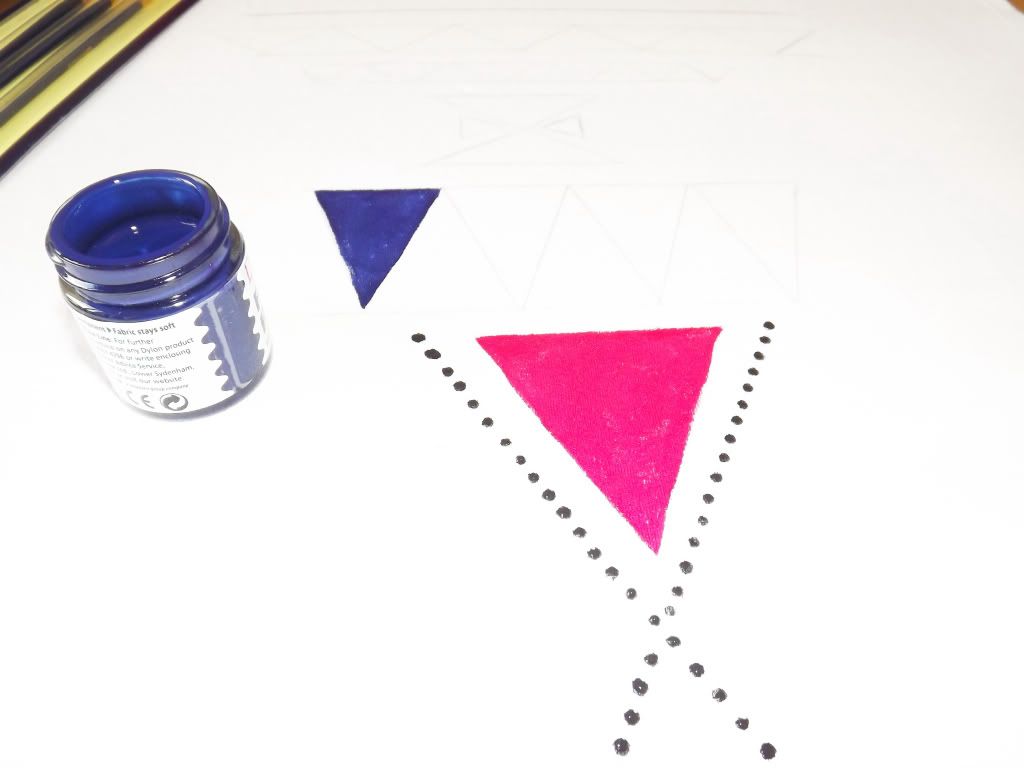
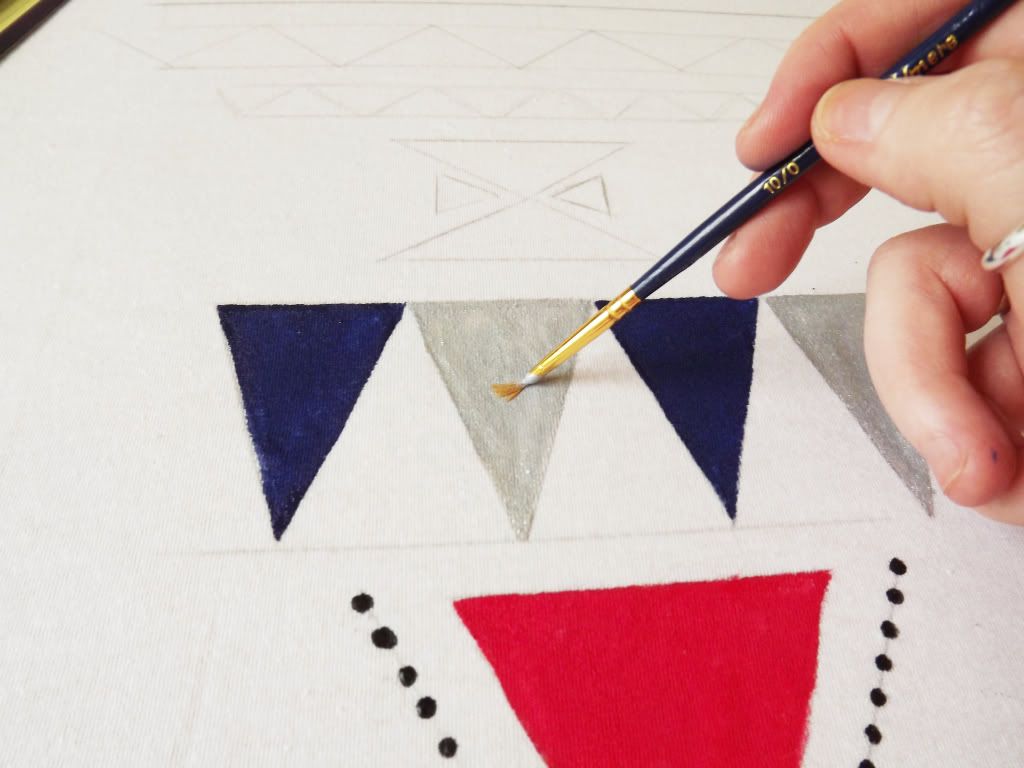
I then used a navy blue to colour in the line of triangles.and I used a silver paint to colour in the other triangle. I wasn't to sure about the metallic paint but it works really well with the navy. But shin it's up to you which colours you want to use.
Imagery byt Floralpolkadot
imagery by Floralpolkadot
imagery by Floralpolkadot
Imagery by Floralpolkadot
imagery by Floralpolkadot
imagery by Floralpolkadot
imagery by Floralpolkadot
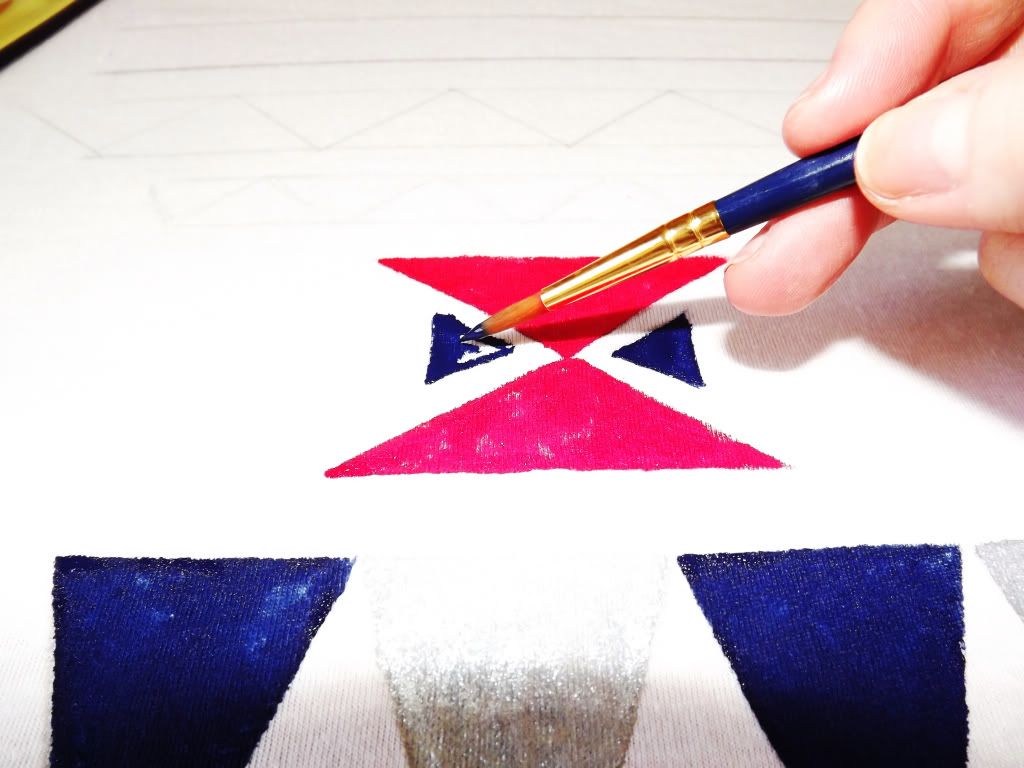
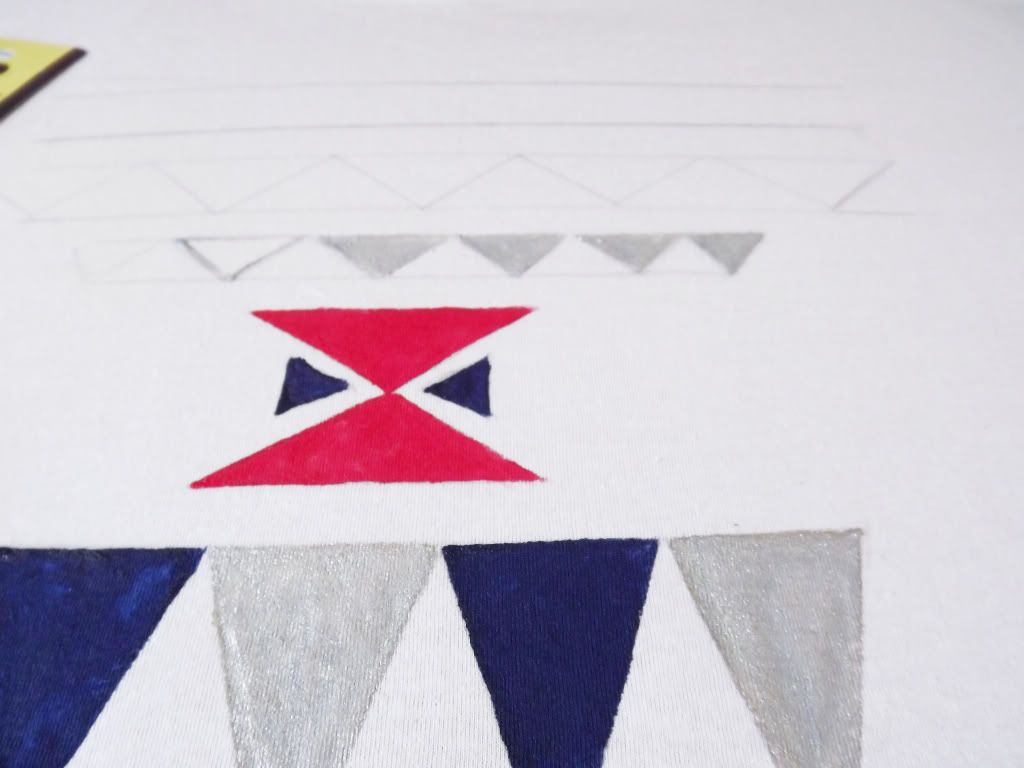
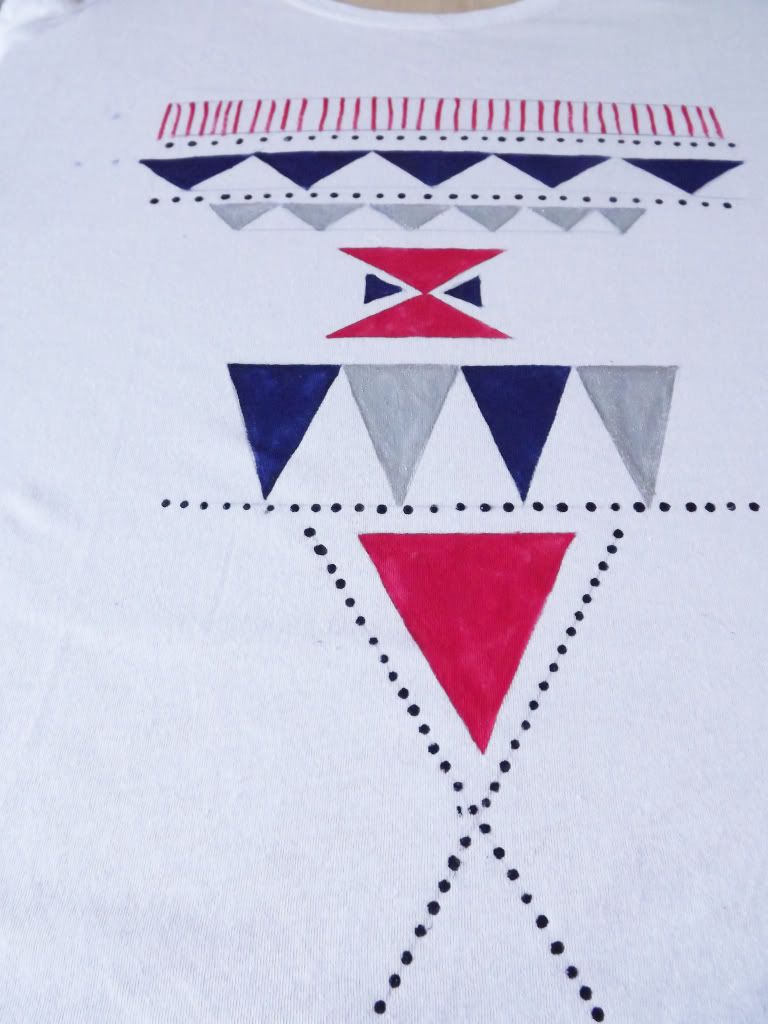
To finish off the t-shirt I free hand drew mini lines in a row. The lines do nit have to be perfect. This makes the t-shirt a little better. I used a red paint to finish it off but it's up to you which colour you want to use. I then added more dots the t-shirt.
imagery by Floralpolkadot
imagery by Floralpolkadot
voila at the t-shirt is done
Leave it to dry for about an hour or so and your ready to go.