imagery by Floralpolkadot
All you need
- plain White t-shirt
- Navy fabric paint
- scissors
- Masking tape
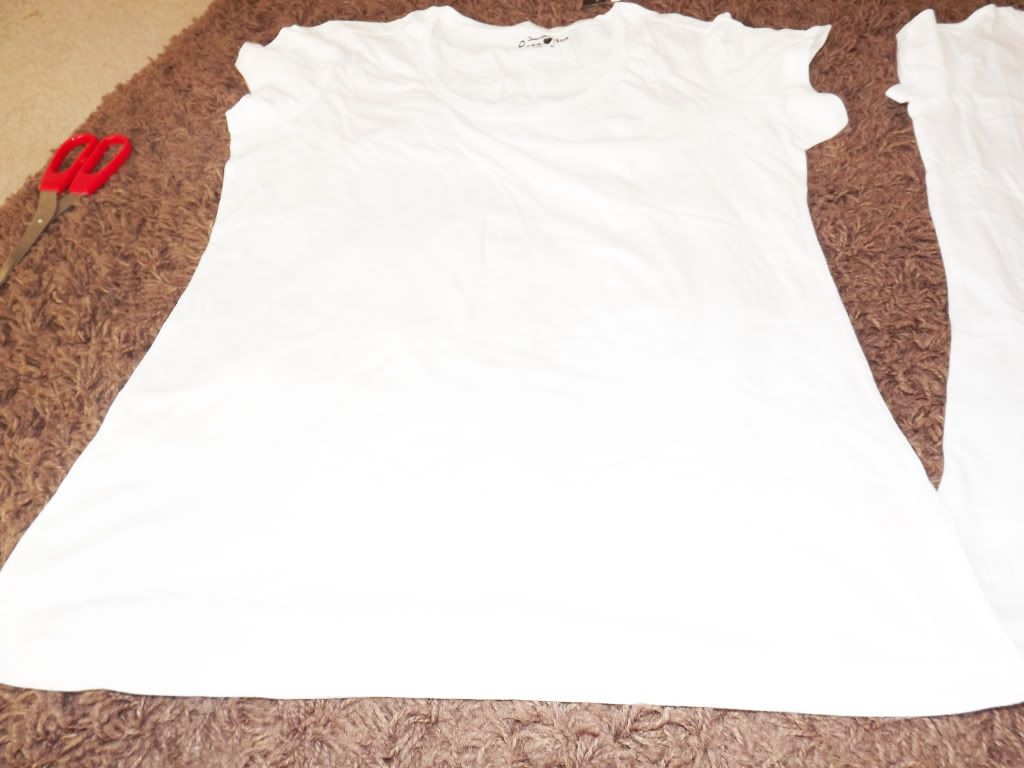
I bought a cheap t-shirt for about £2.00, I bought it a little baggier than my actual size.
imagery by Floralpolkadot
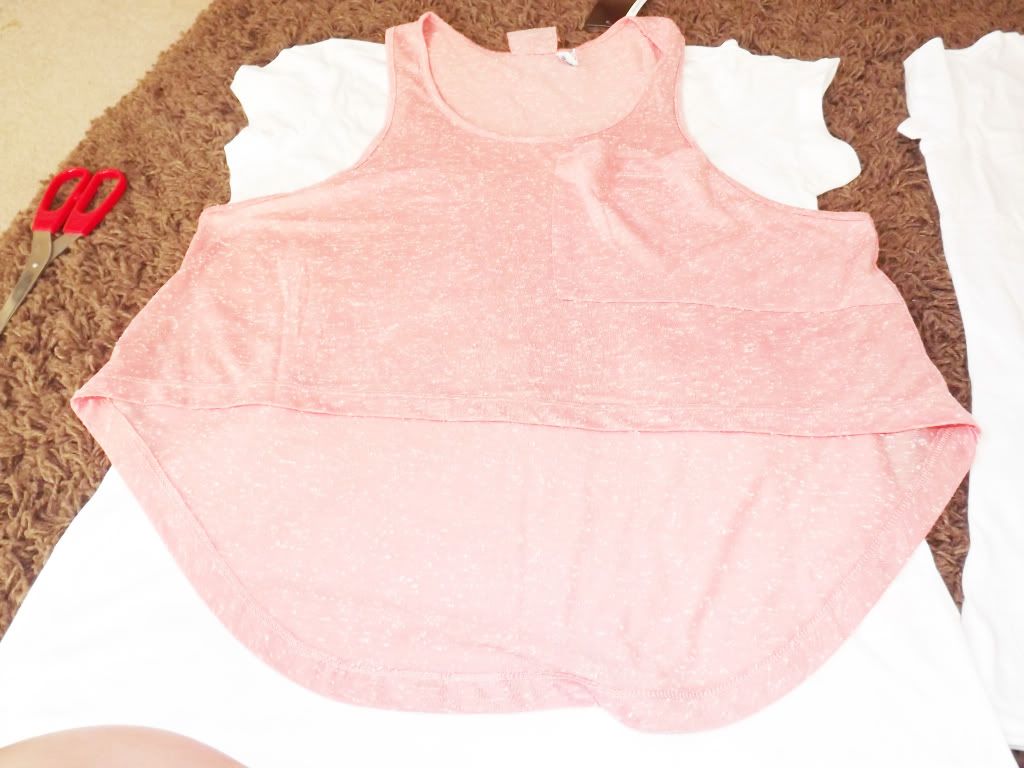
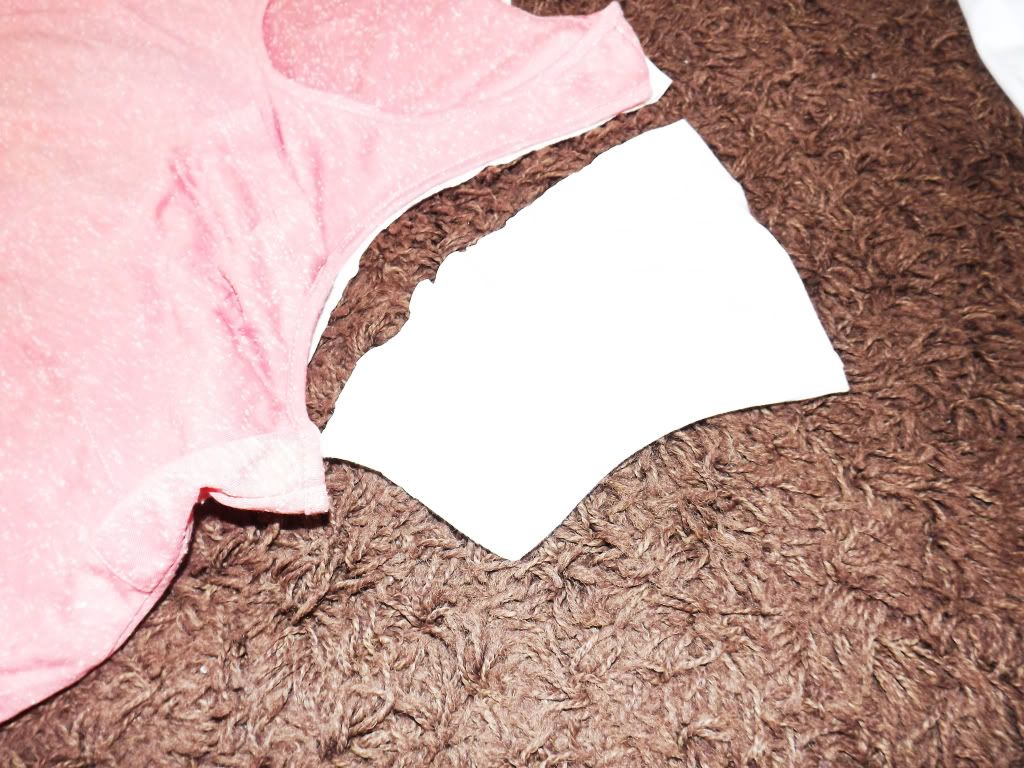
I than placed a tank top I liked the shape of an placed it ontop of the White t-shirt. If you don't have a tank top as a template you can draw a line on the t-shirt in pencil and customise your own shape.
Imagery by Floralpolkadot
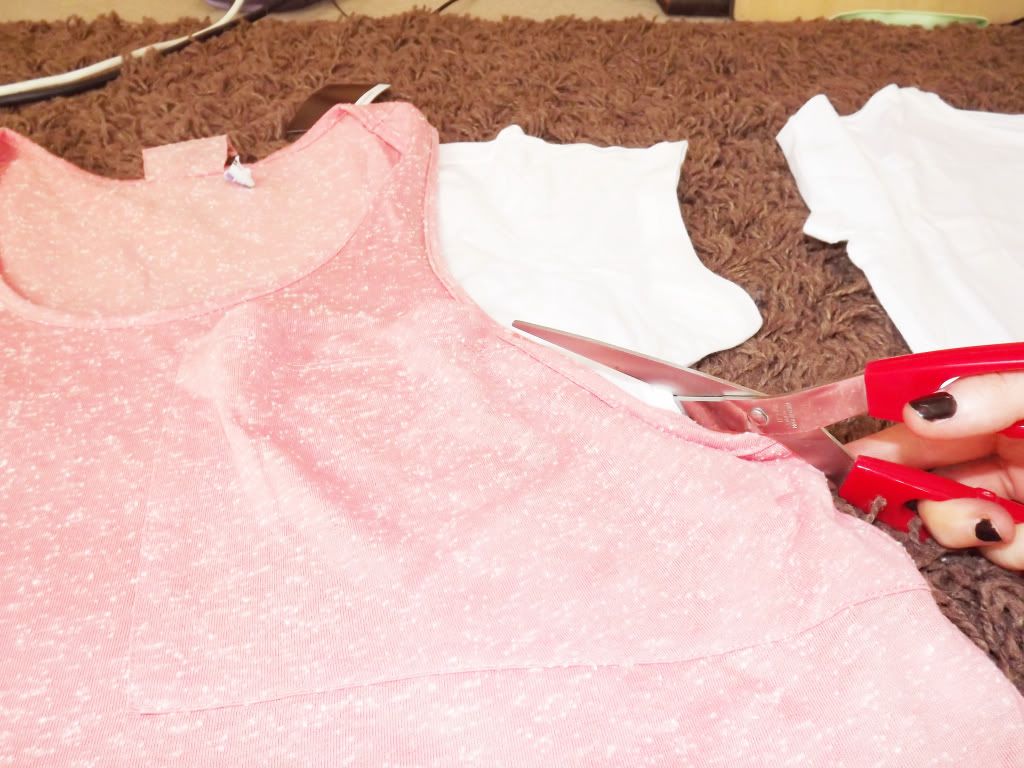
I cut along the side of the tank top to get the shape I wanted for my White t-shirt. Do this on both sidesband you will have your desired shape.
imagery by Floralpolkadot
Imagery by Floralpolkadot
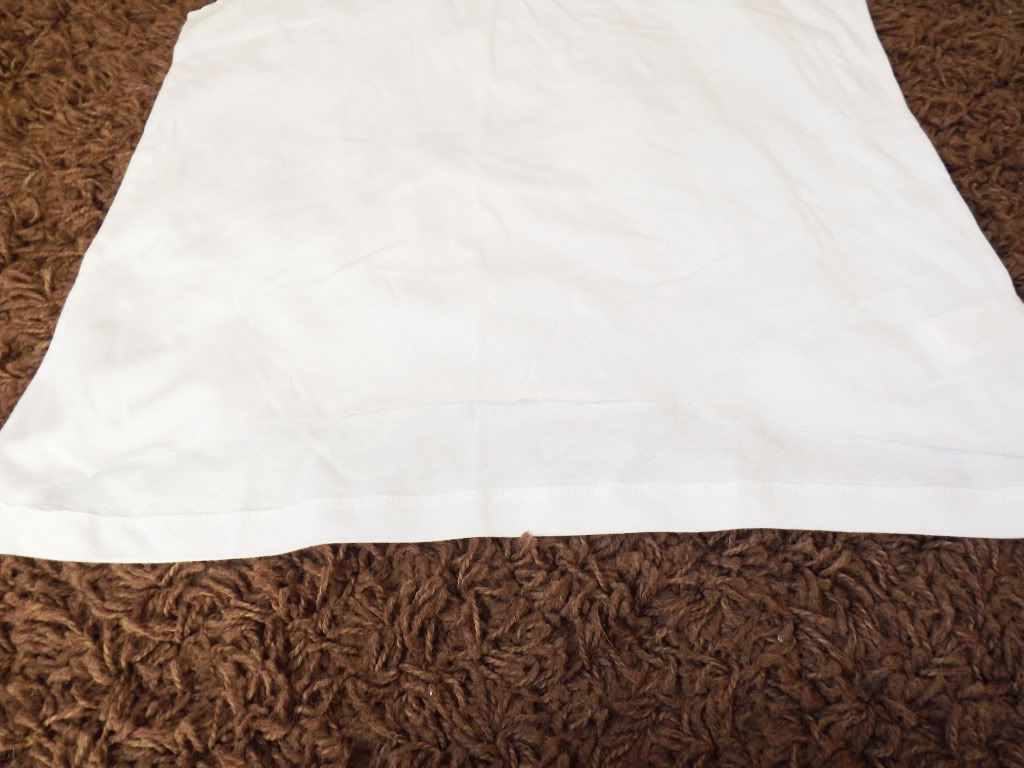
When you have cut the sleeves off, draw an oval shape at the bottom of the t-shirt only at the front. So the t-shirt has two layers.
imagery by Floralpolkadot
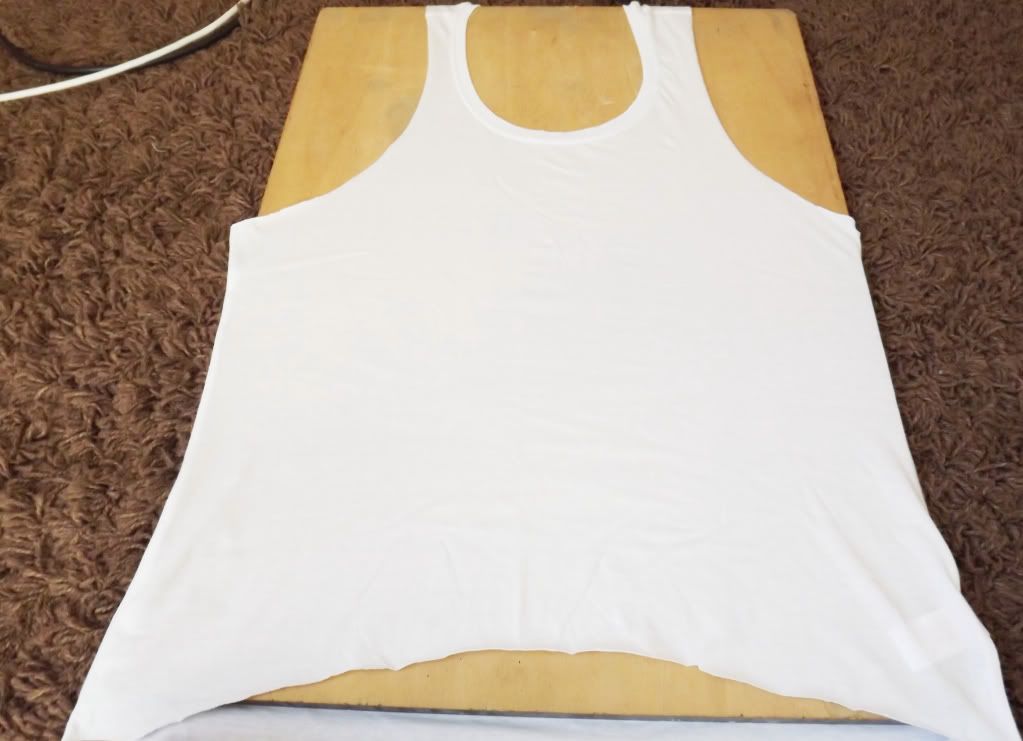
When you have cut the t-shirt to your desired shape. Place the t-shirt over a piece of wood. So you have a hard service to work on. Also this stops the paint from imprinting to the other side of the t-shirt.
imagery by Floralpolkadot
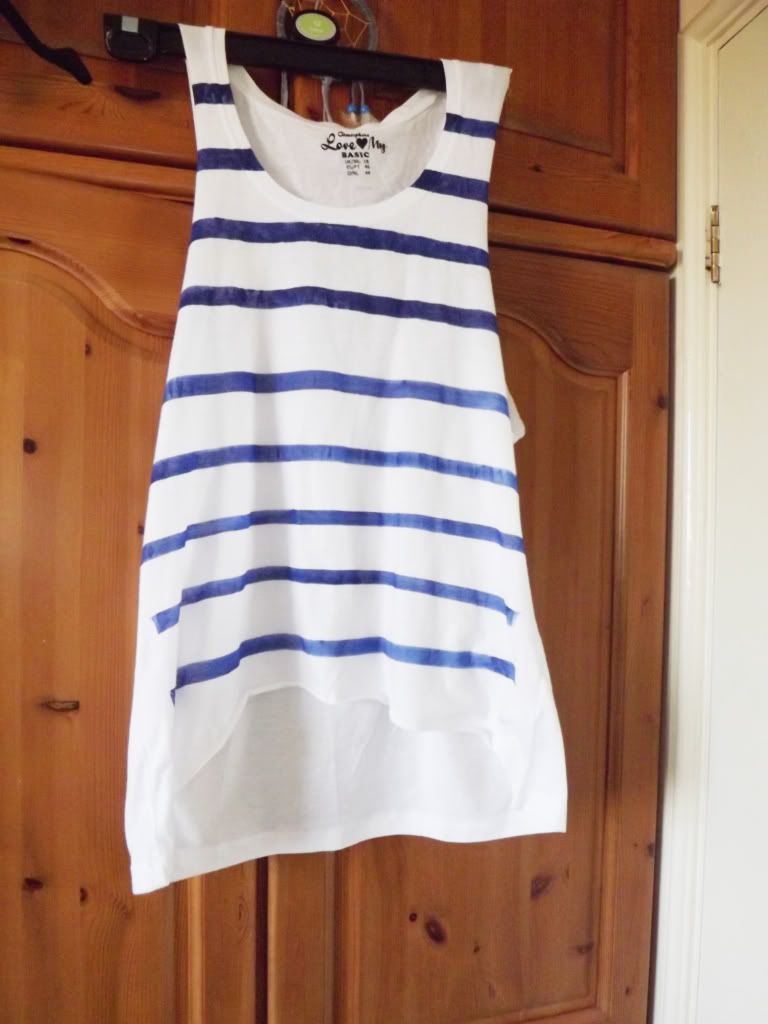
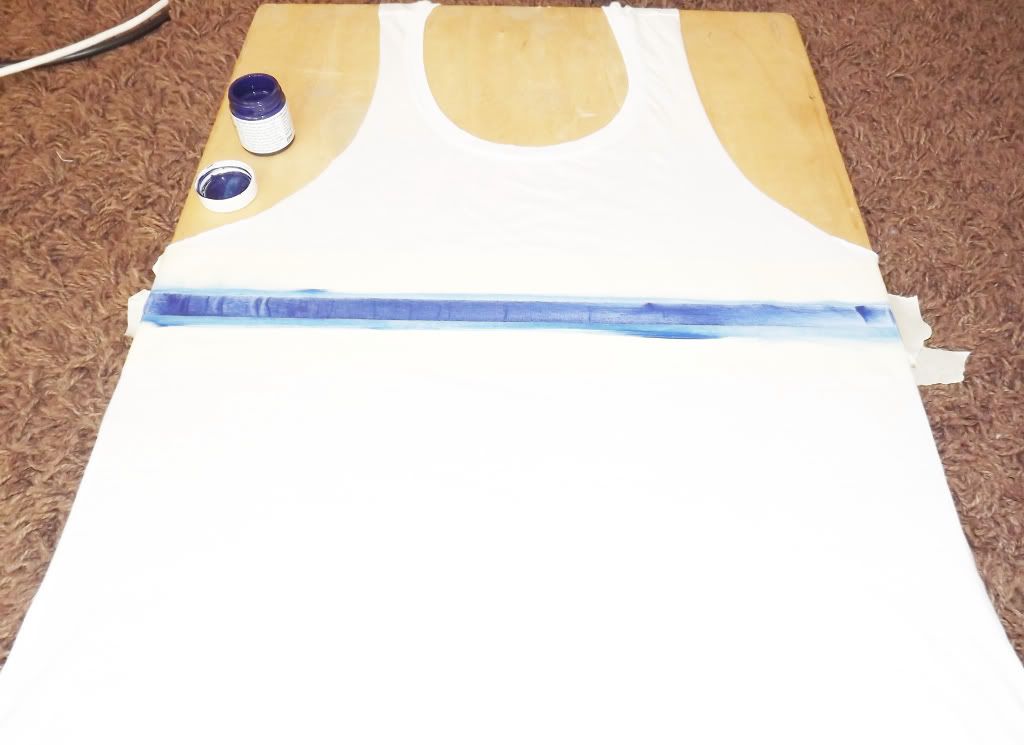
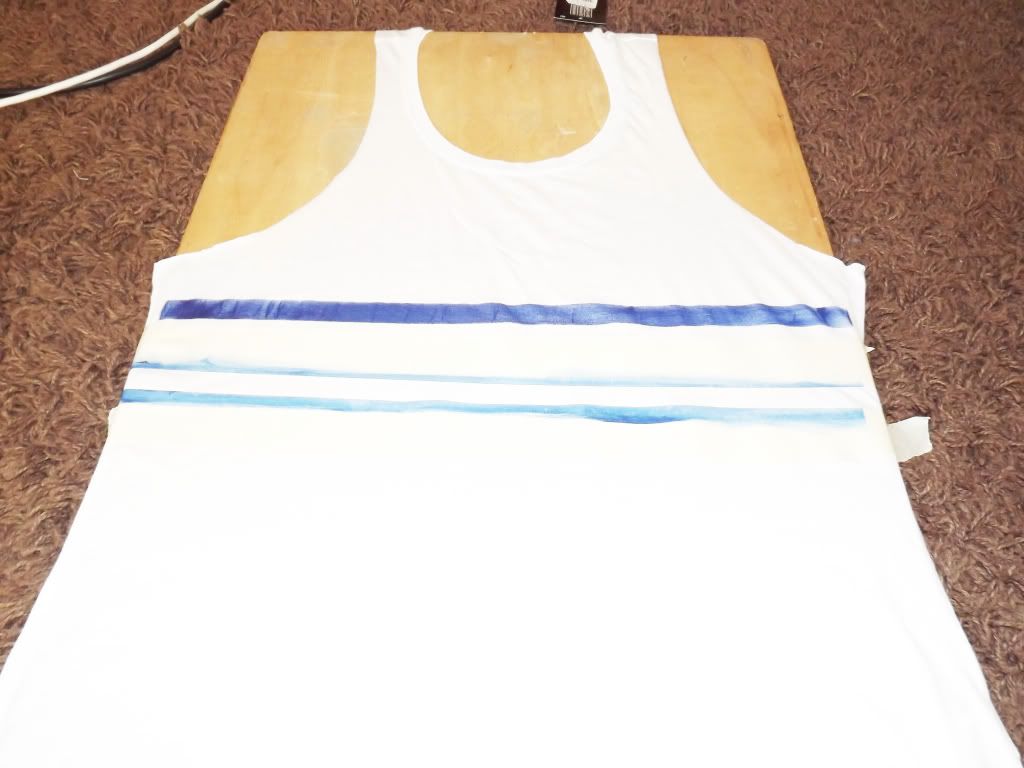
Place masking tape onto the t-shirt to make a stripe shape. Make sure the masking tape in securely on the t-shirt so you get a perfect stripe.
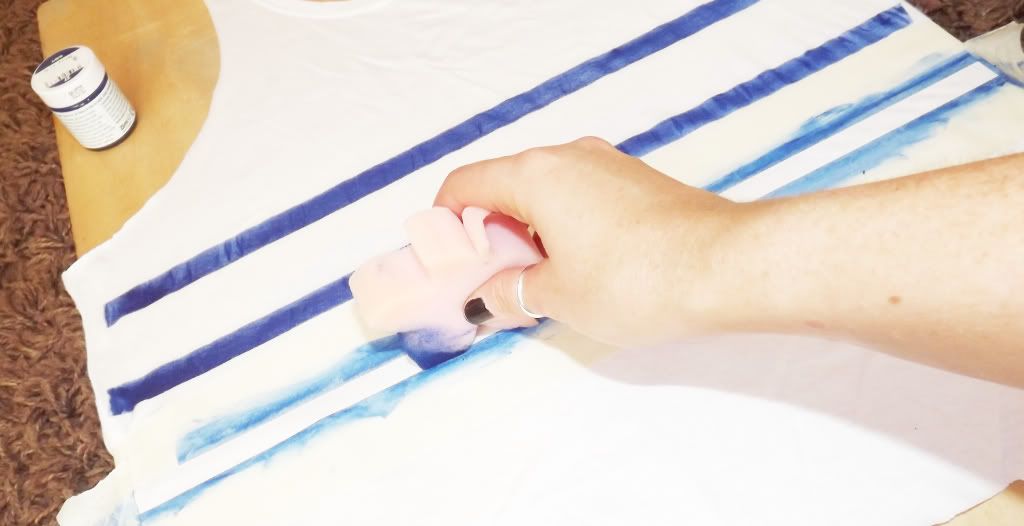
Use a sponge to apply the fabric paint a spread the paint across the t-shirt. And let it dry for a couple of minutes.
imagery by Floralpolkadot
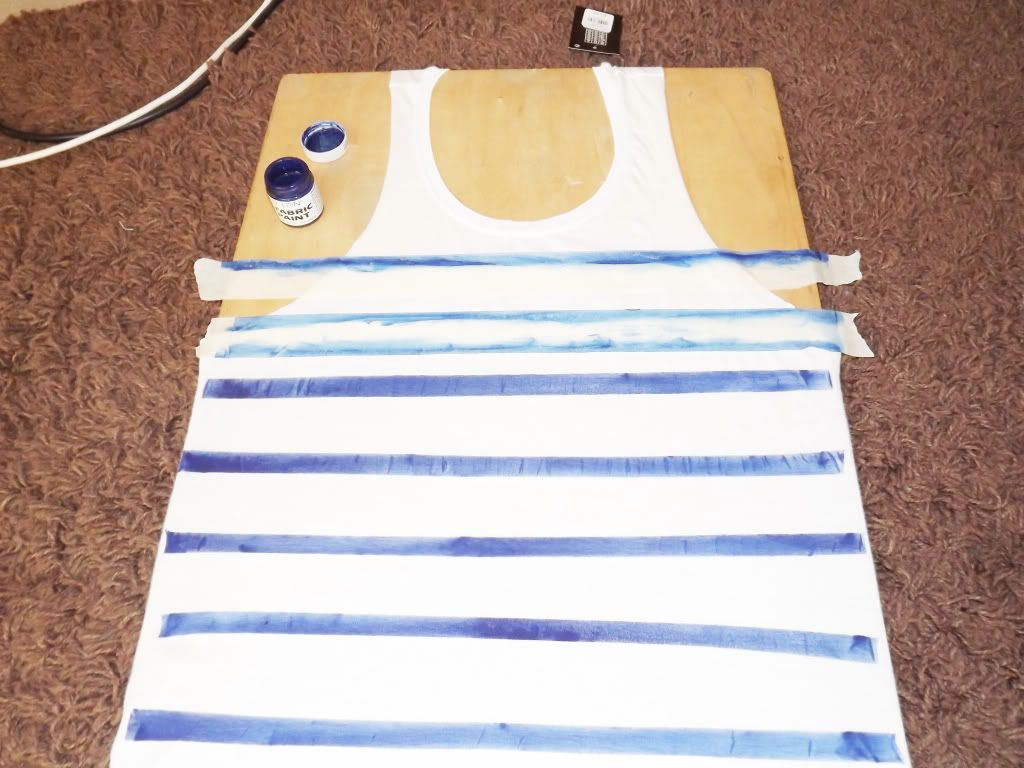
Repeat the step a couple of times to get a fully striped t-shirt.
Imagery by Floralpolkadot
imagery by Floralpolkadot
imagery by Floralpolkadot
Imagery by Floralpolkadot
Let the t-shirt dry fully for a couple of hours before wearing it.
And voila the t-shirt is finished.
Voila
Imagery by Floralpolkadot
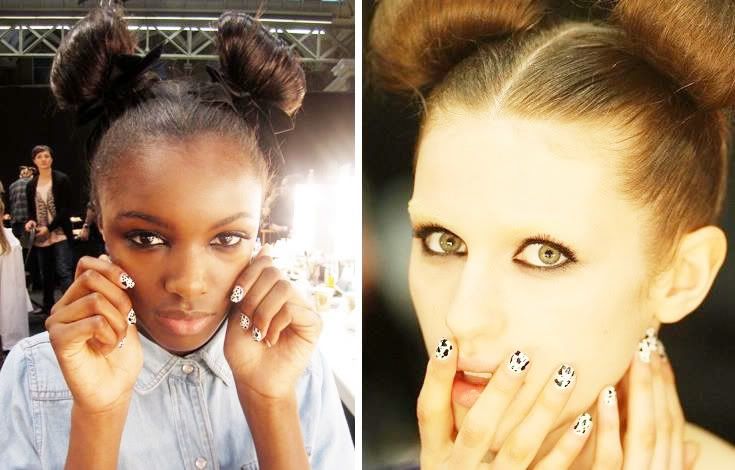
Topshop unique's nails from their AW11 collection, which was inspired by a Dalmatian print. So I thought I'd recreate this AW Trend.
Inspirational image
imagery courtesy of topshop unique
All you need
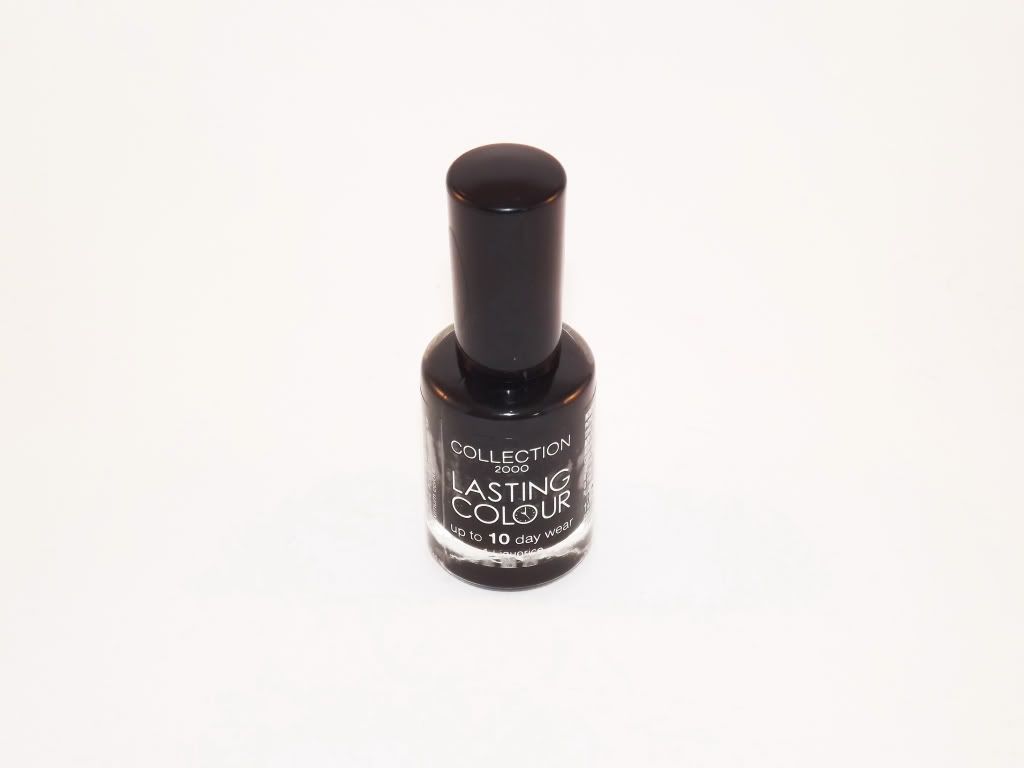
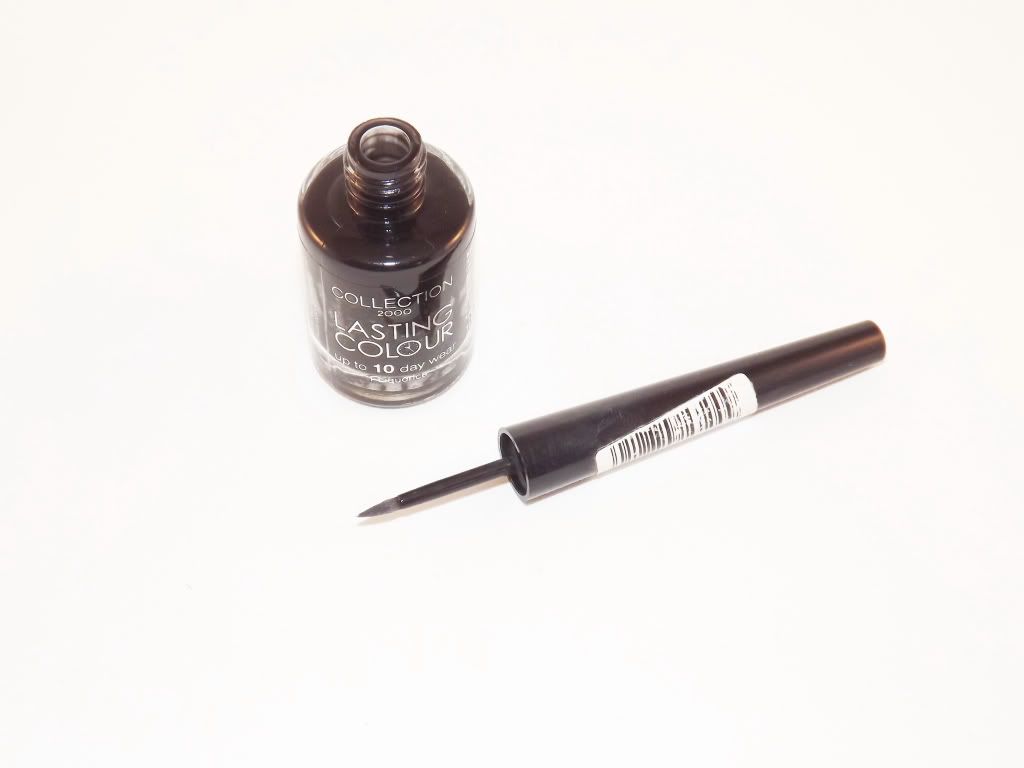
I'm using this collection 2000 black nail polish which you can get from boots for about £1.99
imagery by Floralpolkadot
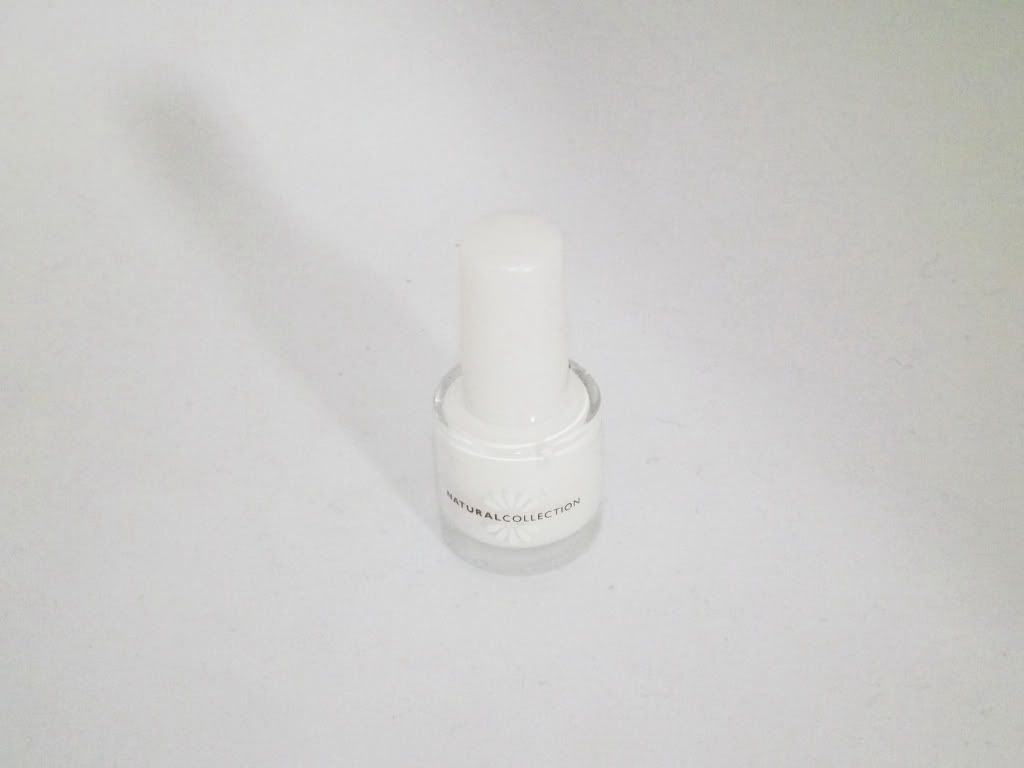
This is a White nail polish by natural collection which you can buy from boots for around £1.99
imagery by Floralpolkadot
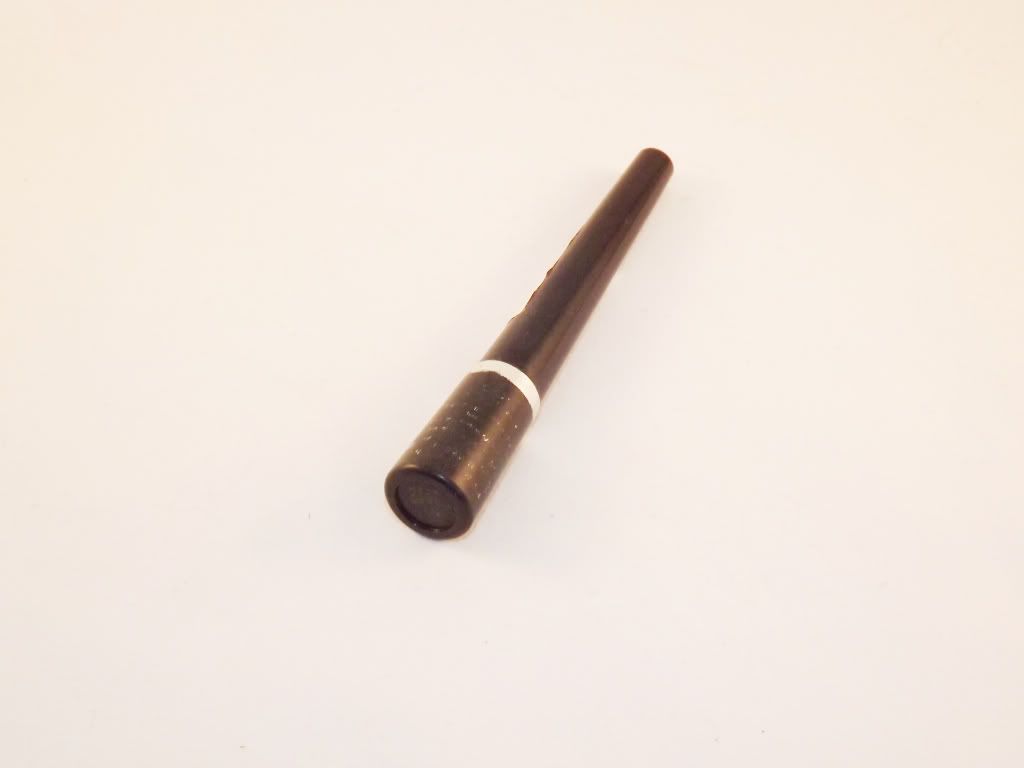
if you have an old eyeliner you can use this as a thin brush to do the Dalmatian dots on your nails. Or a really thin painting brush will do.
imagery by Floralpolkadot
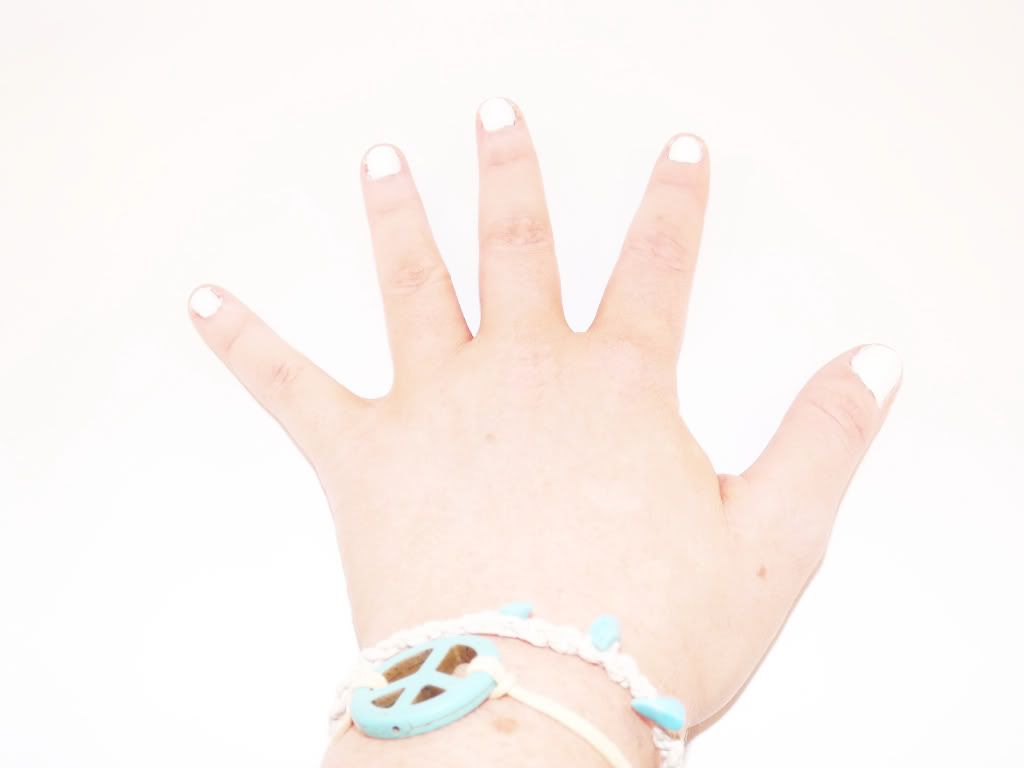
Paint all of your nails White. I used 3 layers to make the nails look perfect. Let them dry for about 1-3 minutes.
imagery by Floralpolkadot
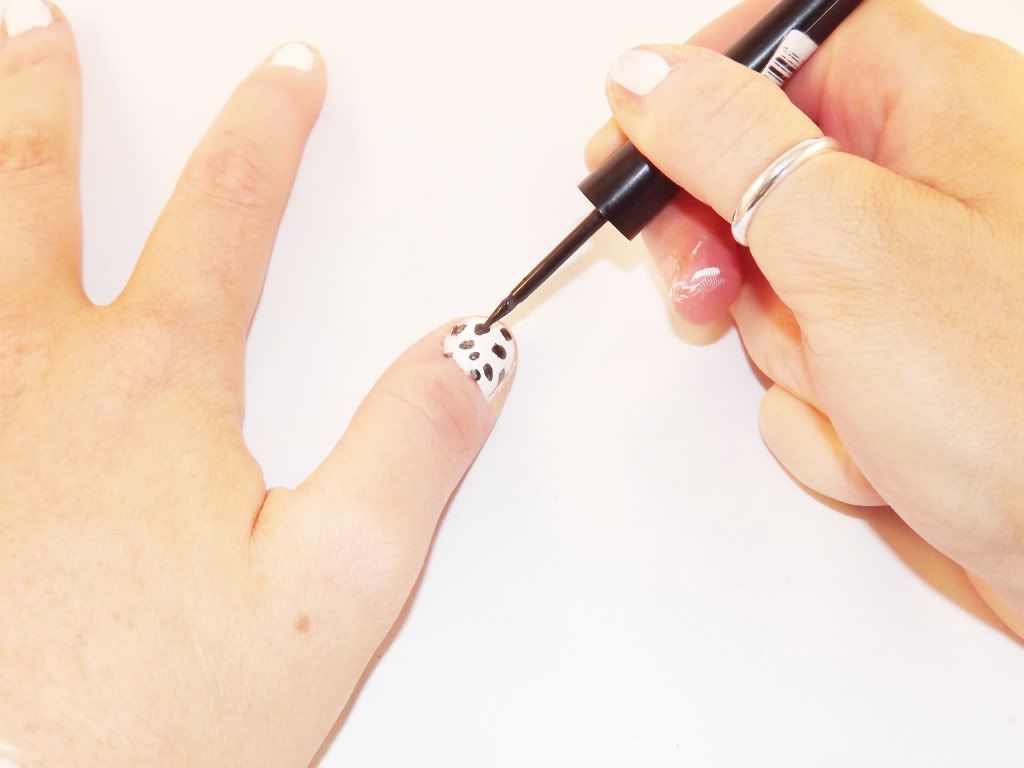
Use the eyeliner brush to apply the black spots onto the White nails. Make sure you clean the eyeliner brush before using it to do your nails. Dip the brush into the black nail polish and apply dots to your nails be as creative as you want.
imagery by Floralpolkadot
imagery by Floralpolkadot
imagery by Floralpolkadot
imagery by Floralpolkadot
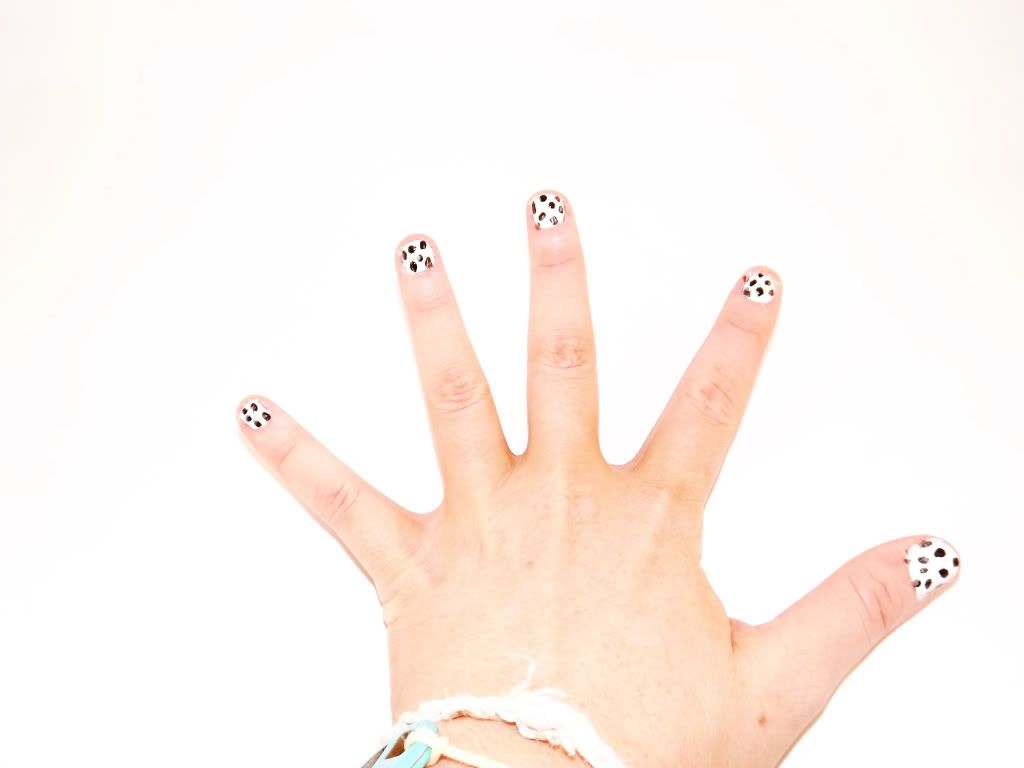
Voila
Add a clear top coat to your nails after they are dry and this will make your nail polish last longer.
imagery by Floralpolkadot
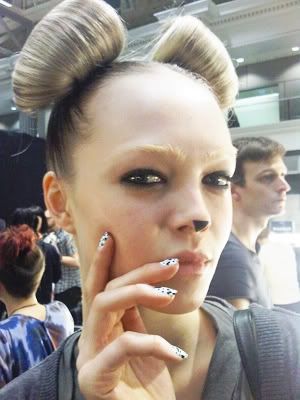
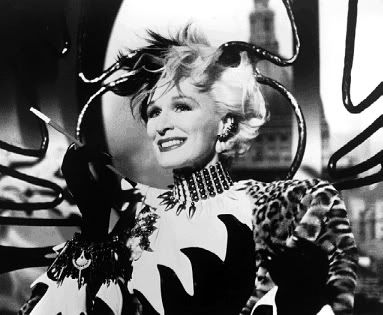
I loved the hair and make at Topshop unique's AW11 collection at fashion week. To add more affect to the dalmatian trend the hair and small looked so cute. The dalmatian print is going to be big this autumn winter, but don't go too over board like Cruella. :)
Imagery courtesy of film archives
The hair was inspired by Cheryl Cole, when she had a similar style during last years X Factor.
Imagery courtesy of Topshop unique
Imagery courtesy of topshop unique
Another trend that everyone loved at new York fashion week was the dalmation print nail design. Every model had this on the topshop unique catwalk show. And numerous members of the audience had the print on their nails. At first the thought of dalmation print on my nails looks a bit childish. But when I saw the print on the nails I absolutey loved it.
imagery courtesy of topshop unique
imagery courtesy of topshop unique
Check out topshop's website to see the full collection.and behind the scenes images from the show. I love the pattern so much I'm going to try the pattern on my nails and make a tutorial how to get the AW11 trend.
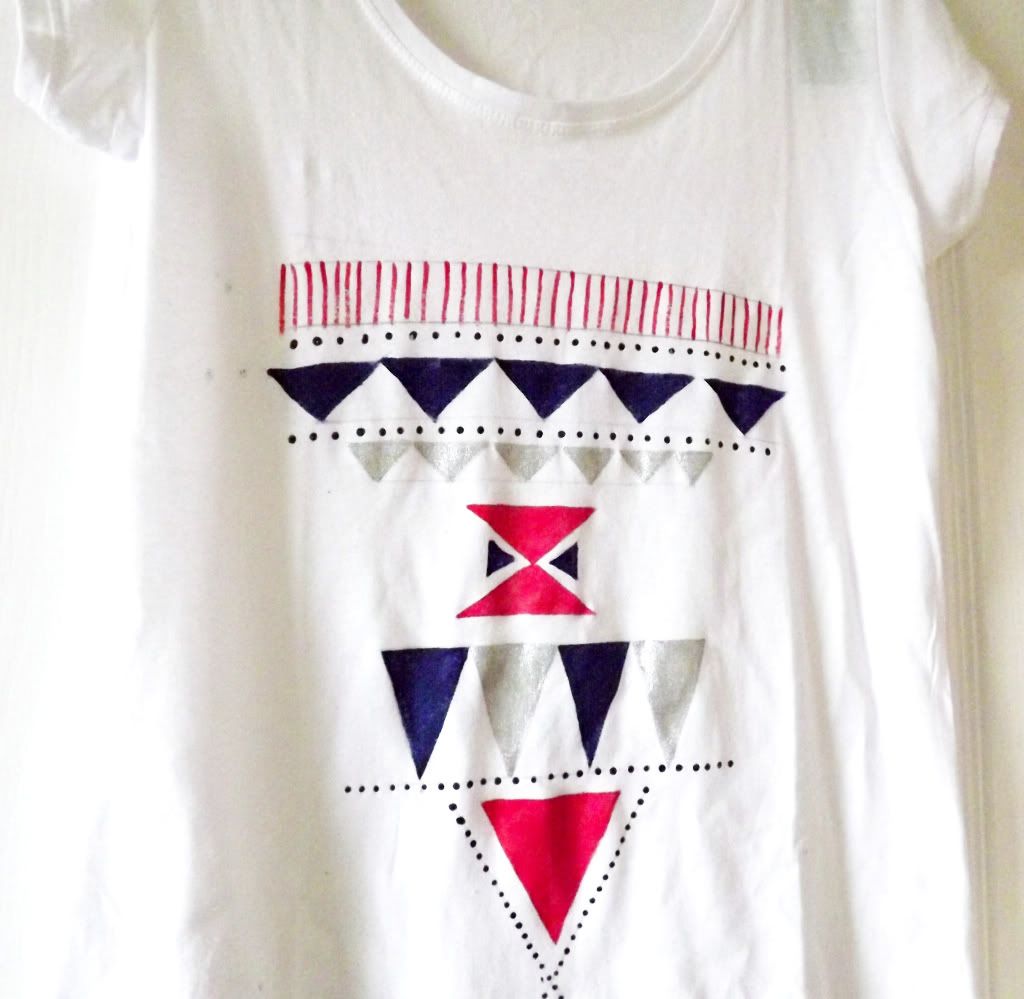
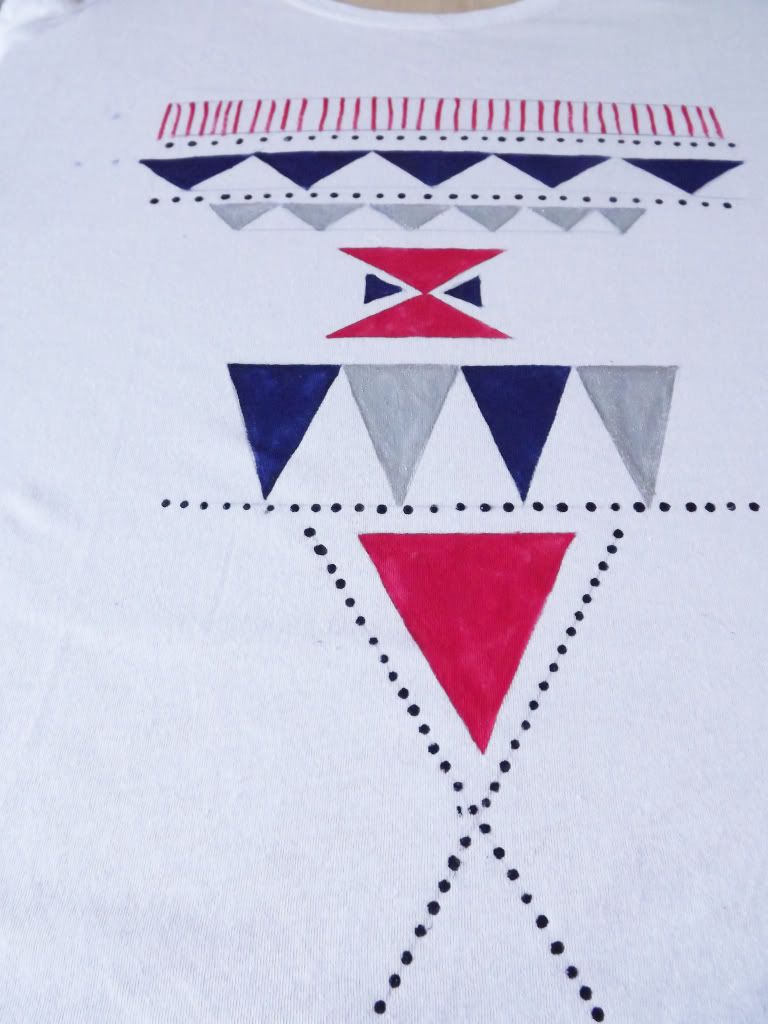
I love Aztec print and thought I would try and design my own aztec print t-shirt byt using fabric paints. This design was really easy to do you don't have to be an artist to design a top like this. It's just basic colouring in.
Imagery by Floralpolkadot
All you need to make this top
-1 White plain baggy top
-4 different colours of fabric paint
-2 paint brushes 1 thin and 1 thick brush
-cardboard
-a soft pencil
-ruler
I place the t-shirt over the cardboard, this is so the fabric paint doesn't print on the otherwise. And to have a flat base so it is easier to draw and paint onto the t-shirt.
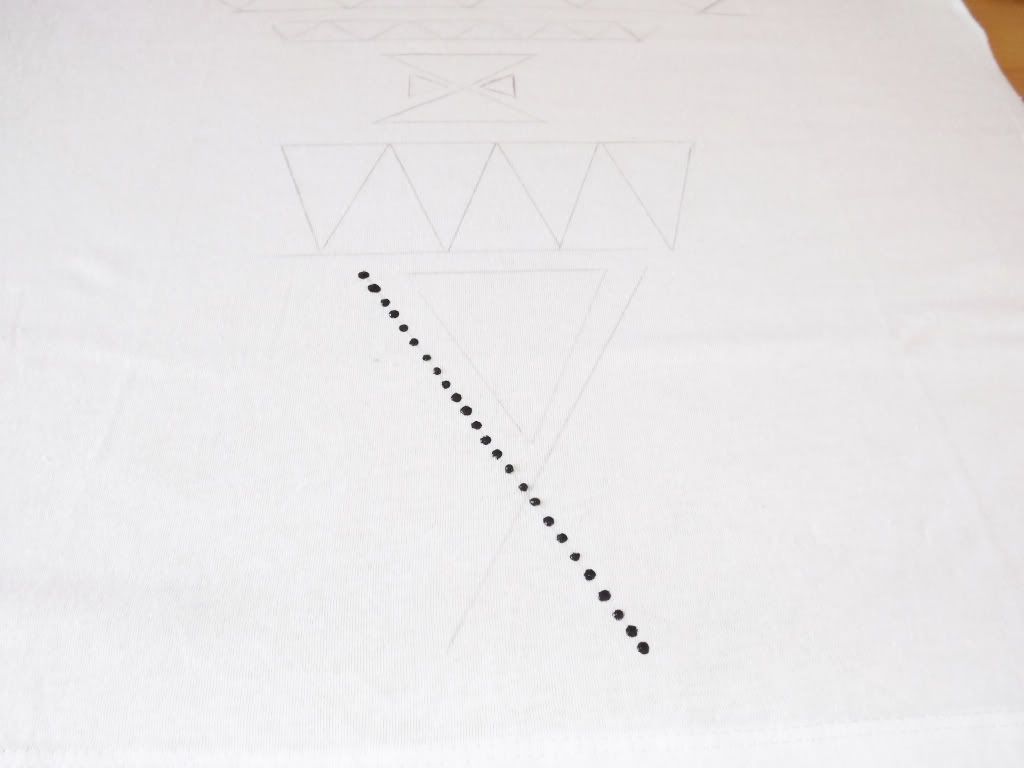
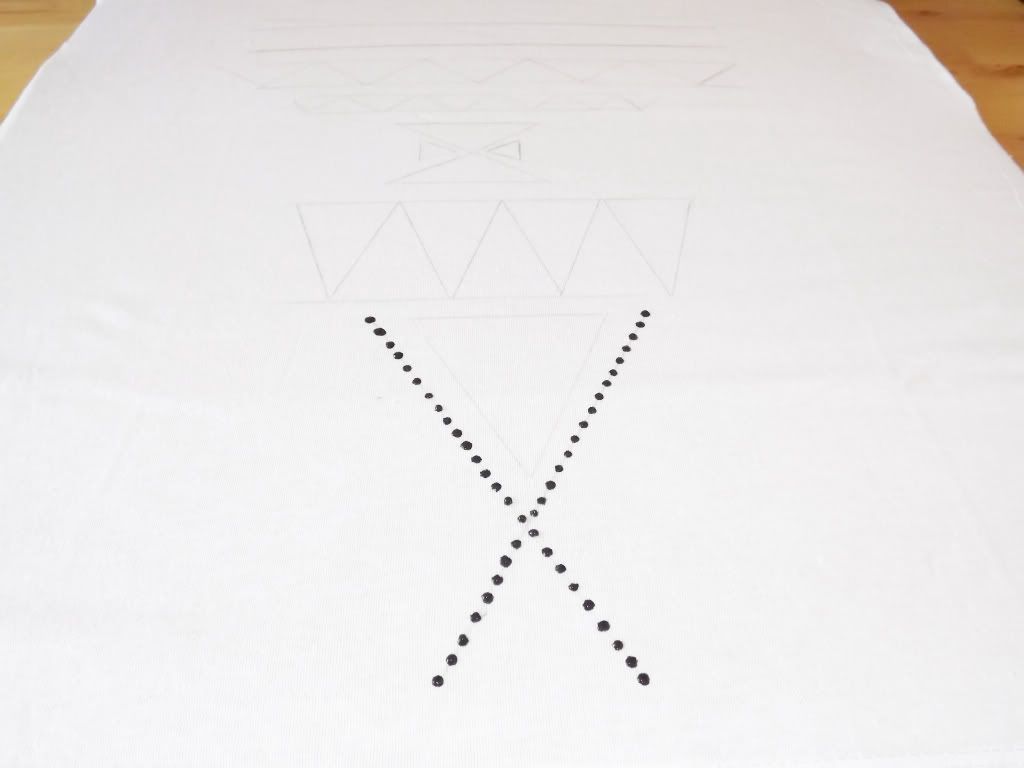
At first I tried loads of different designs on a piece of paper and when I was happy with my final design. I drew the design onto the t-shirt with a soft pencil as it's easier to draw on the fabric. And a ruler to get perfect lines.
imagery by Floralpolkadot
When painting the dots on the t-shirt I didn't draw dots with a pencil I just drew a line and free drew the dots. If you have a really steady hand it's so easy to do. I used a black colour for the dots.
imagery by Floralpolkadot
Imagery by Floralpolkadot
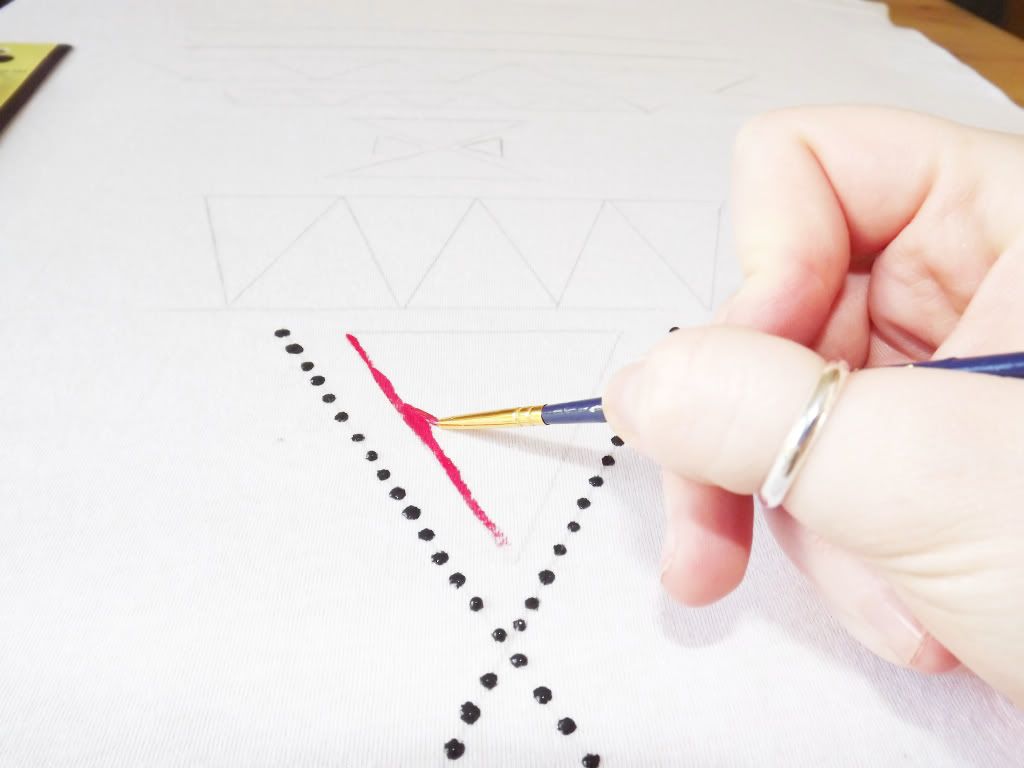
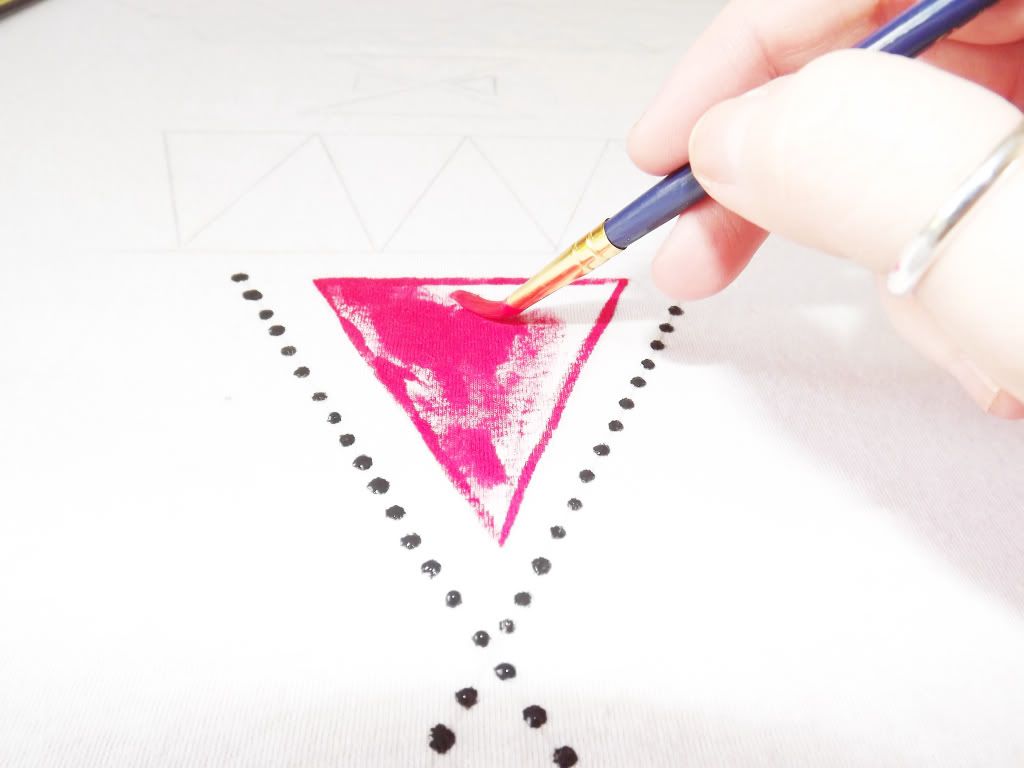
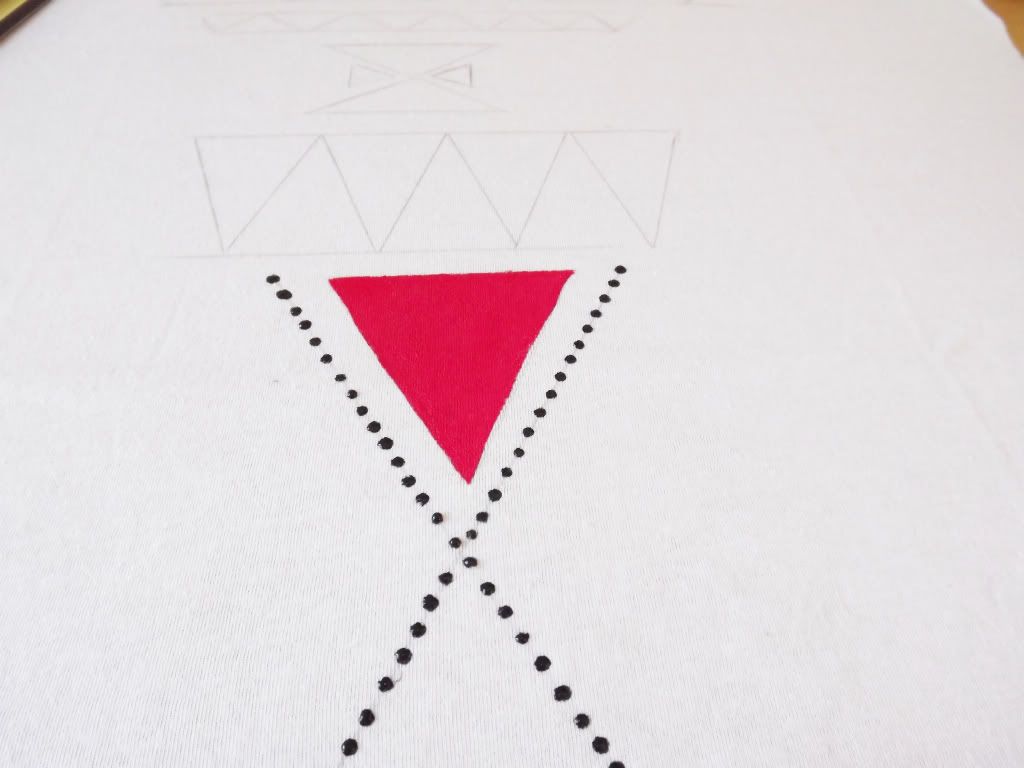
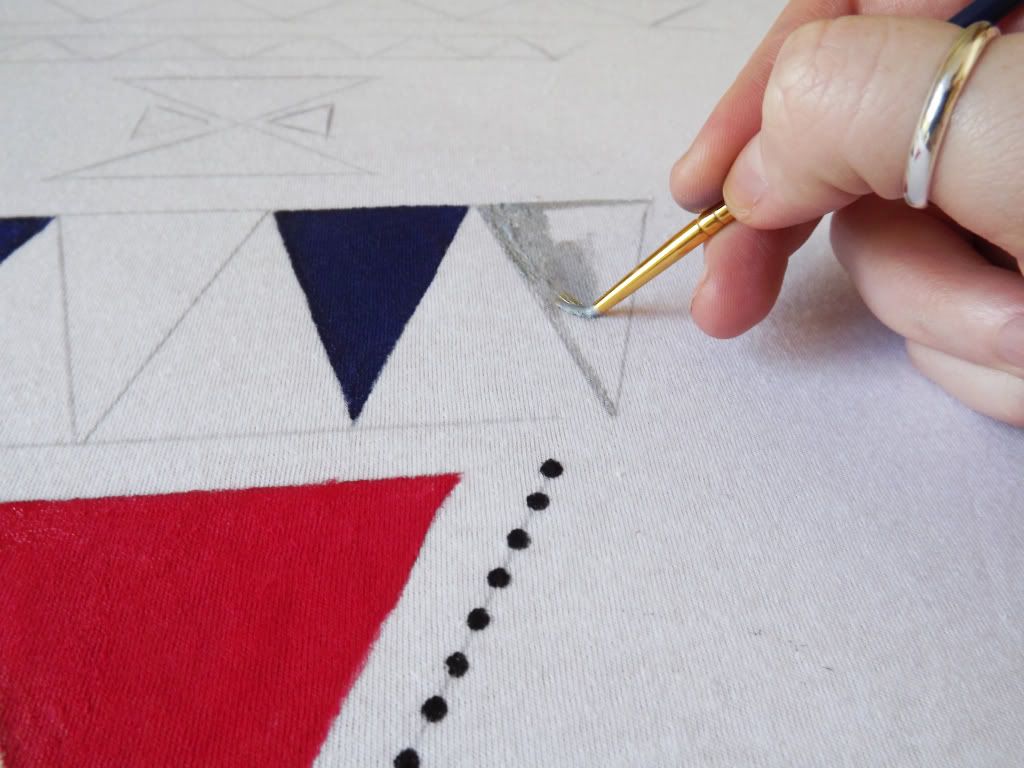
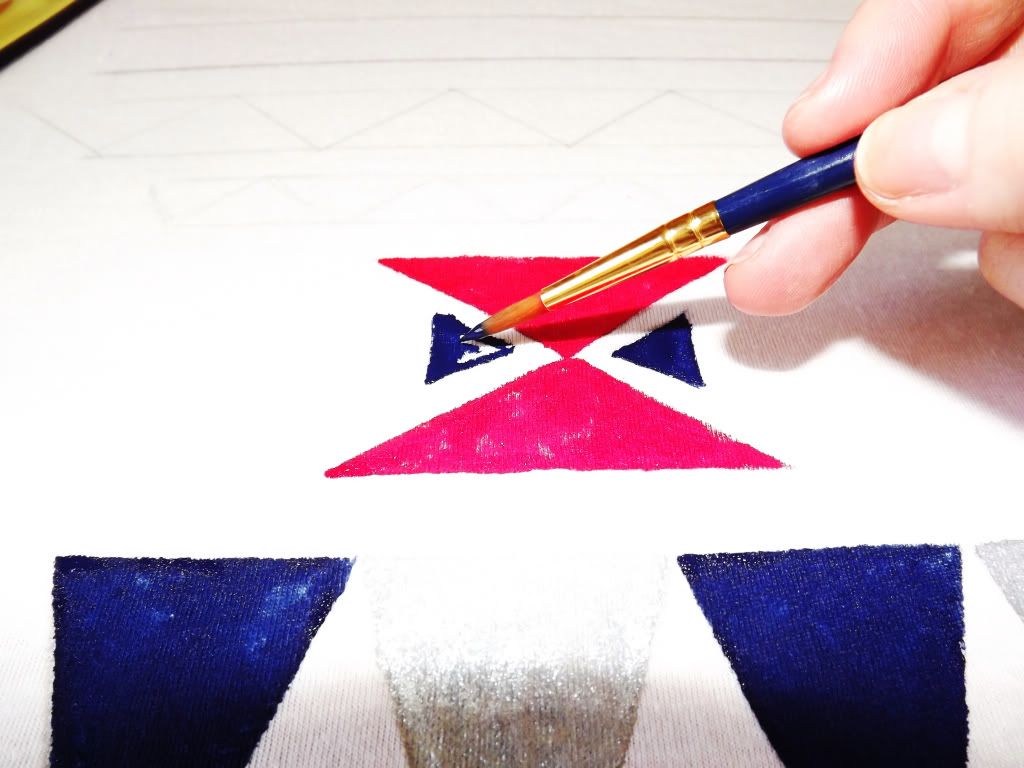
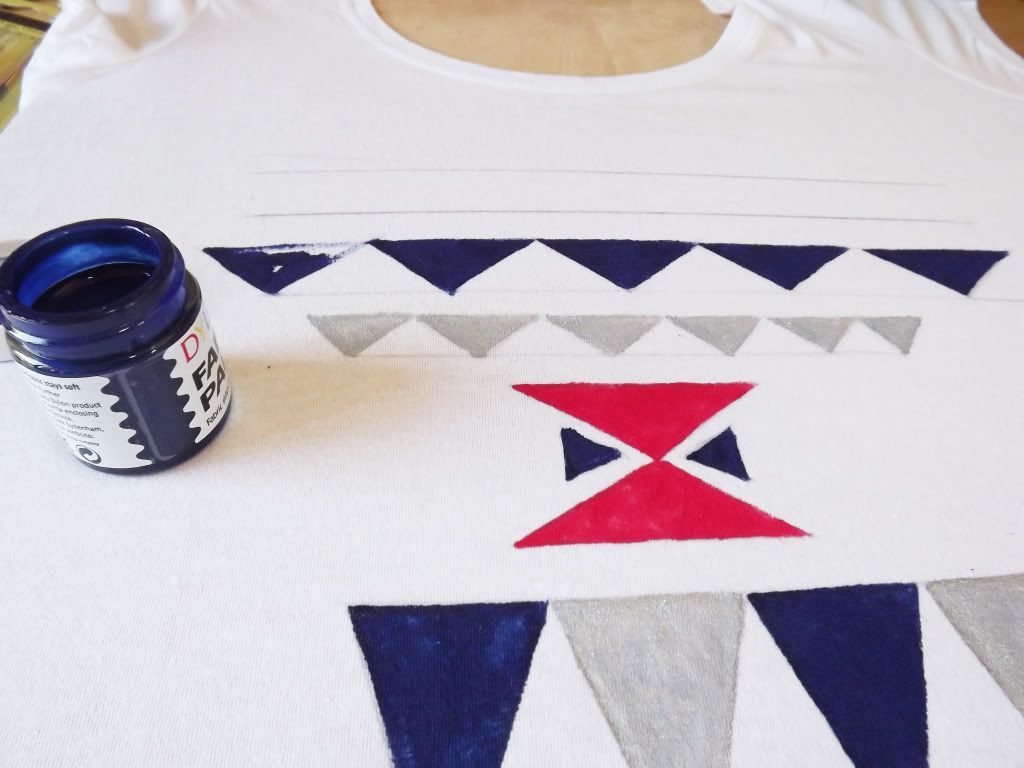
I started to paint the triangle shapes. I found it easier to draw the outline of the triangle with a paint and then colour the middle in. I used a red on the first triangle but you can use any colour you want.
imagery by Floralpolkadot
imagery by Floralpolkadot
Imagery by Floralpolkadot
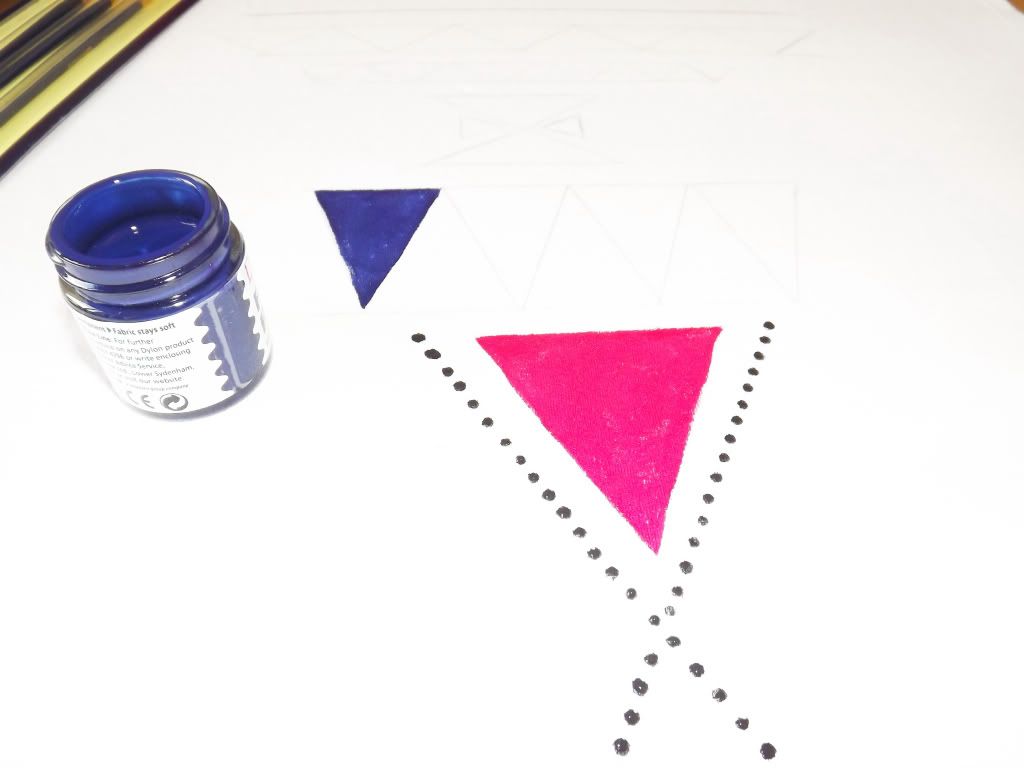
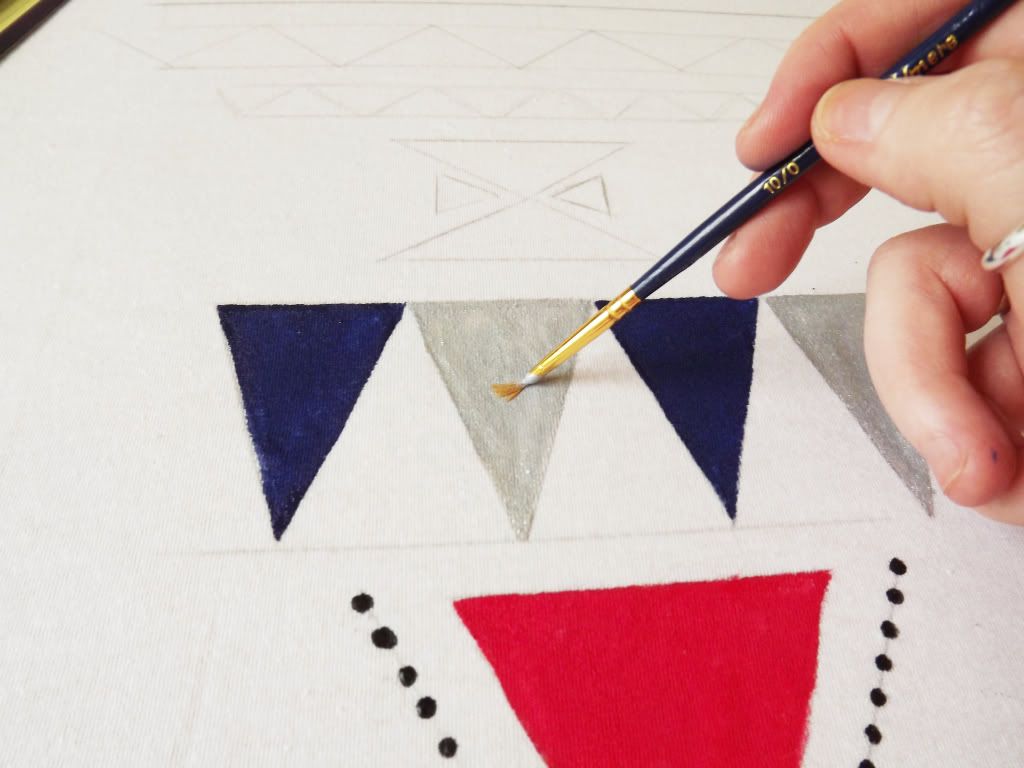
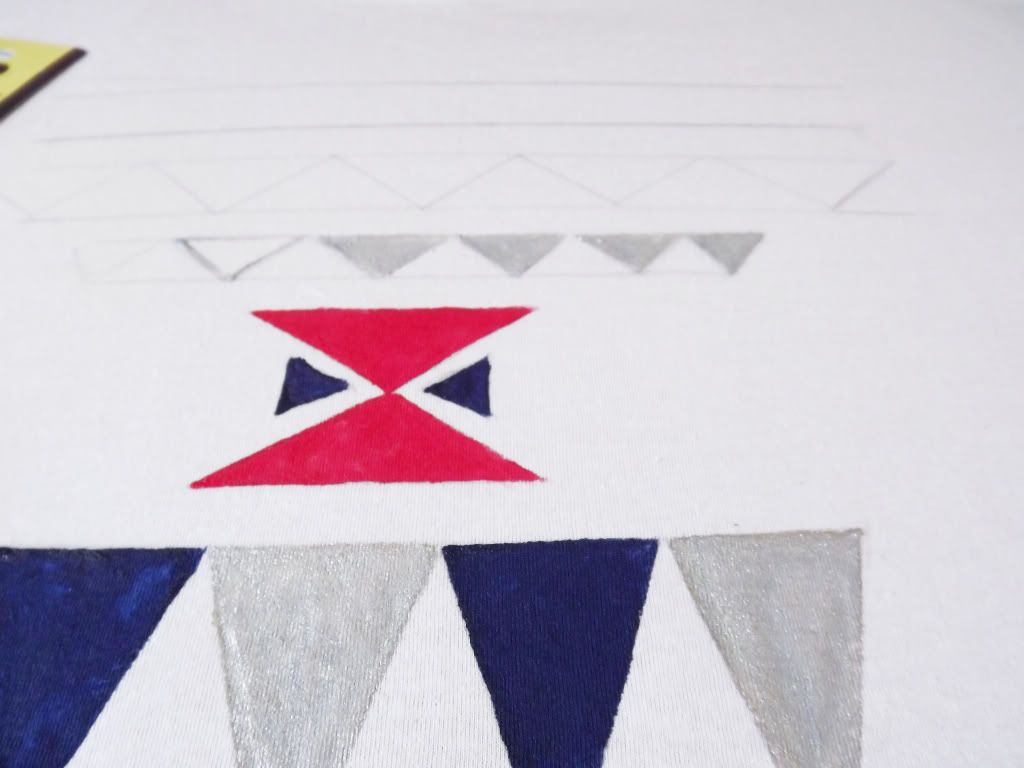
I then used a navy blue to colour in the line of triangles.and I used a silver paint to colour in the other triangle. I wasn't to sure about the metallic paint but it works really well with the navy. But shin it's up to you which colours you want to use.
Imagery byt Floralpolkadot
imagery by Floralpolkadot
imagery by Floralpolkadot
Imagery by Floralpolkadot
imagery by Floralpolkadot
imagery by Floralpolkadot
imagery by Floralpolkadot
To finish off the t-shirt I free hand drew mini lines in a row. The lines do nit have to be perfect. This makes the t-shirt a little better. I used a red paint to finish it off but it's up to you which colour you want to use. I then added more dots the t-shirt.
imagery by Floralpolkadot
imagery by Floralpolkadot
voila at the t-shirt is done
Leave it to dry for about an hour or so and your ready to go.
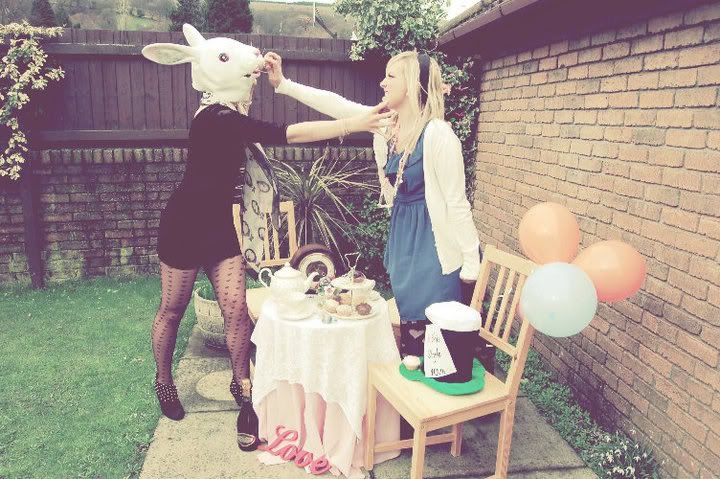
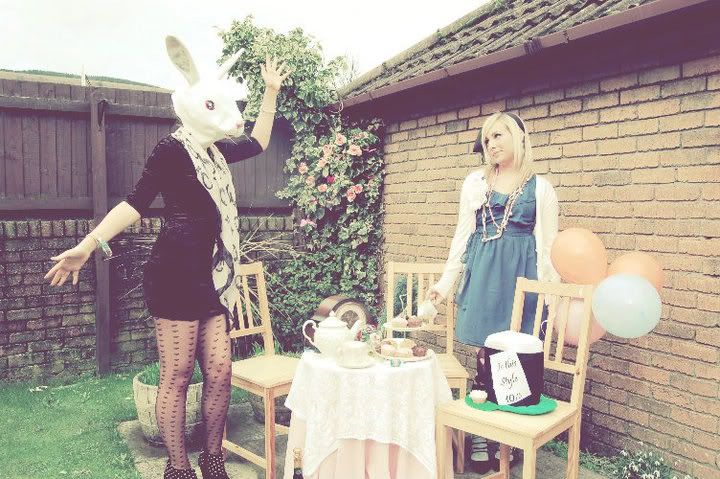
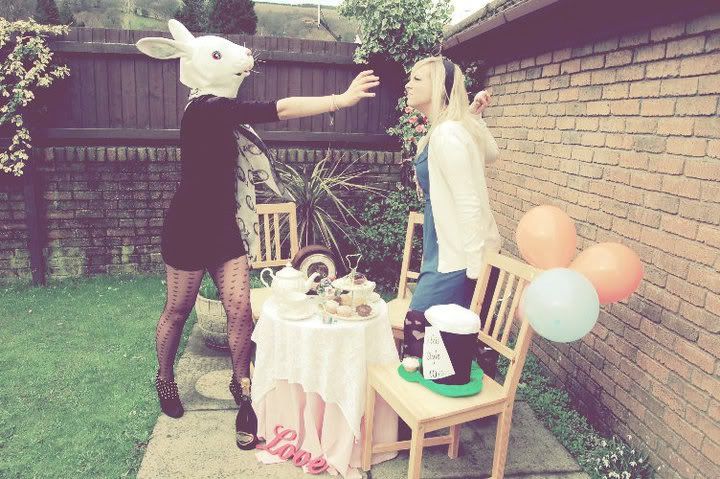
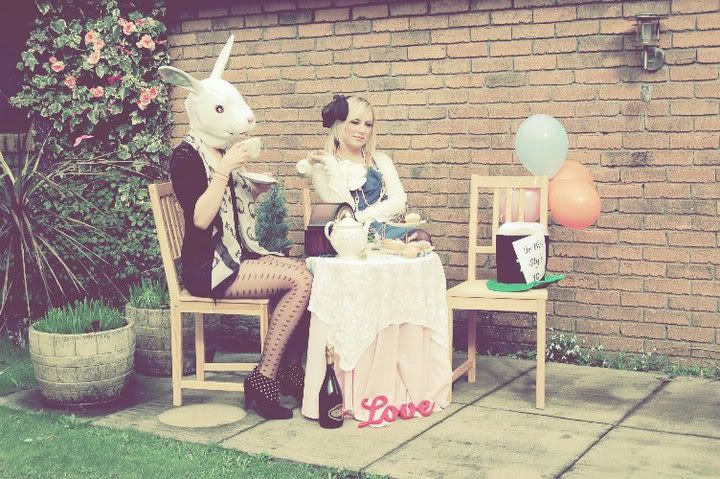
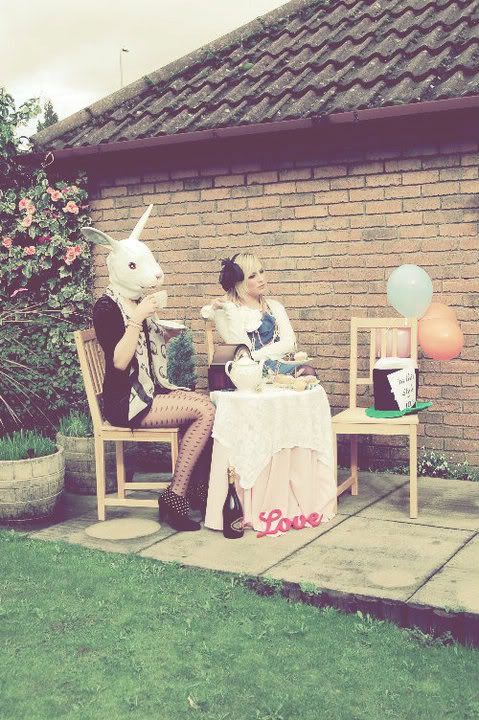
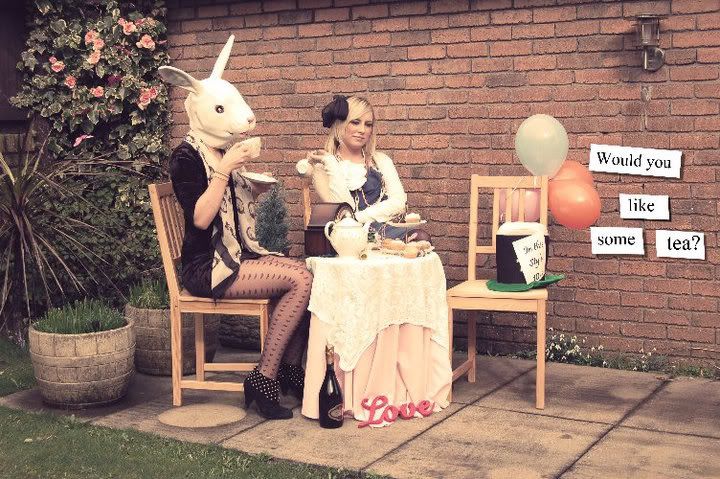
This is a Alice in wonderland inspired photoshoot. Iv always loved Alice in wonderland. Setting up the scene was so much fun. I was lucky that I had most of the props for the photoshoot. Here are the final edited images from the photoshoot. It's Alice in wonderland with a slight modern twist.
-styled by Floralpolkadot
-photography by Jasmine Davies
imagery by floral polkadot
imagery by Floralpolkadot
Imagery by Floralpolkadot
imagery by floral polkadot
Imagery by Floralpolkadot
Imagery by Floralpolkadot
I would love to hear your comments :)